


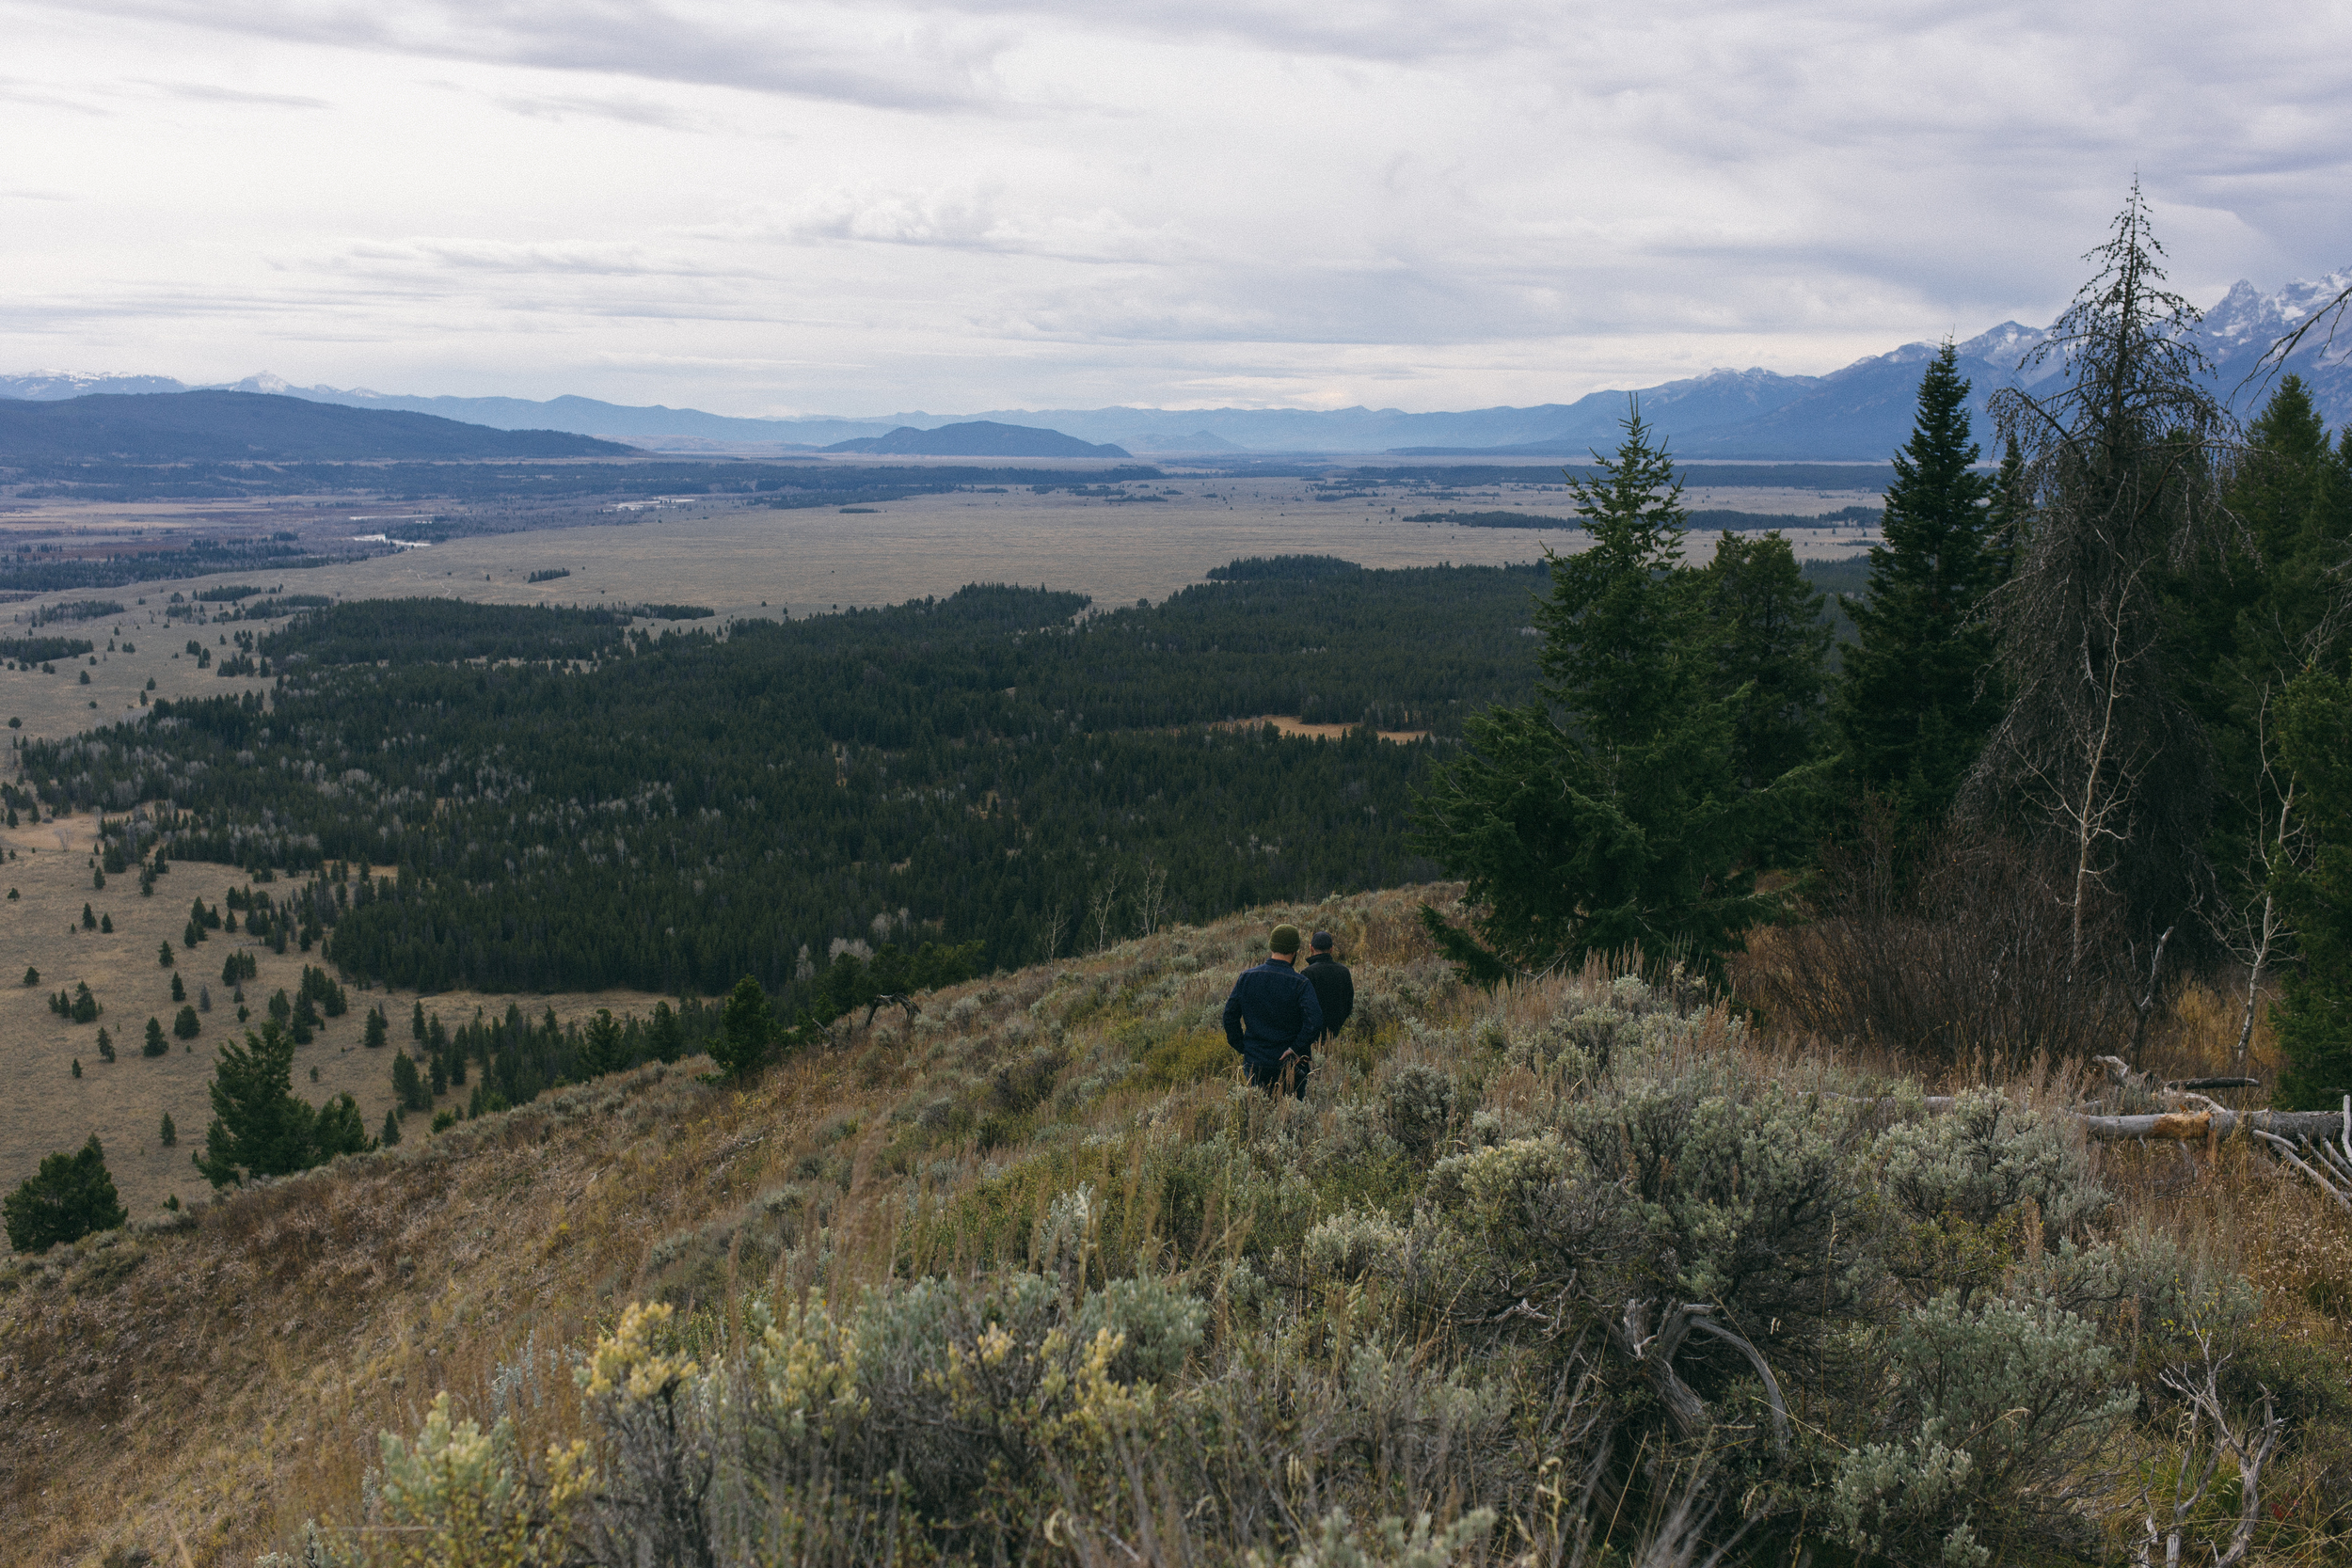

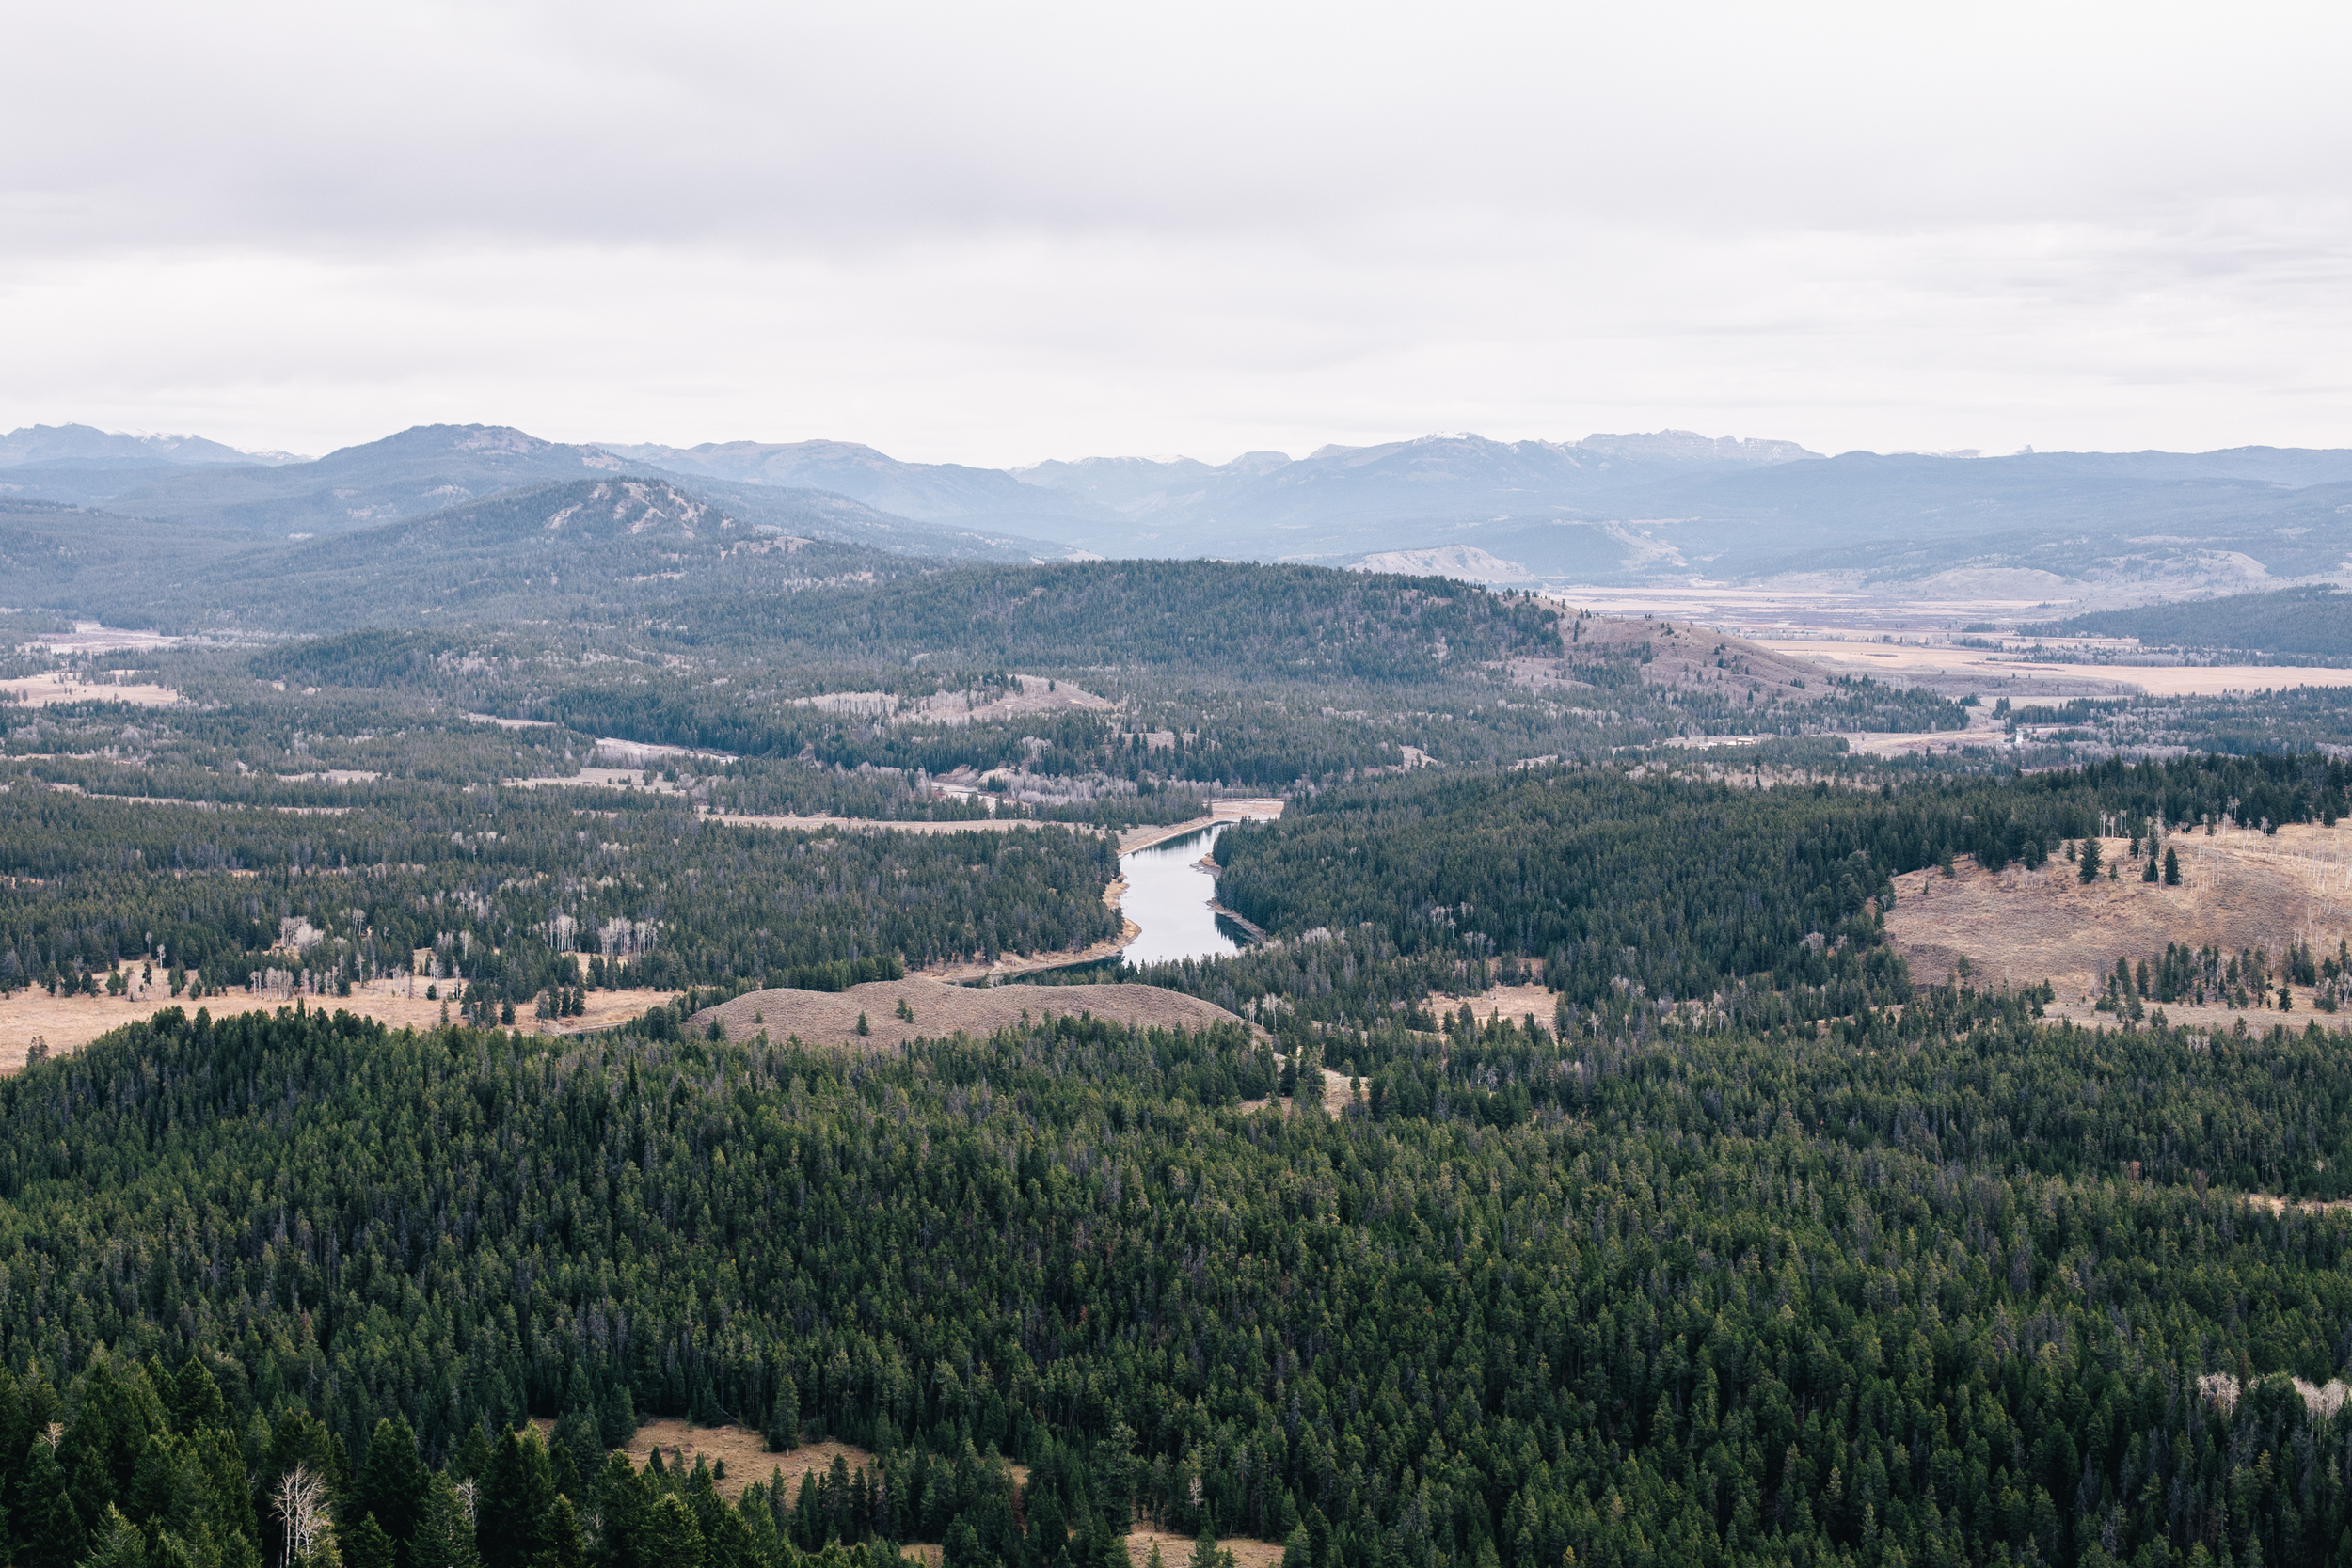


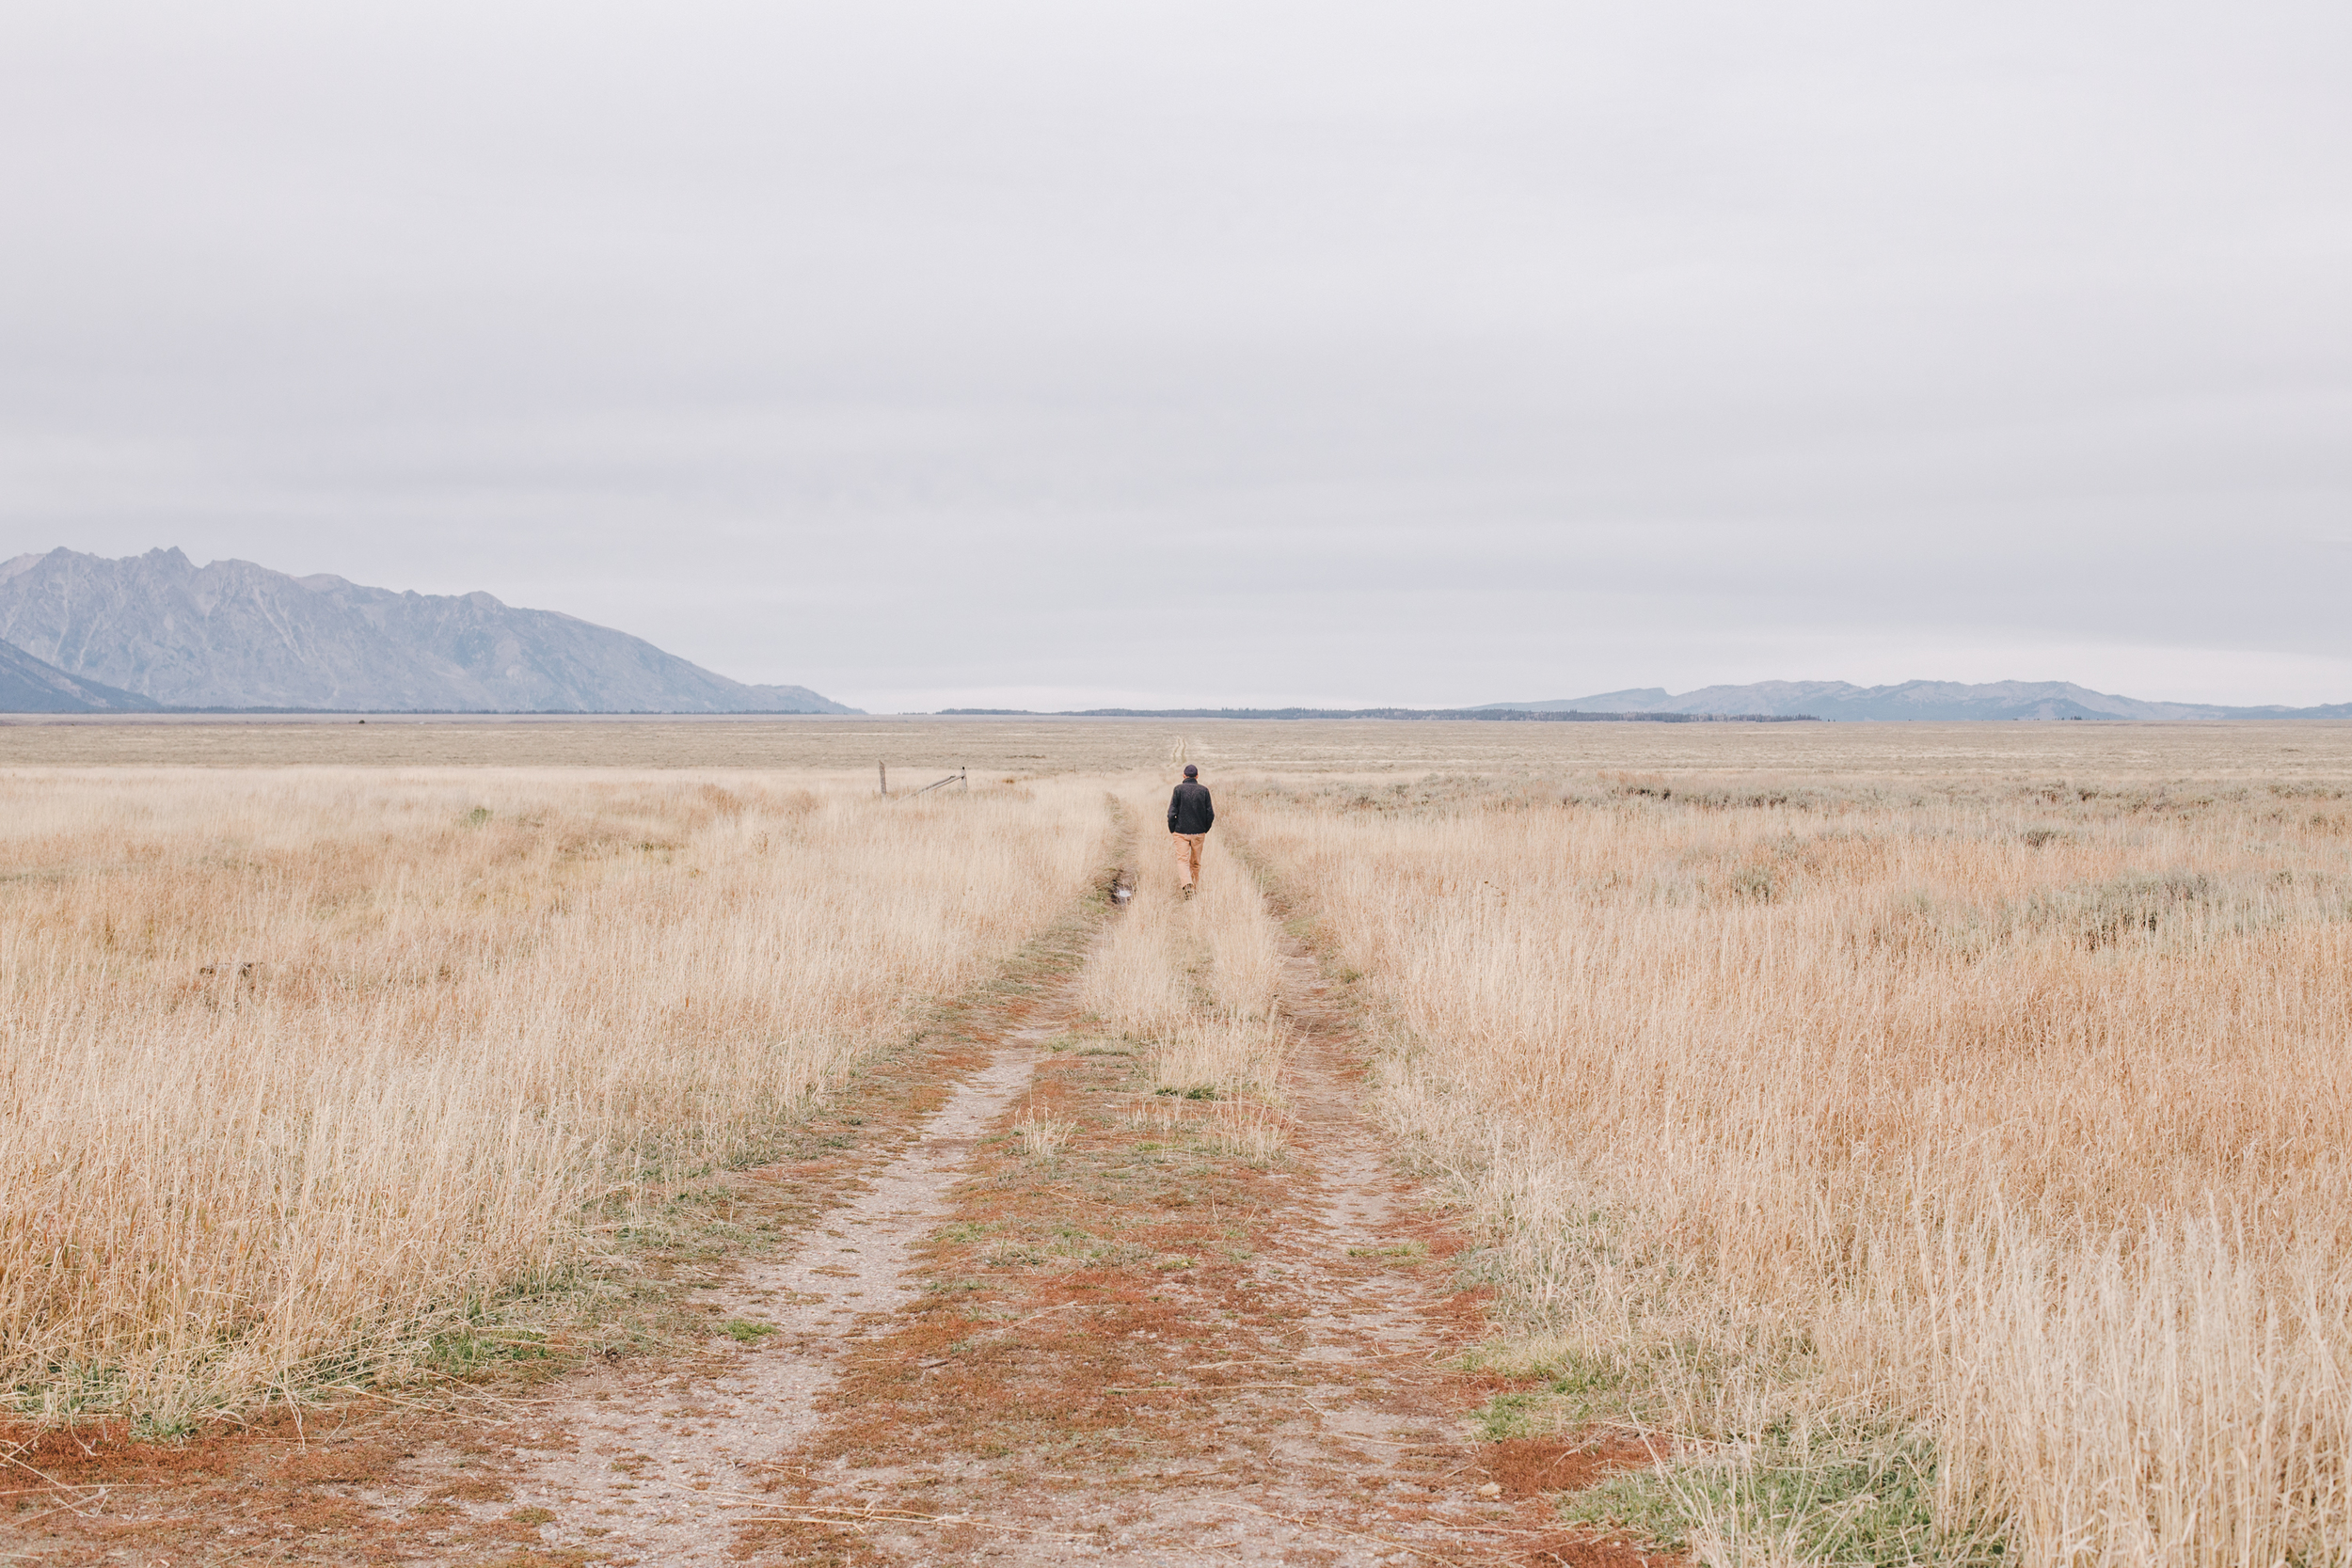


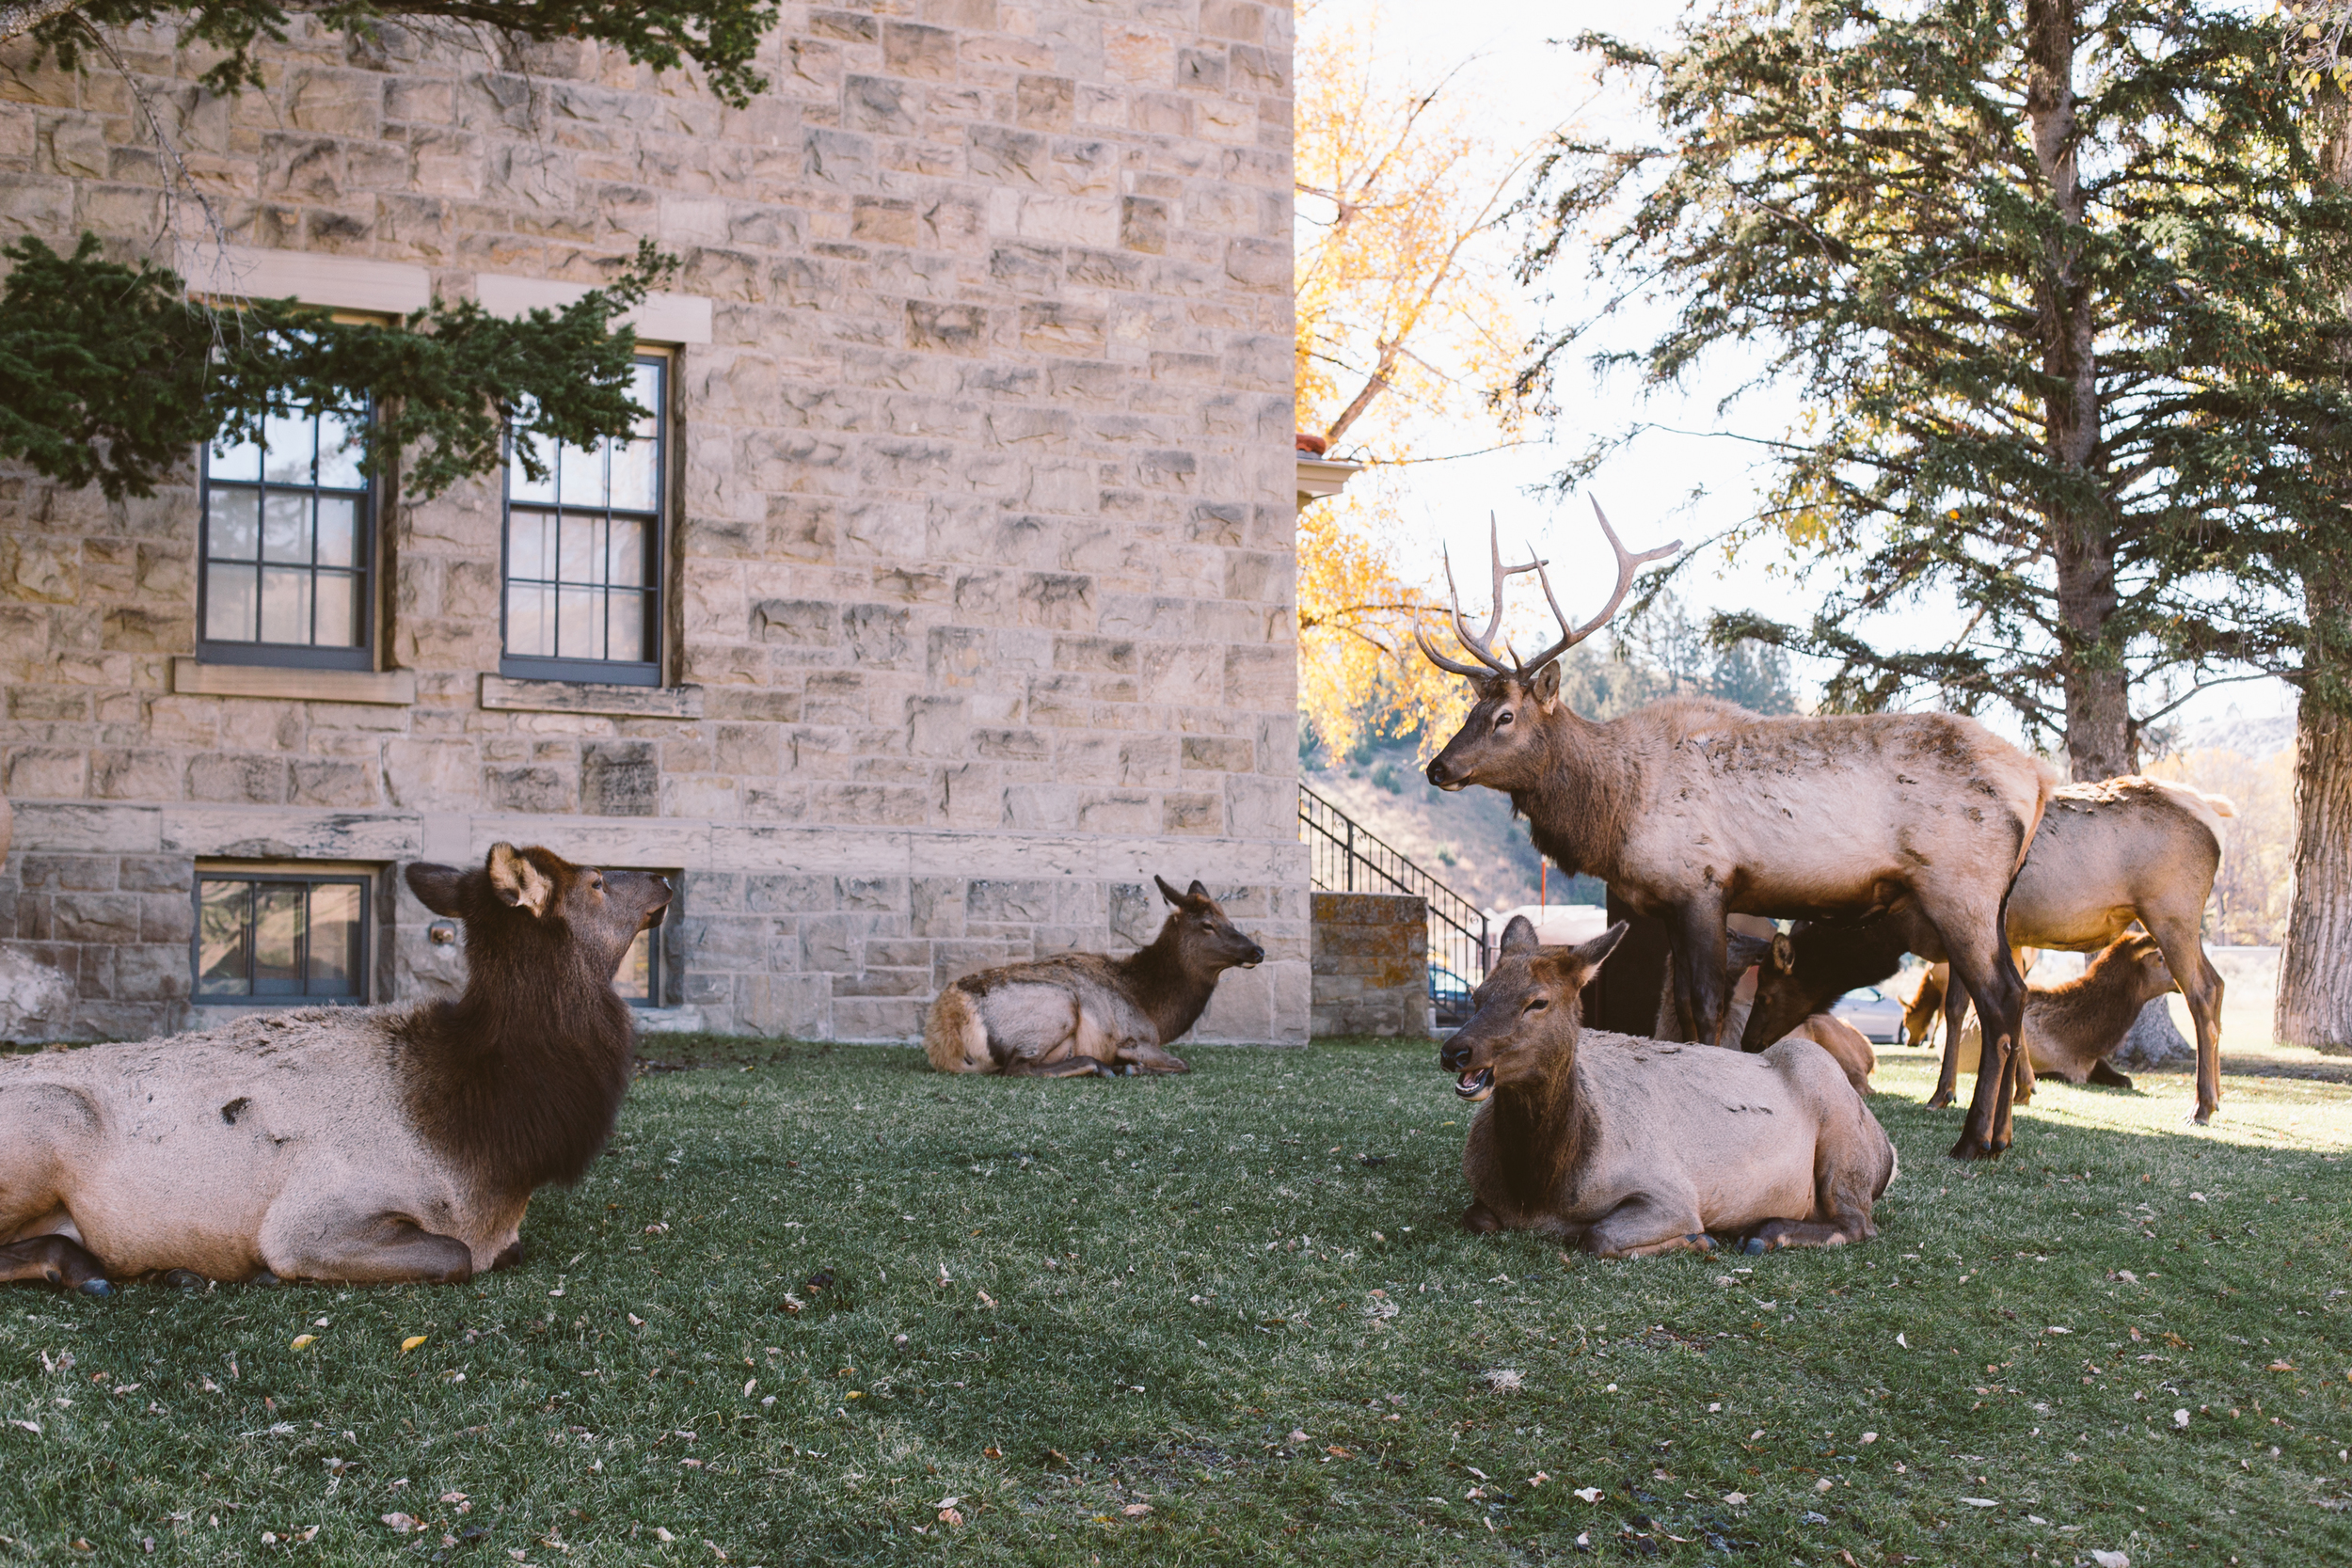
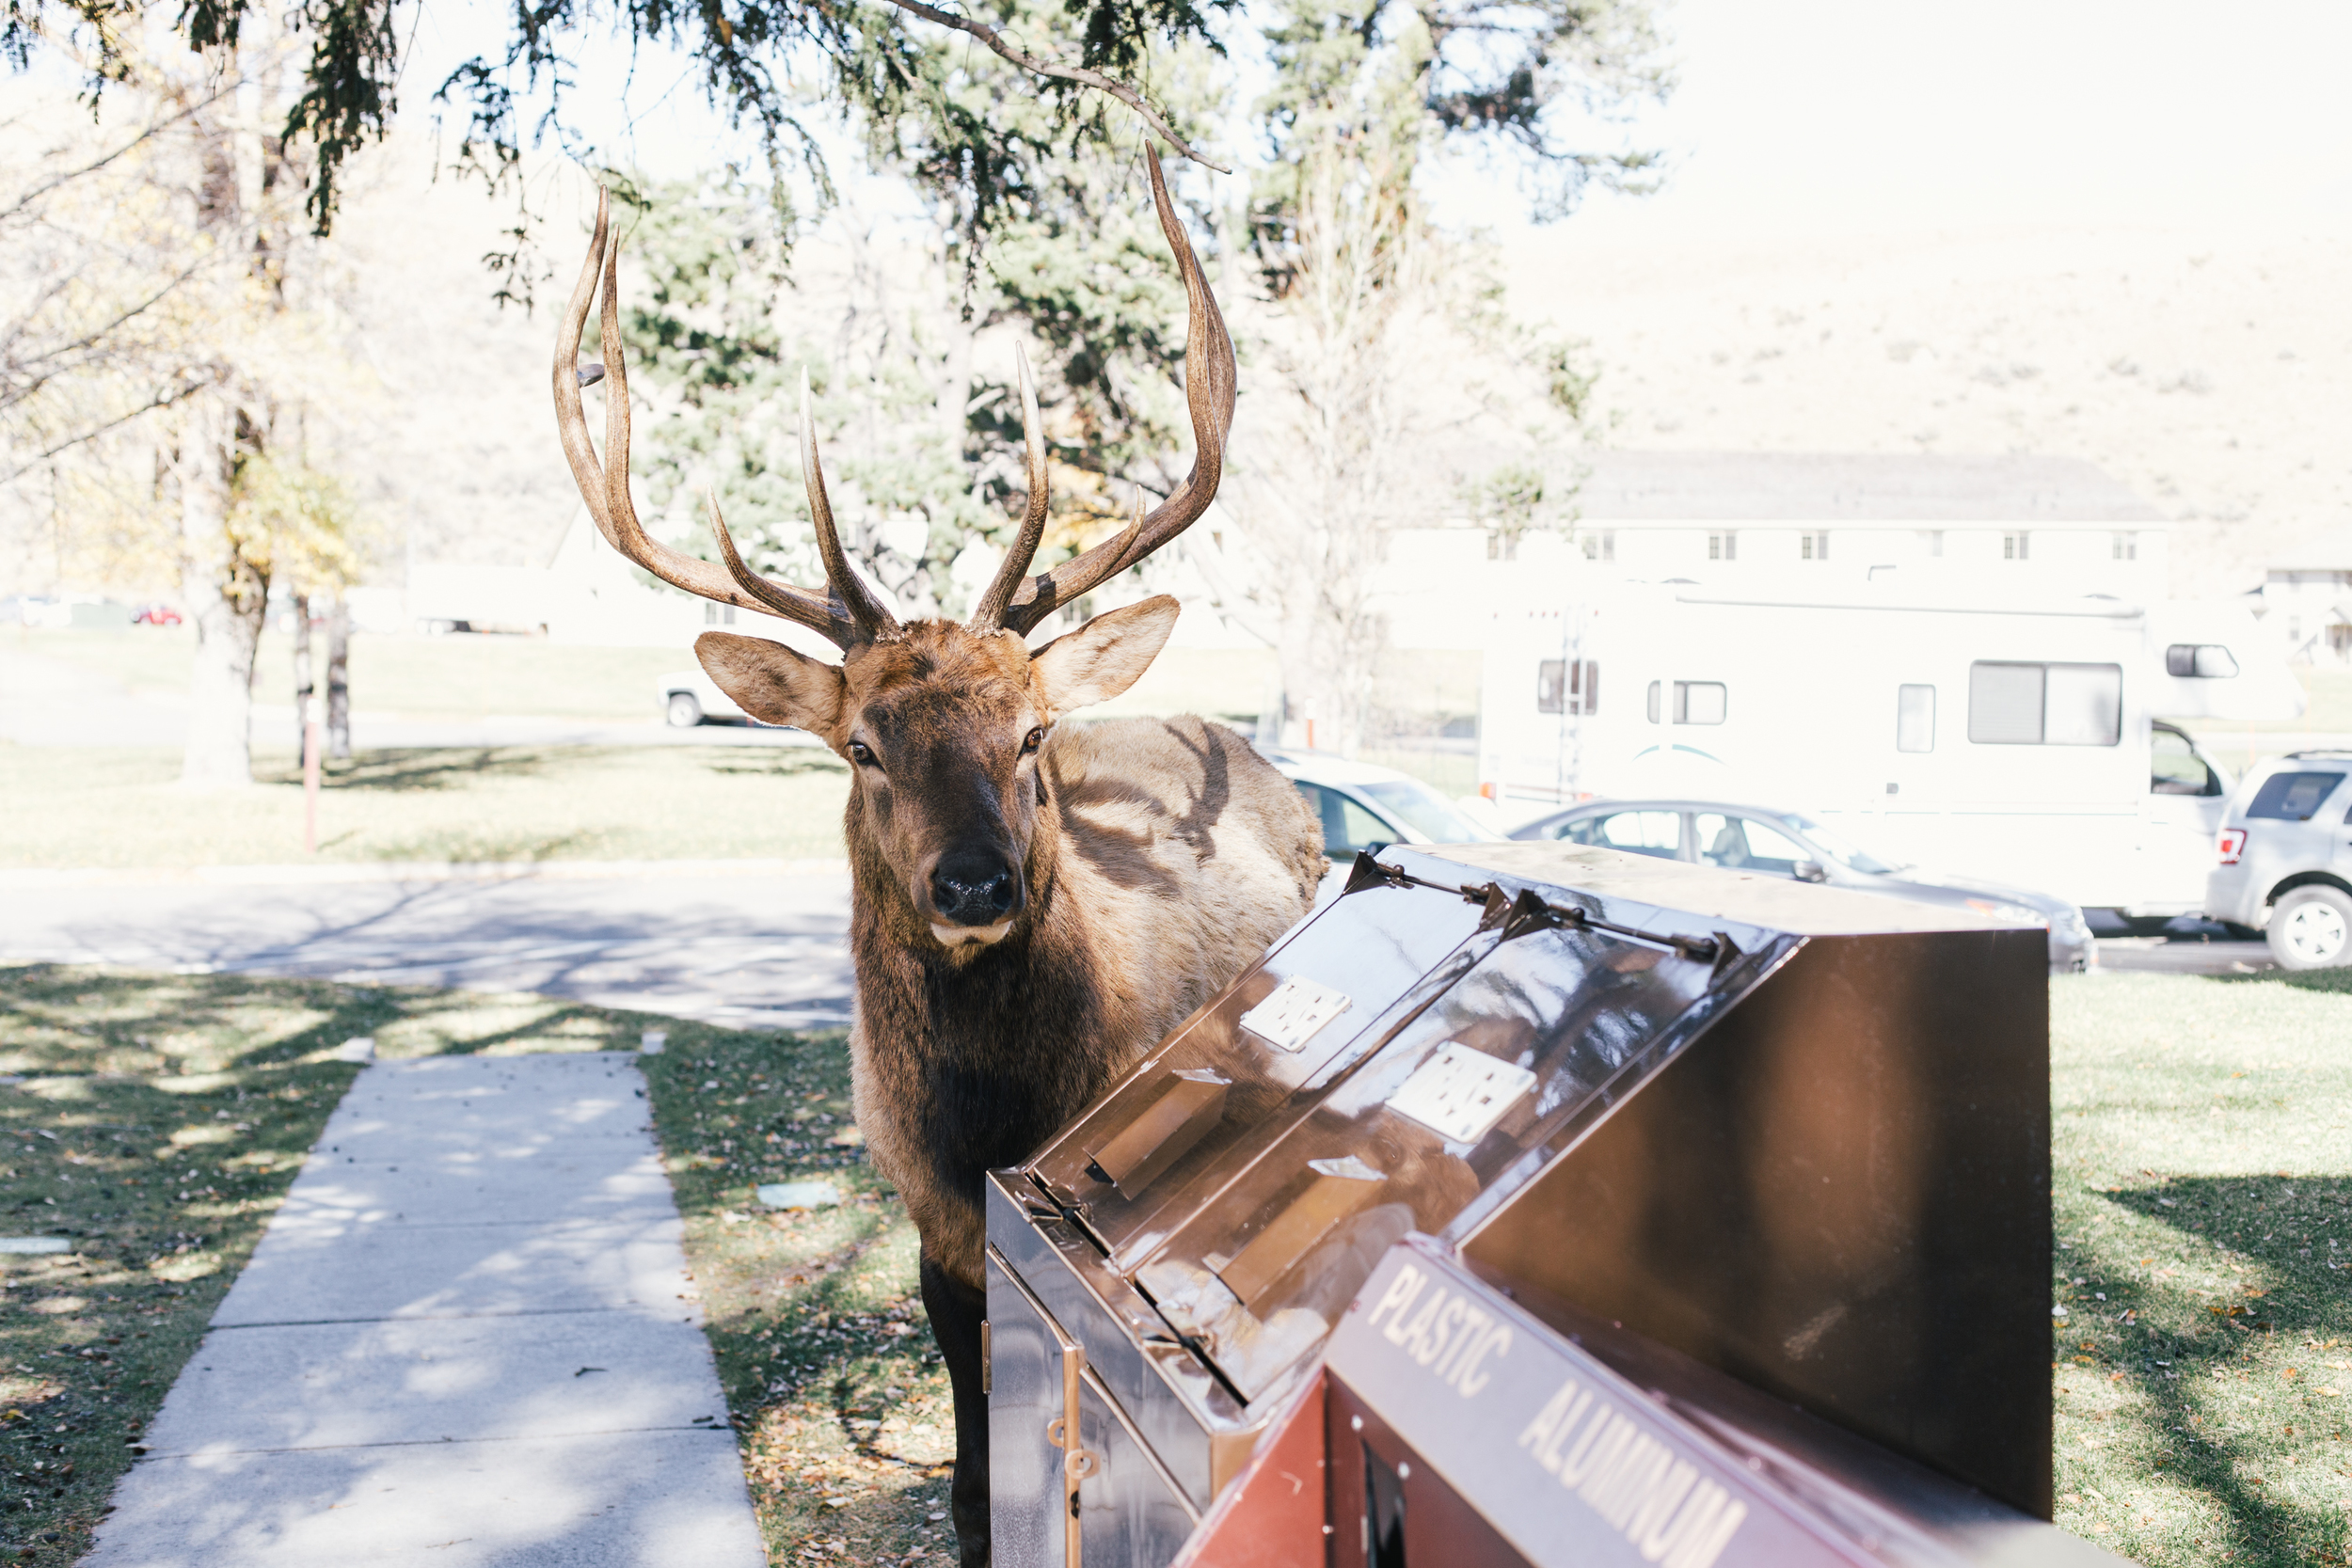
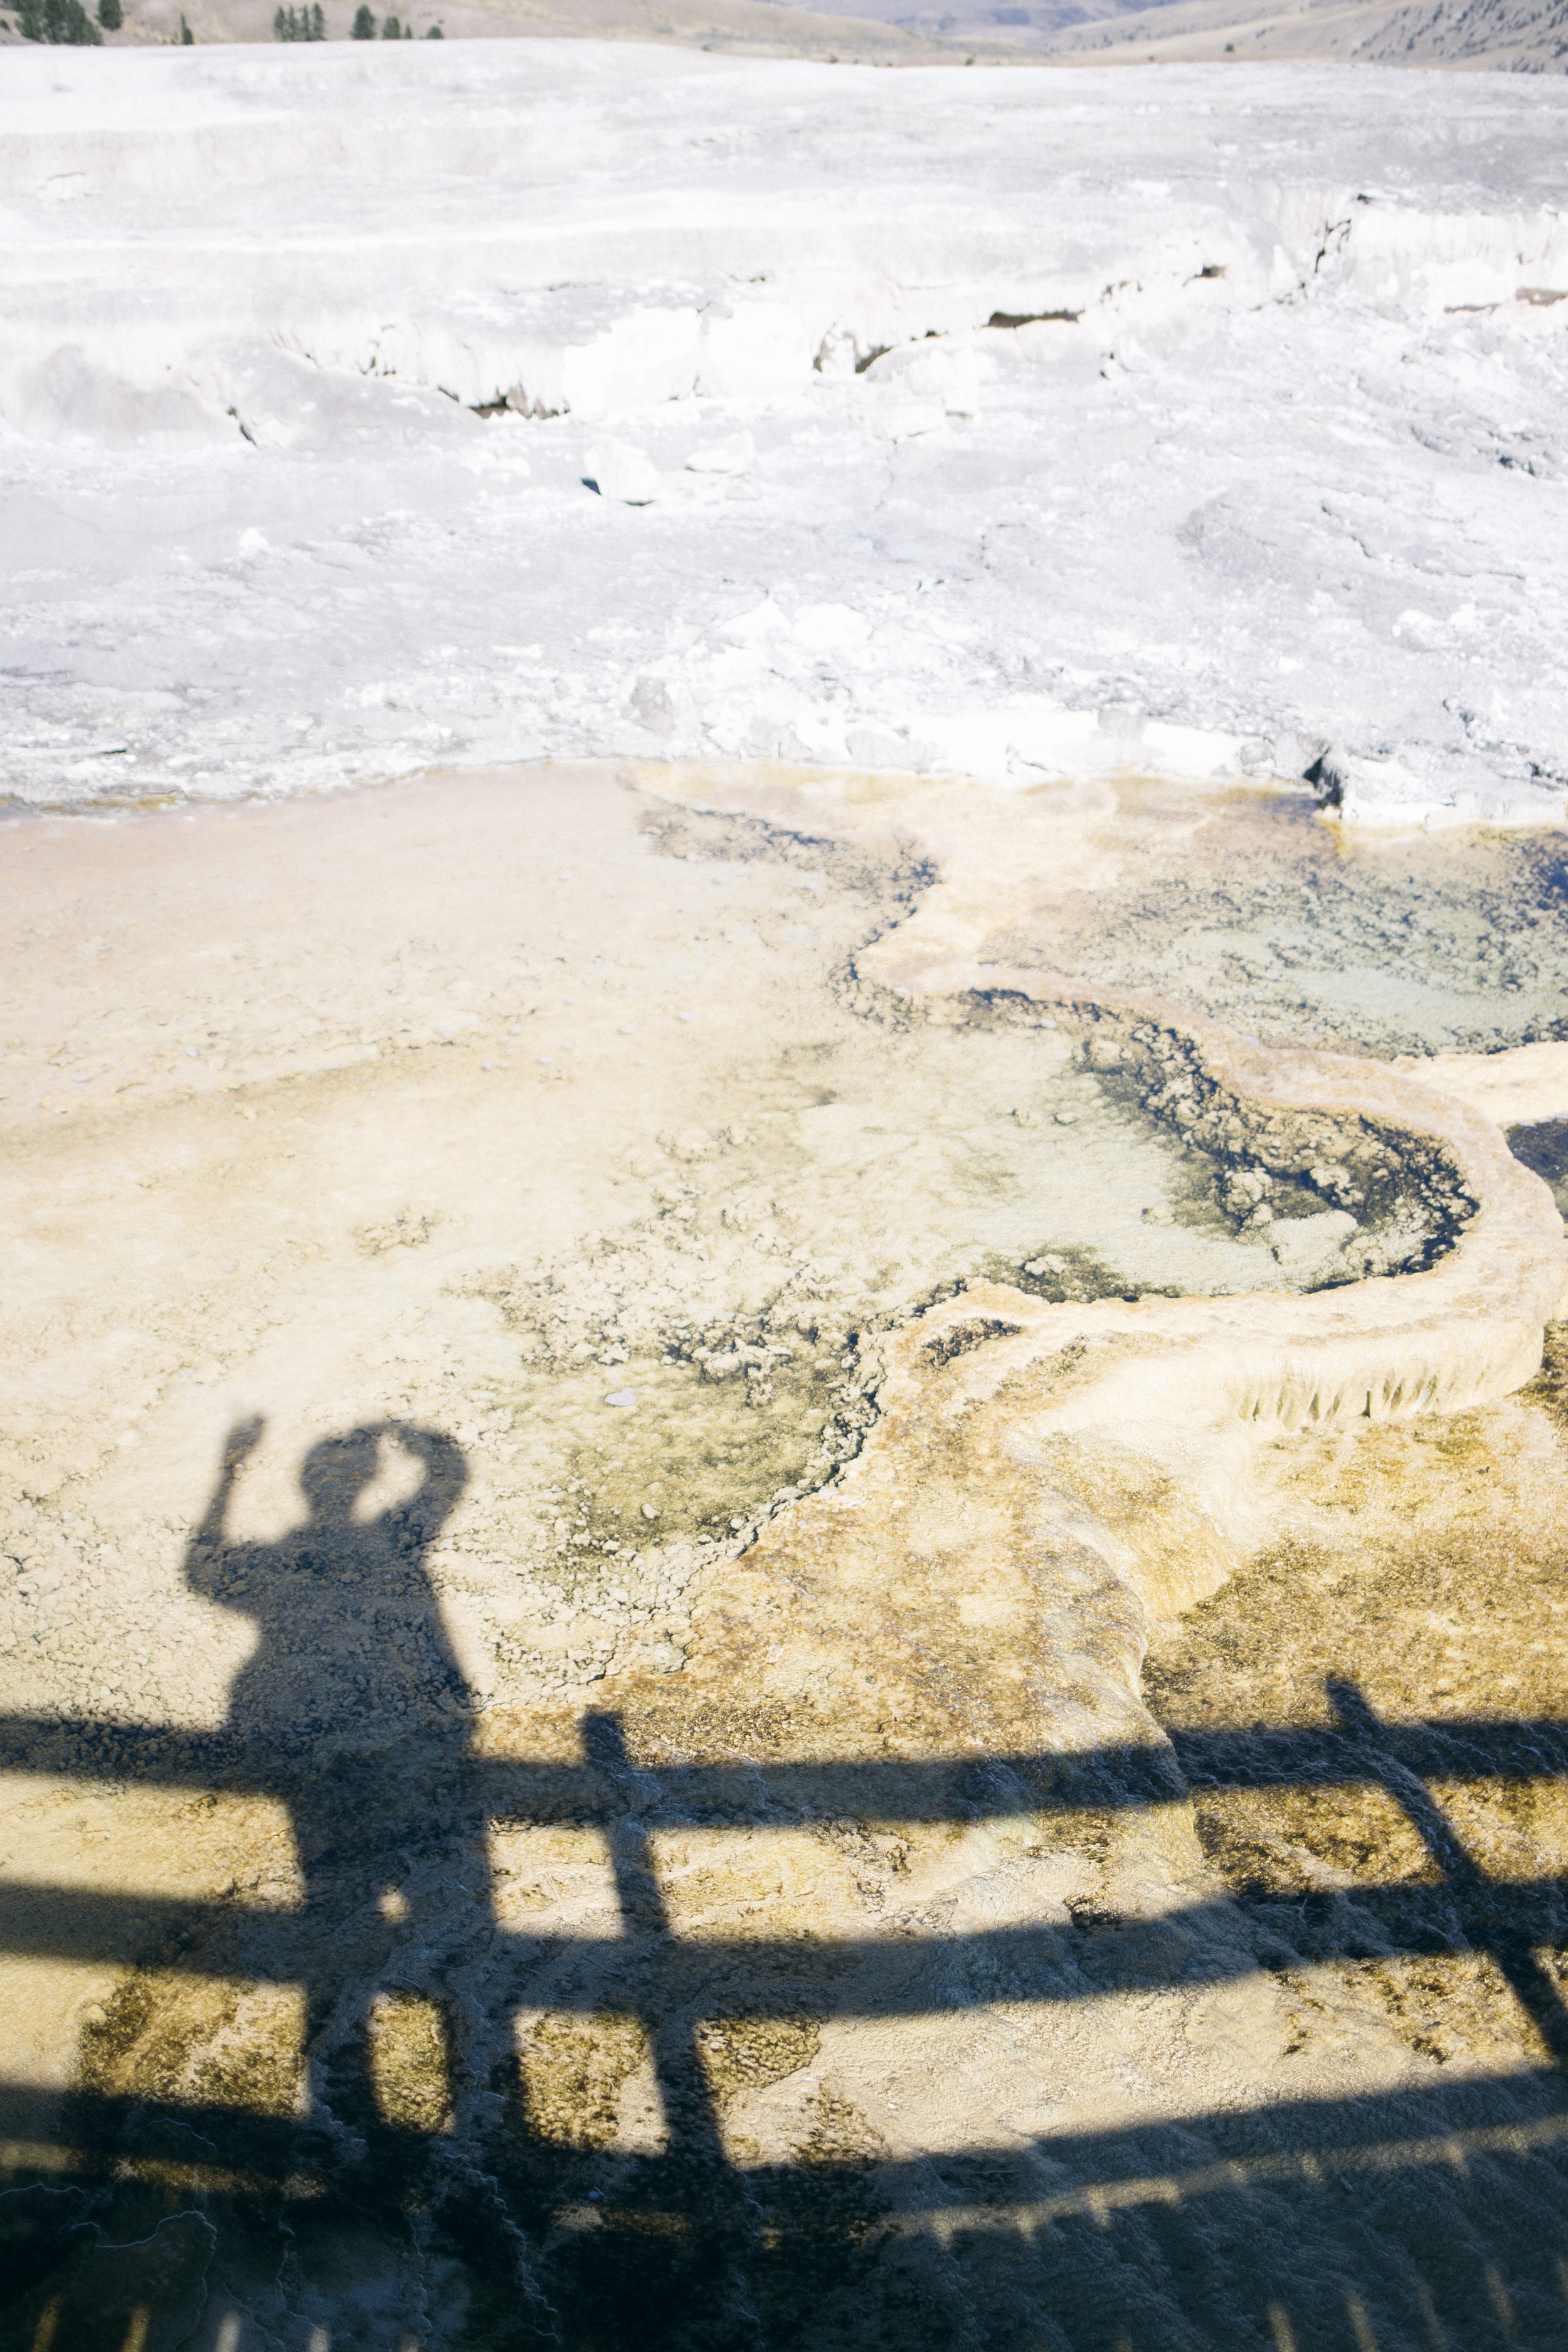
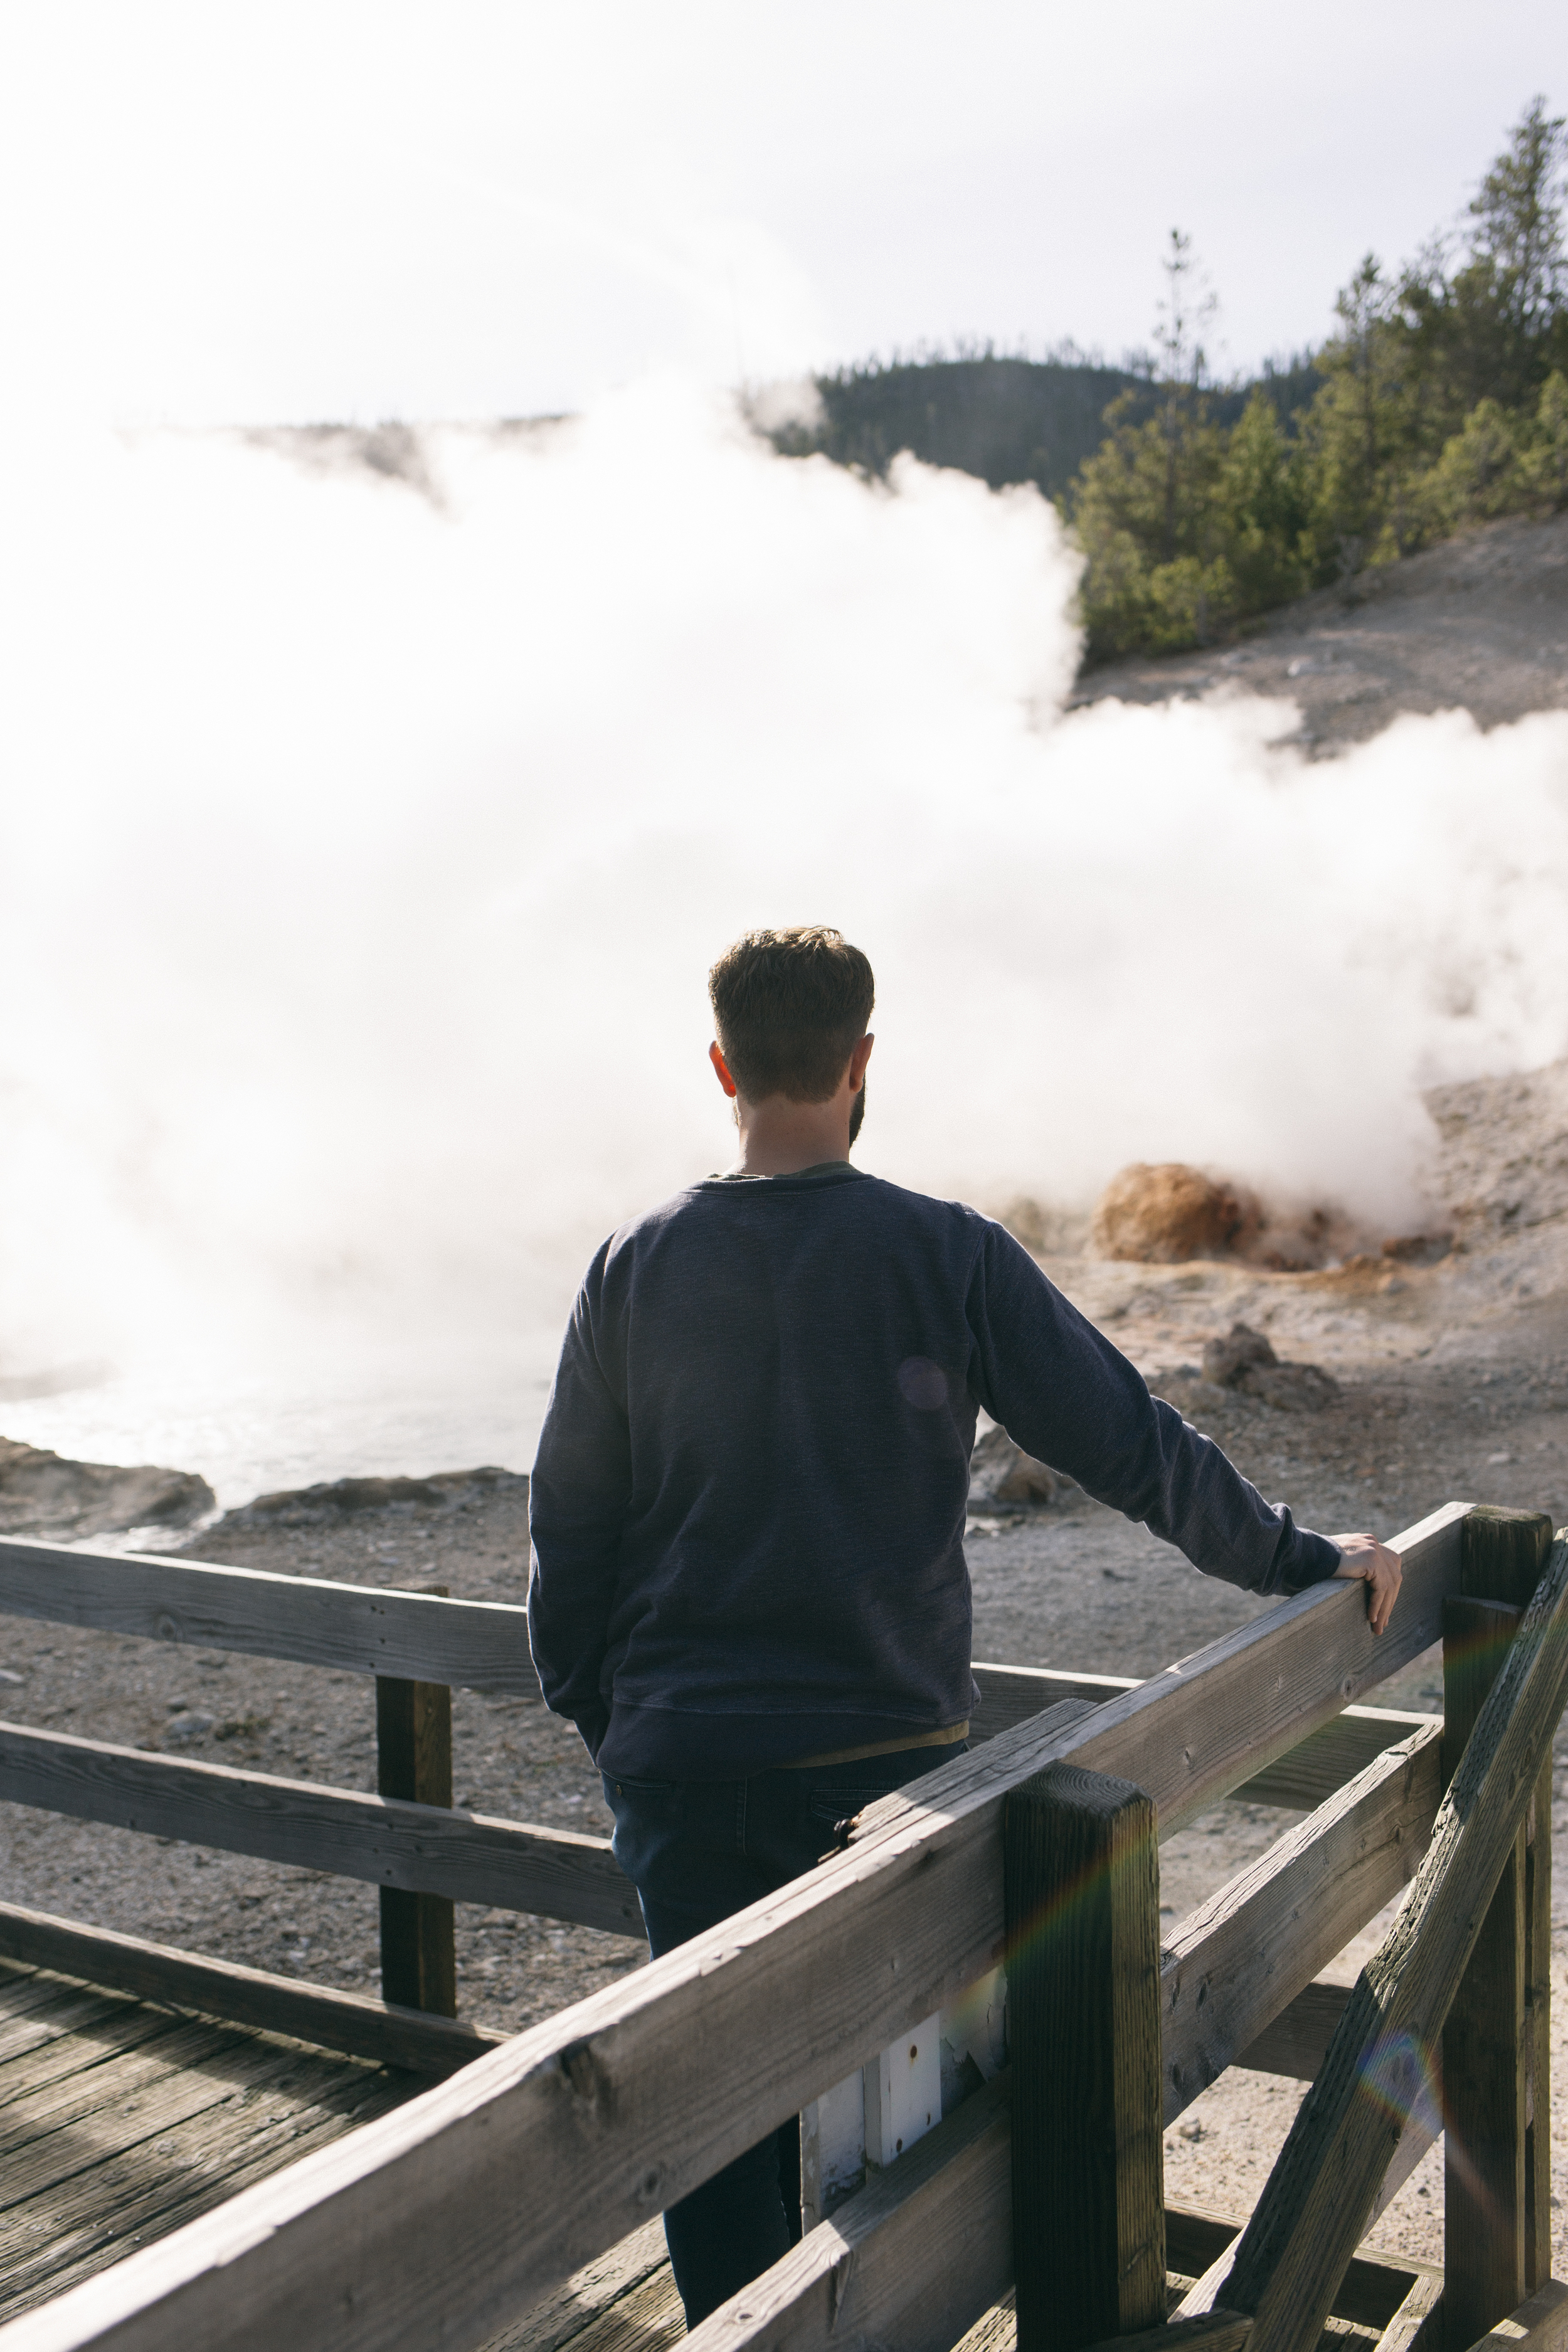
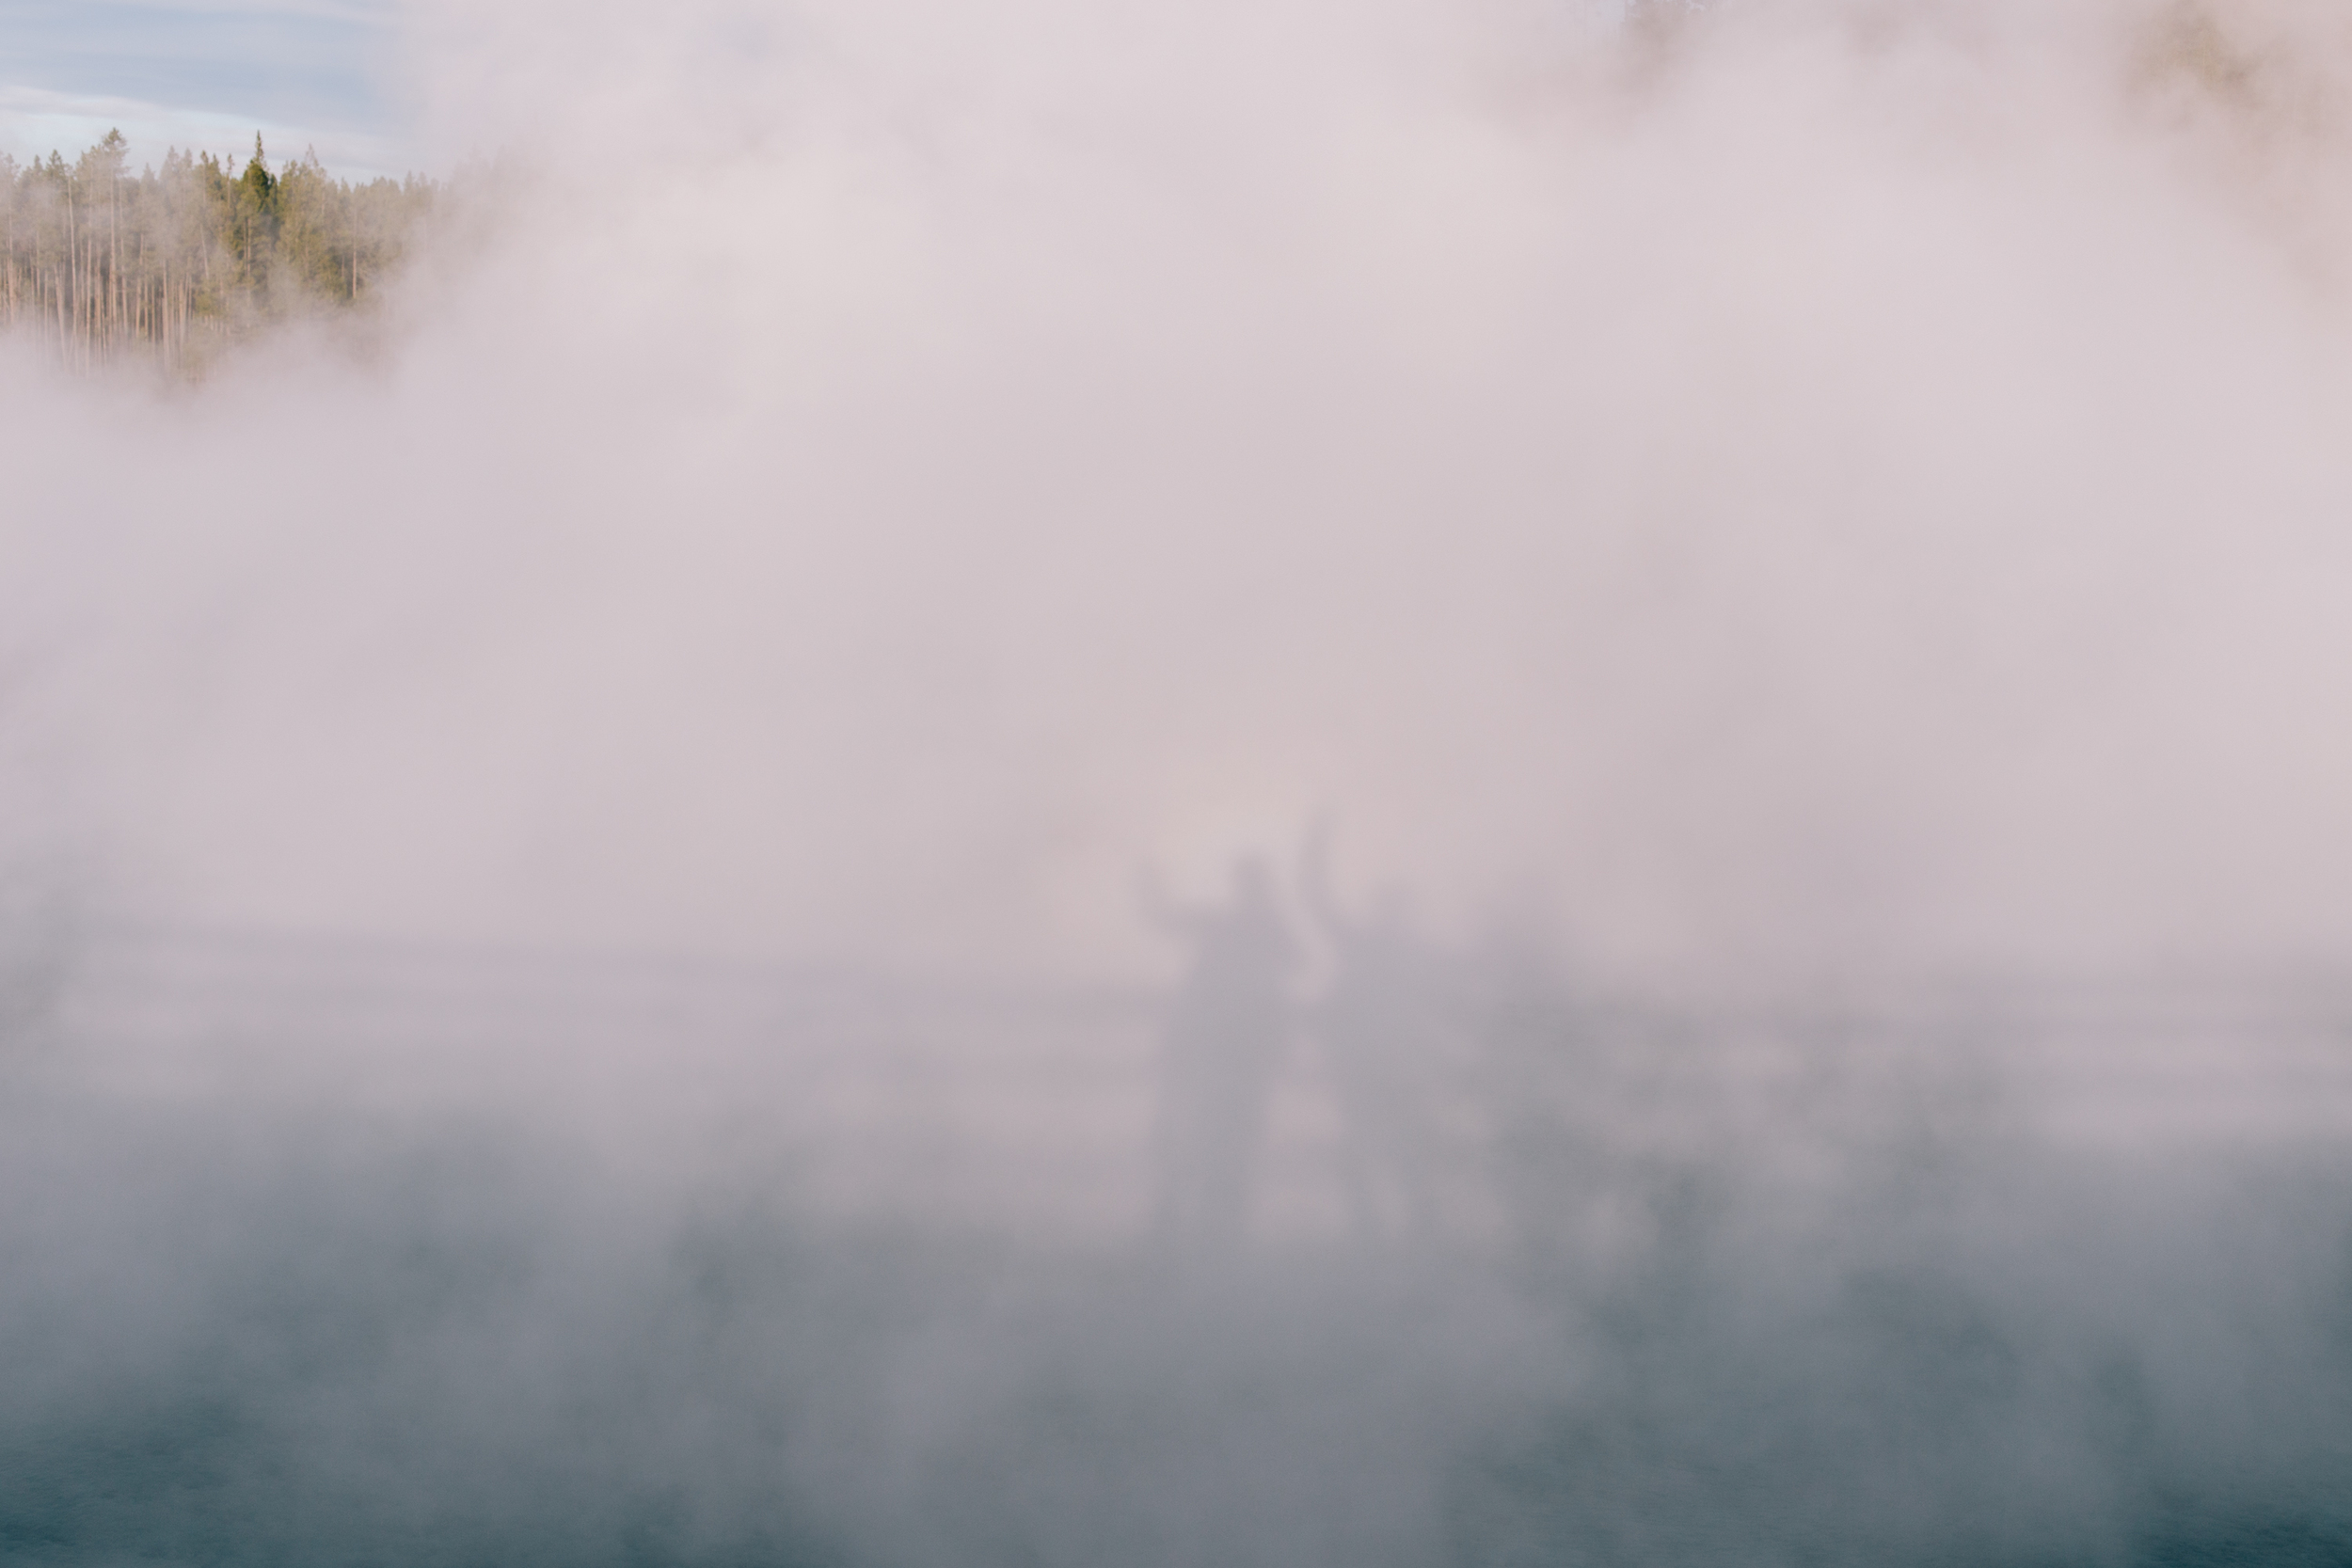
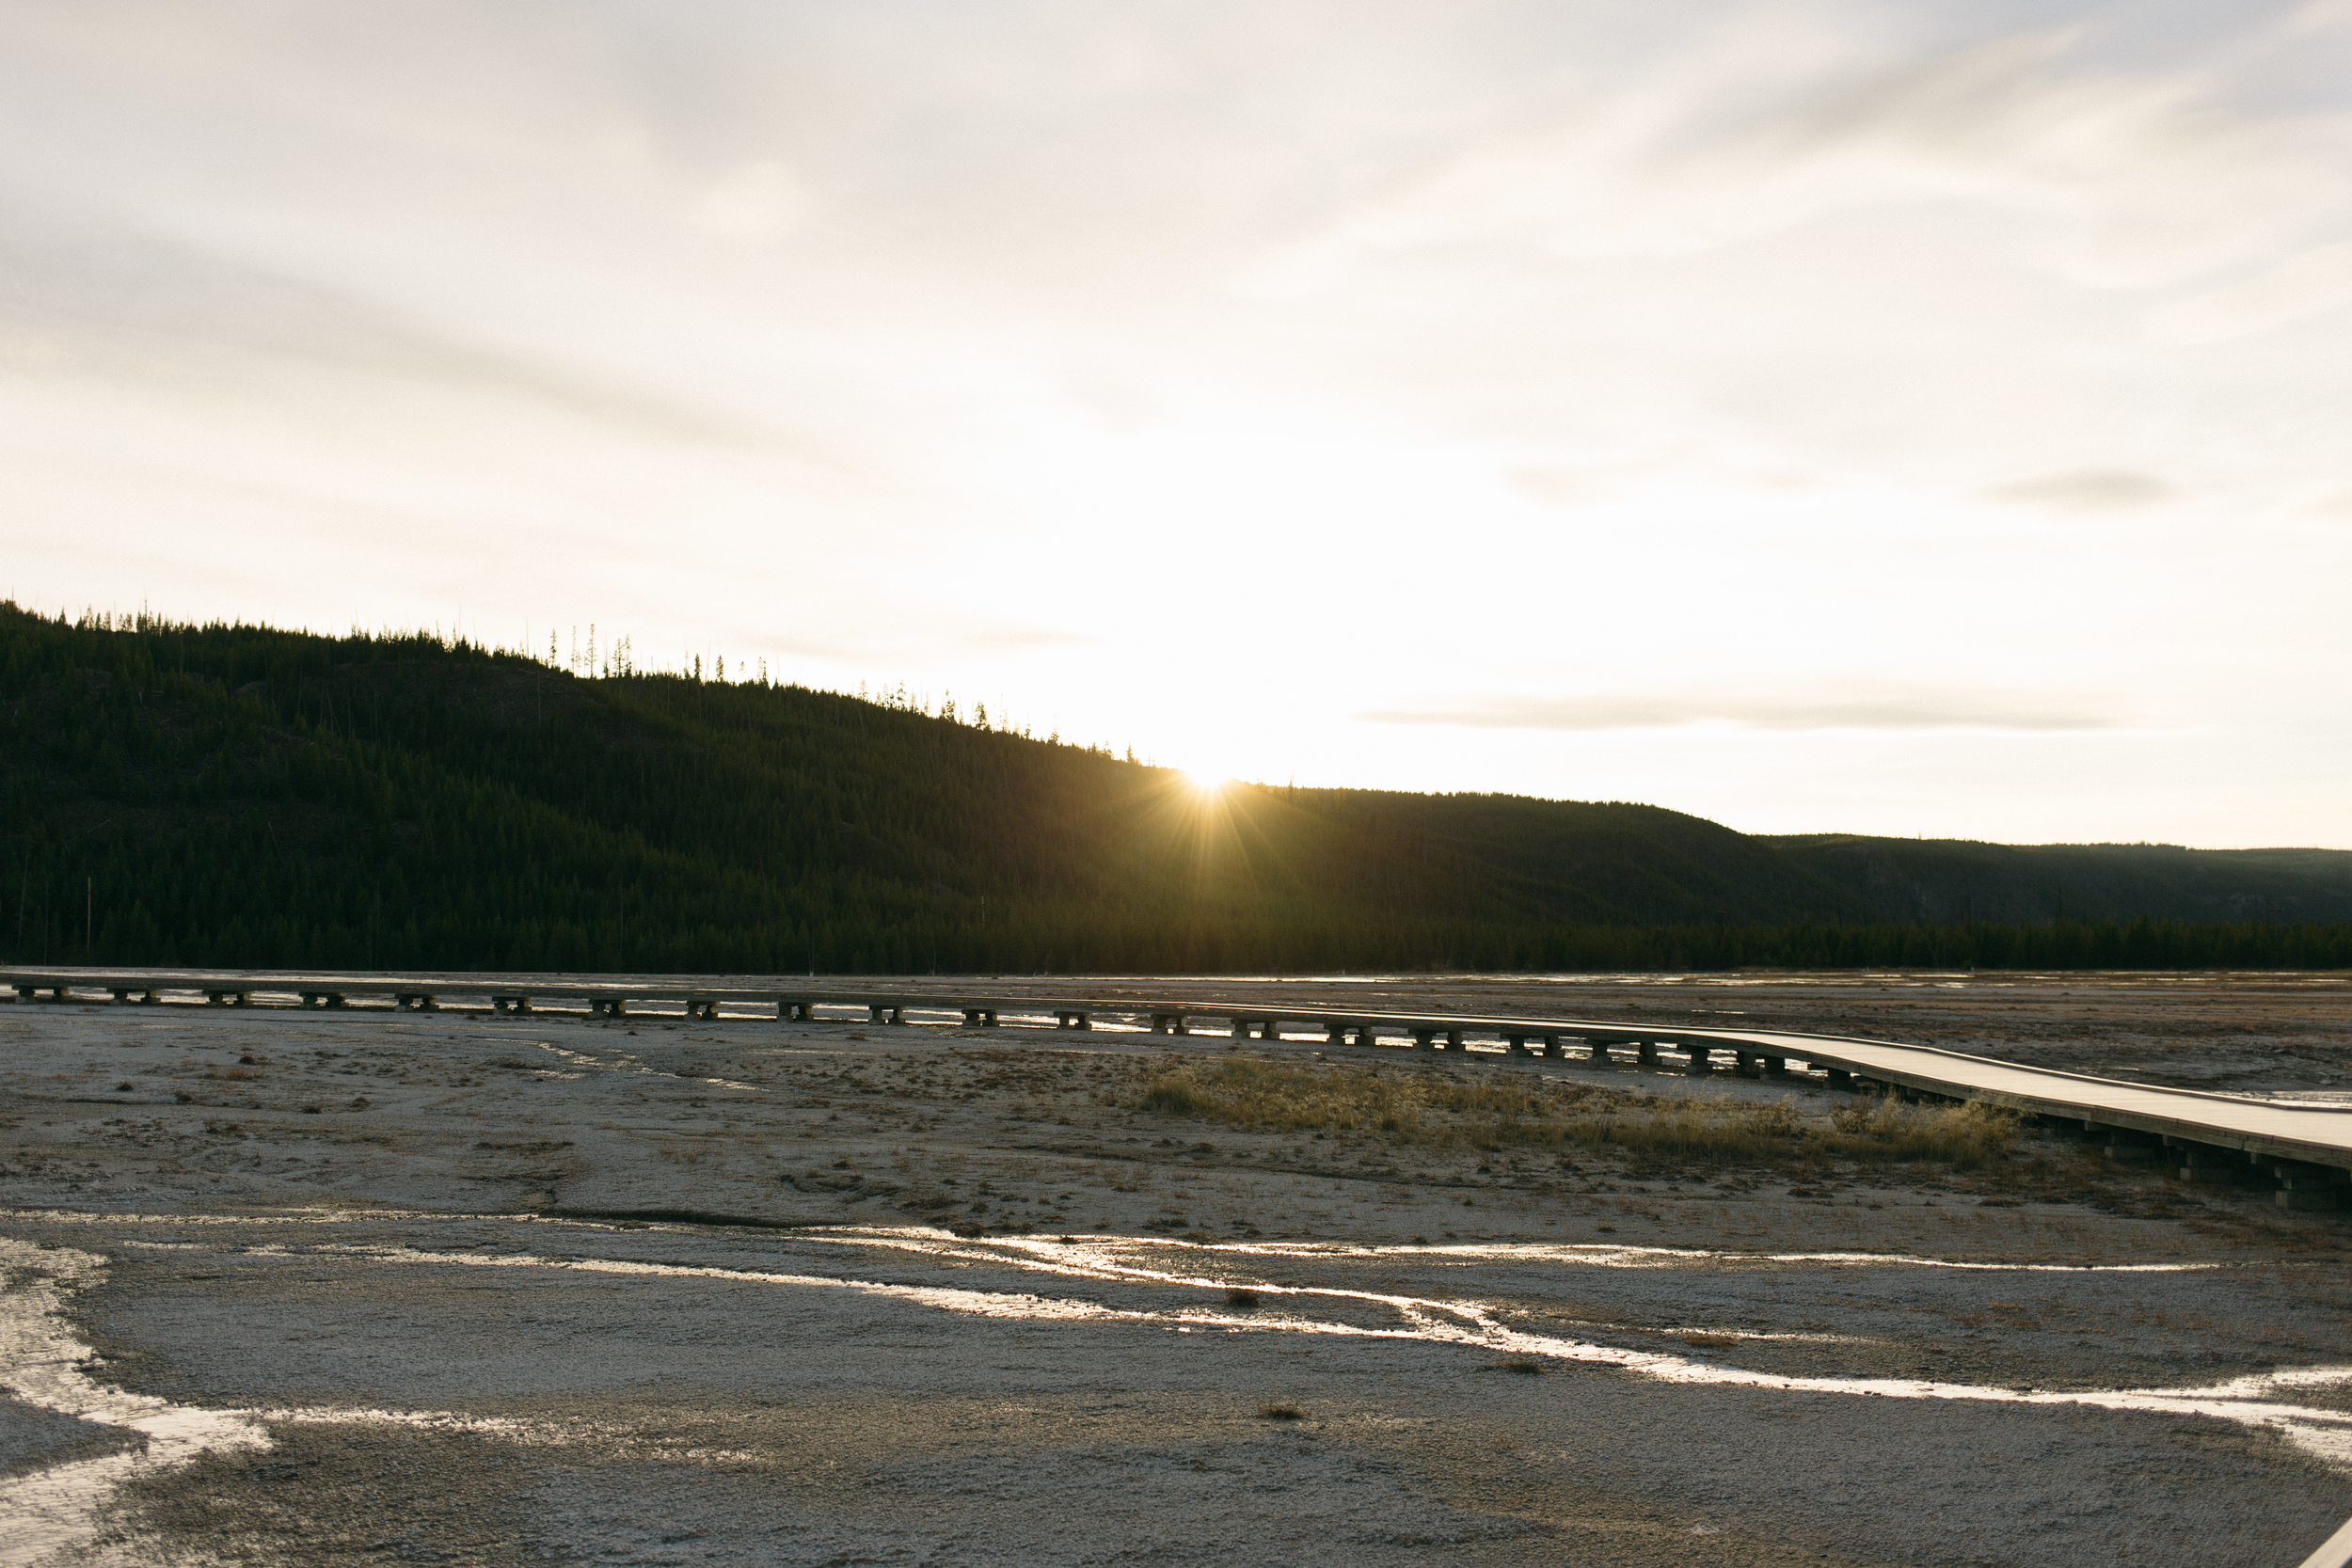
Yellowstone


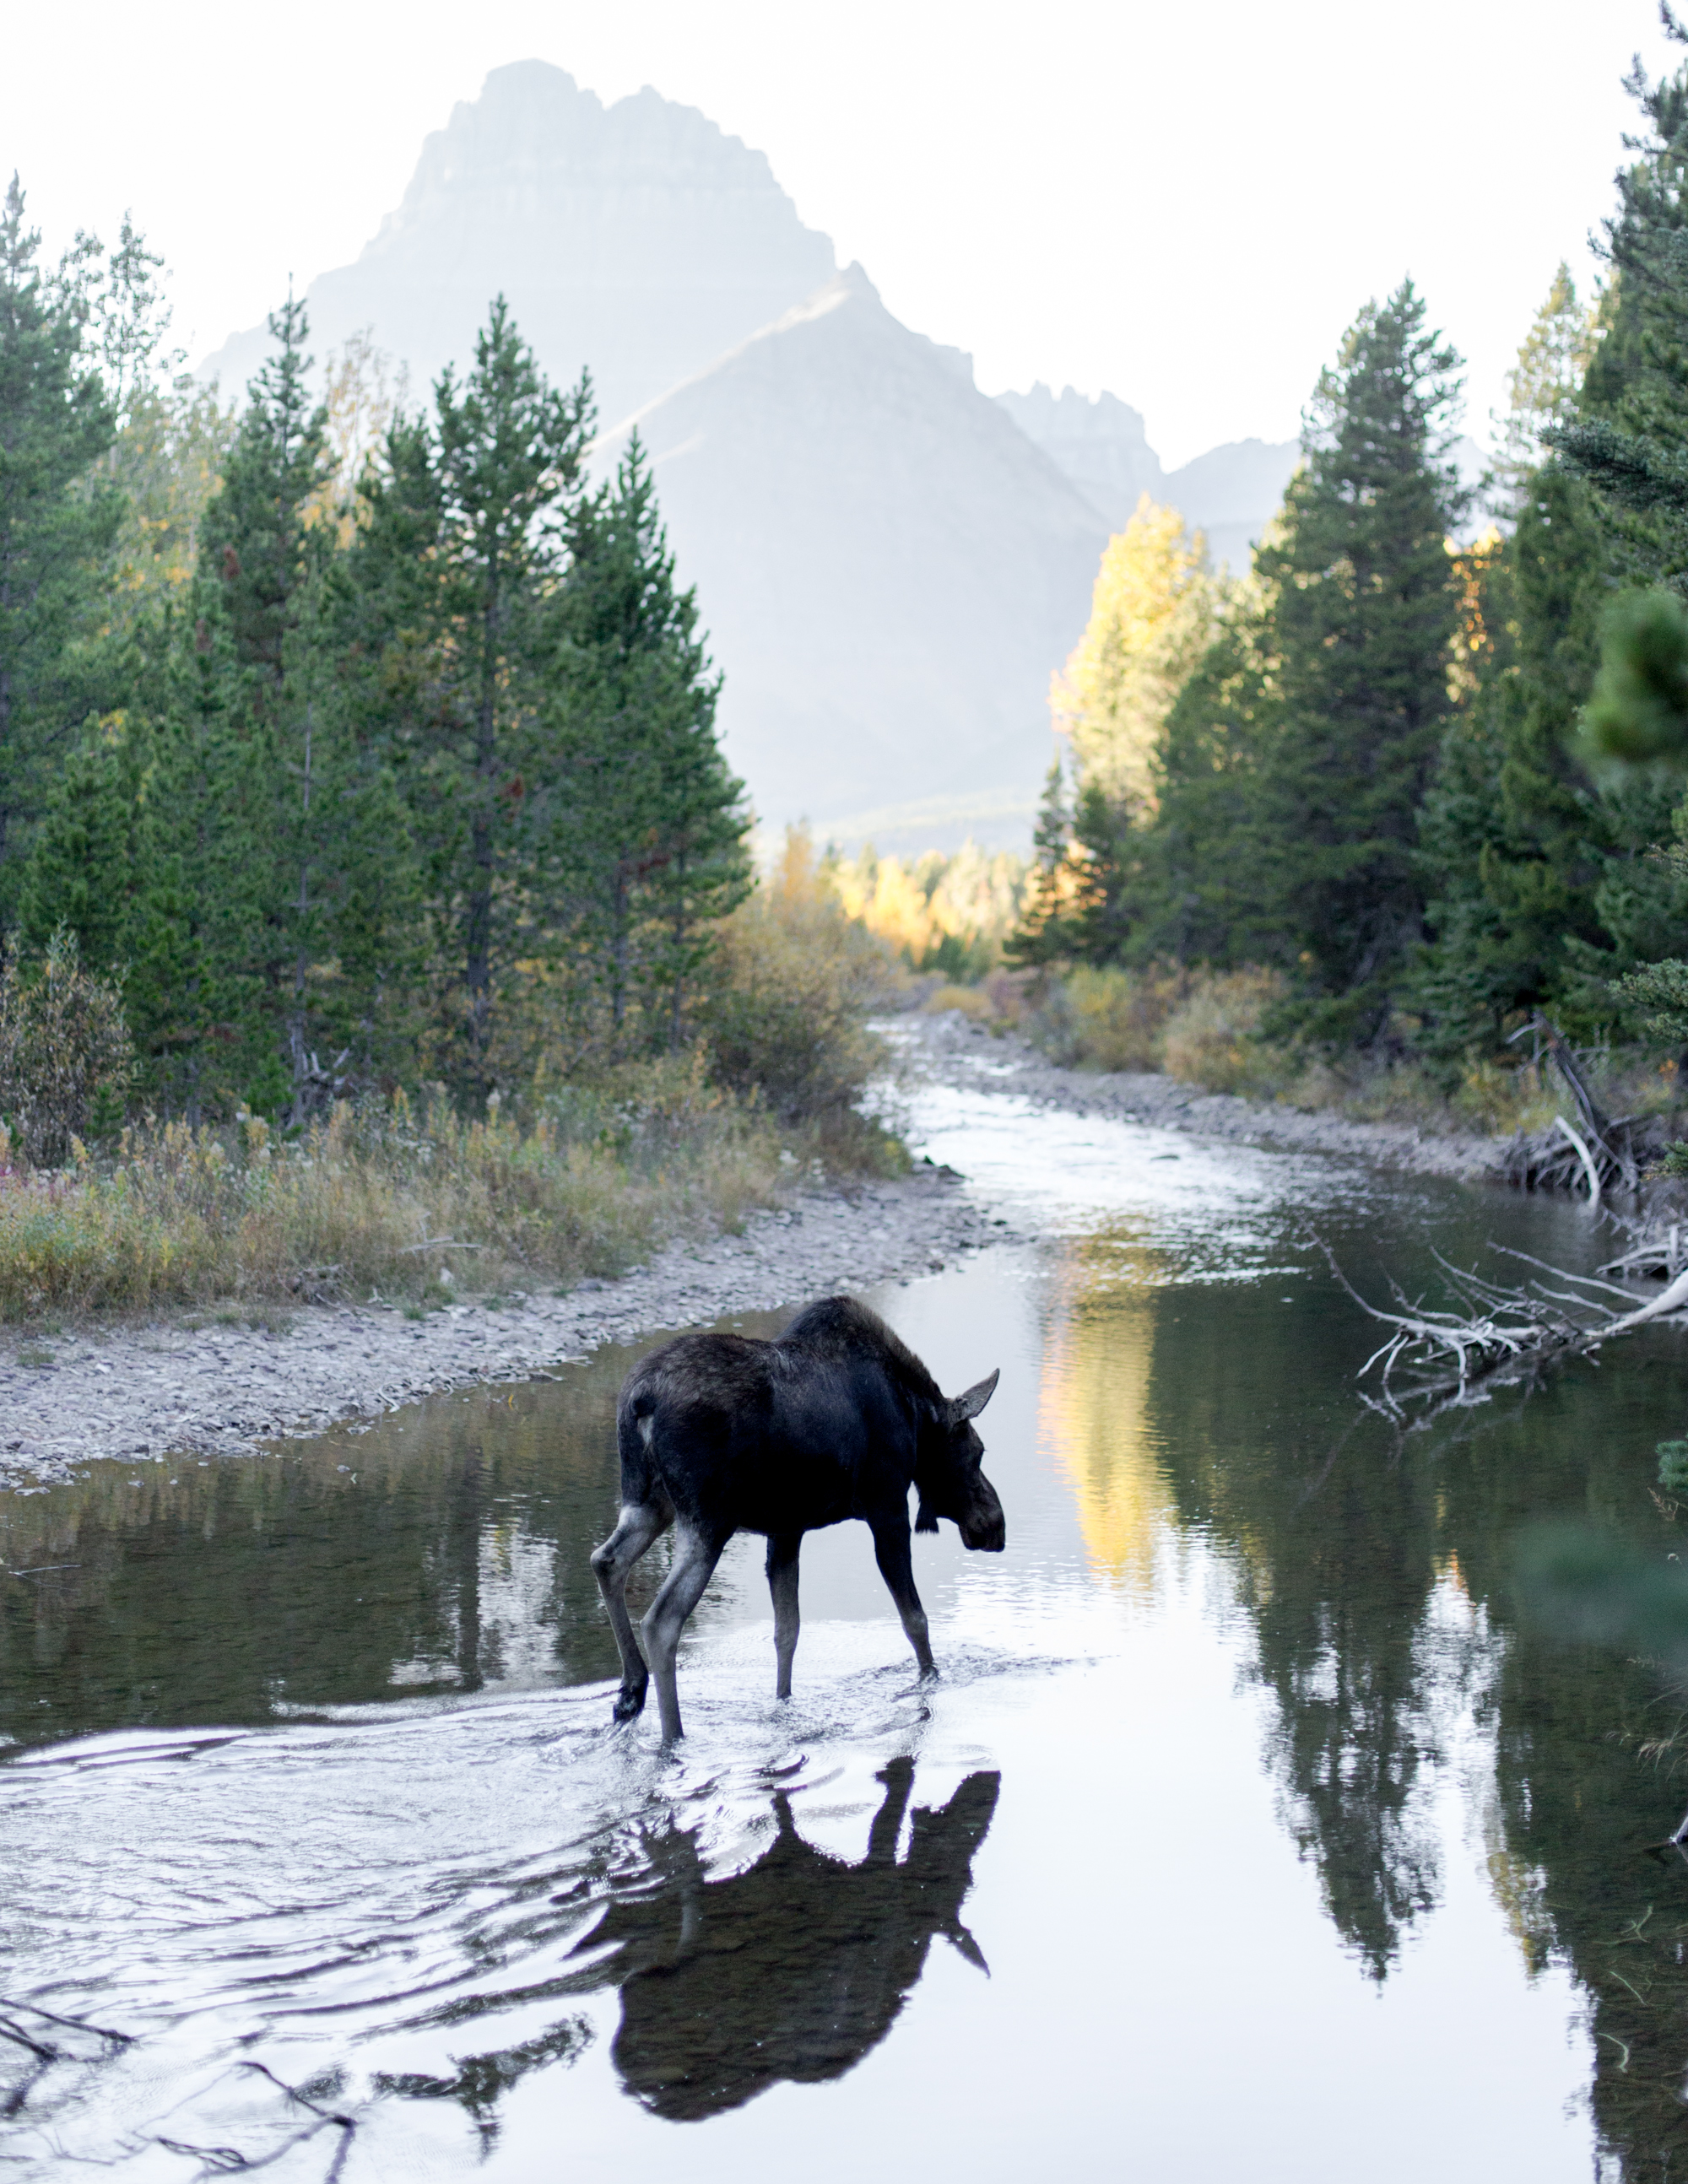
Glacier National Park


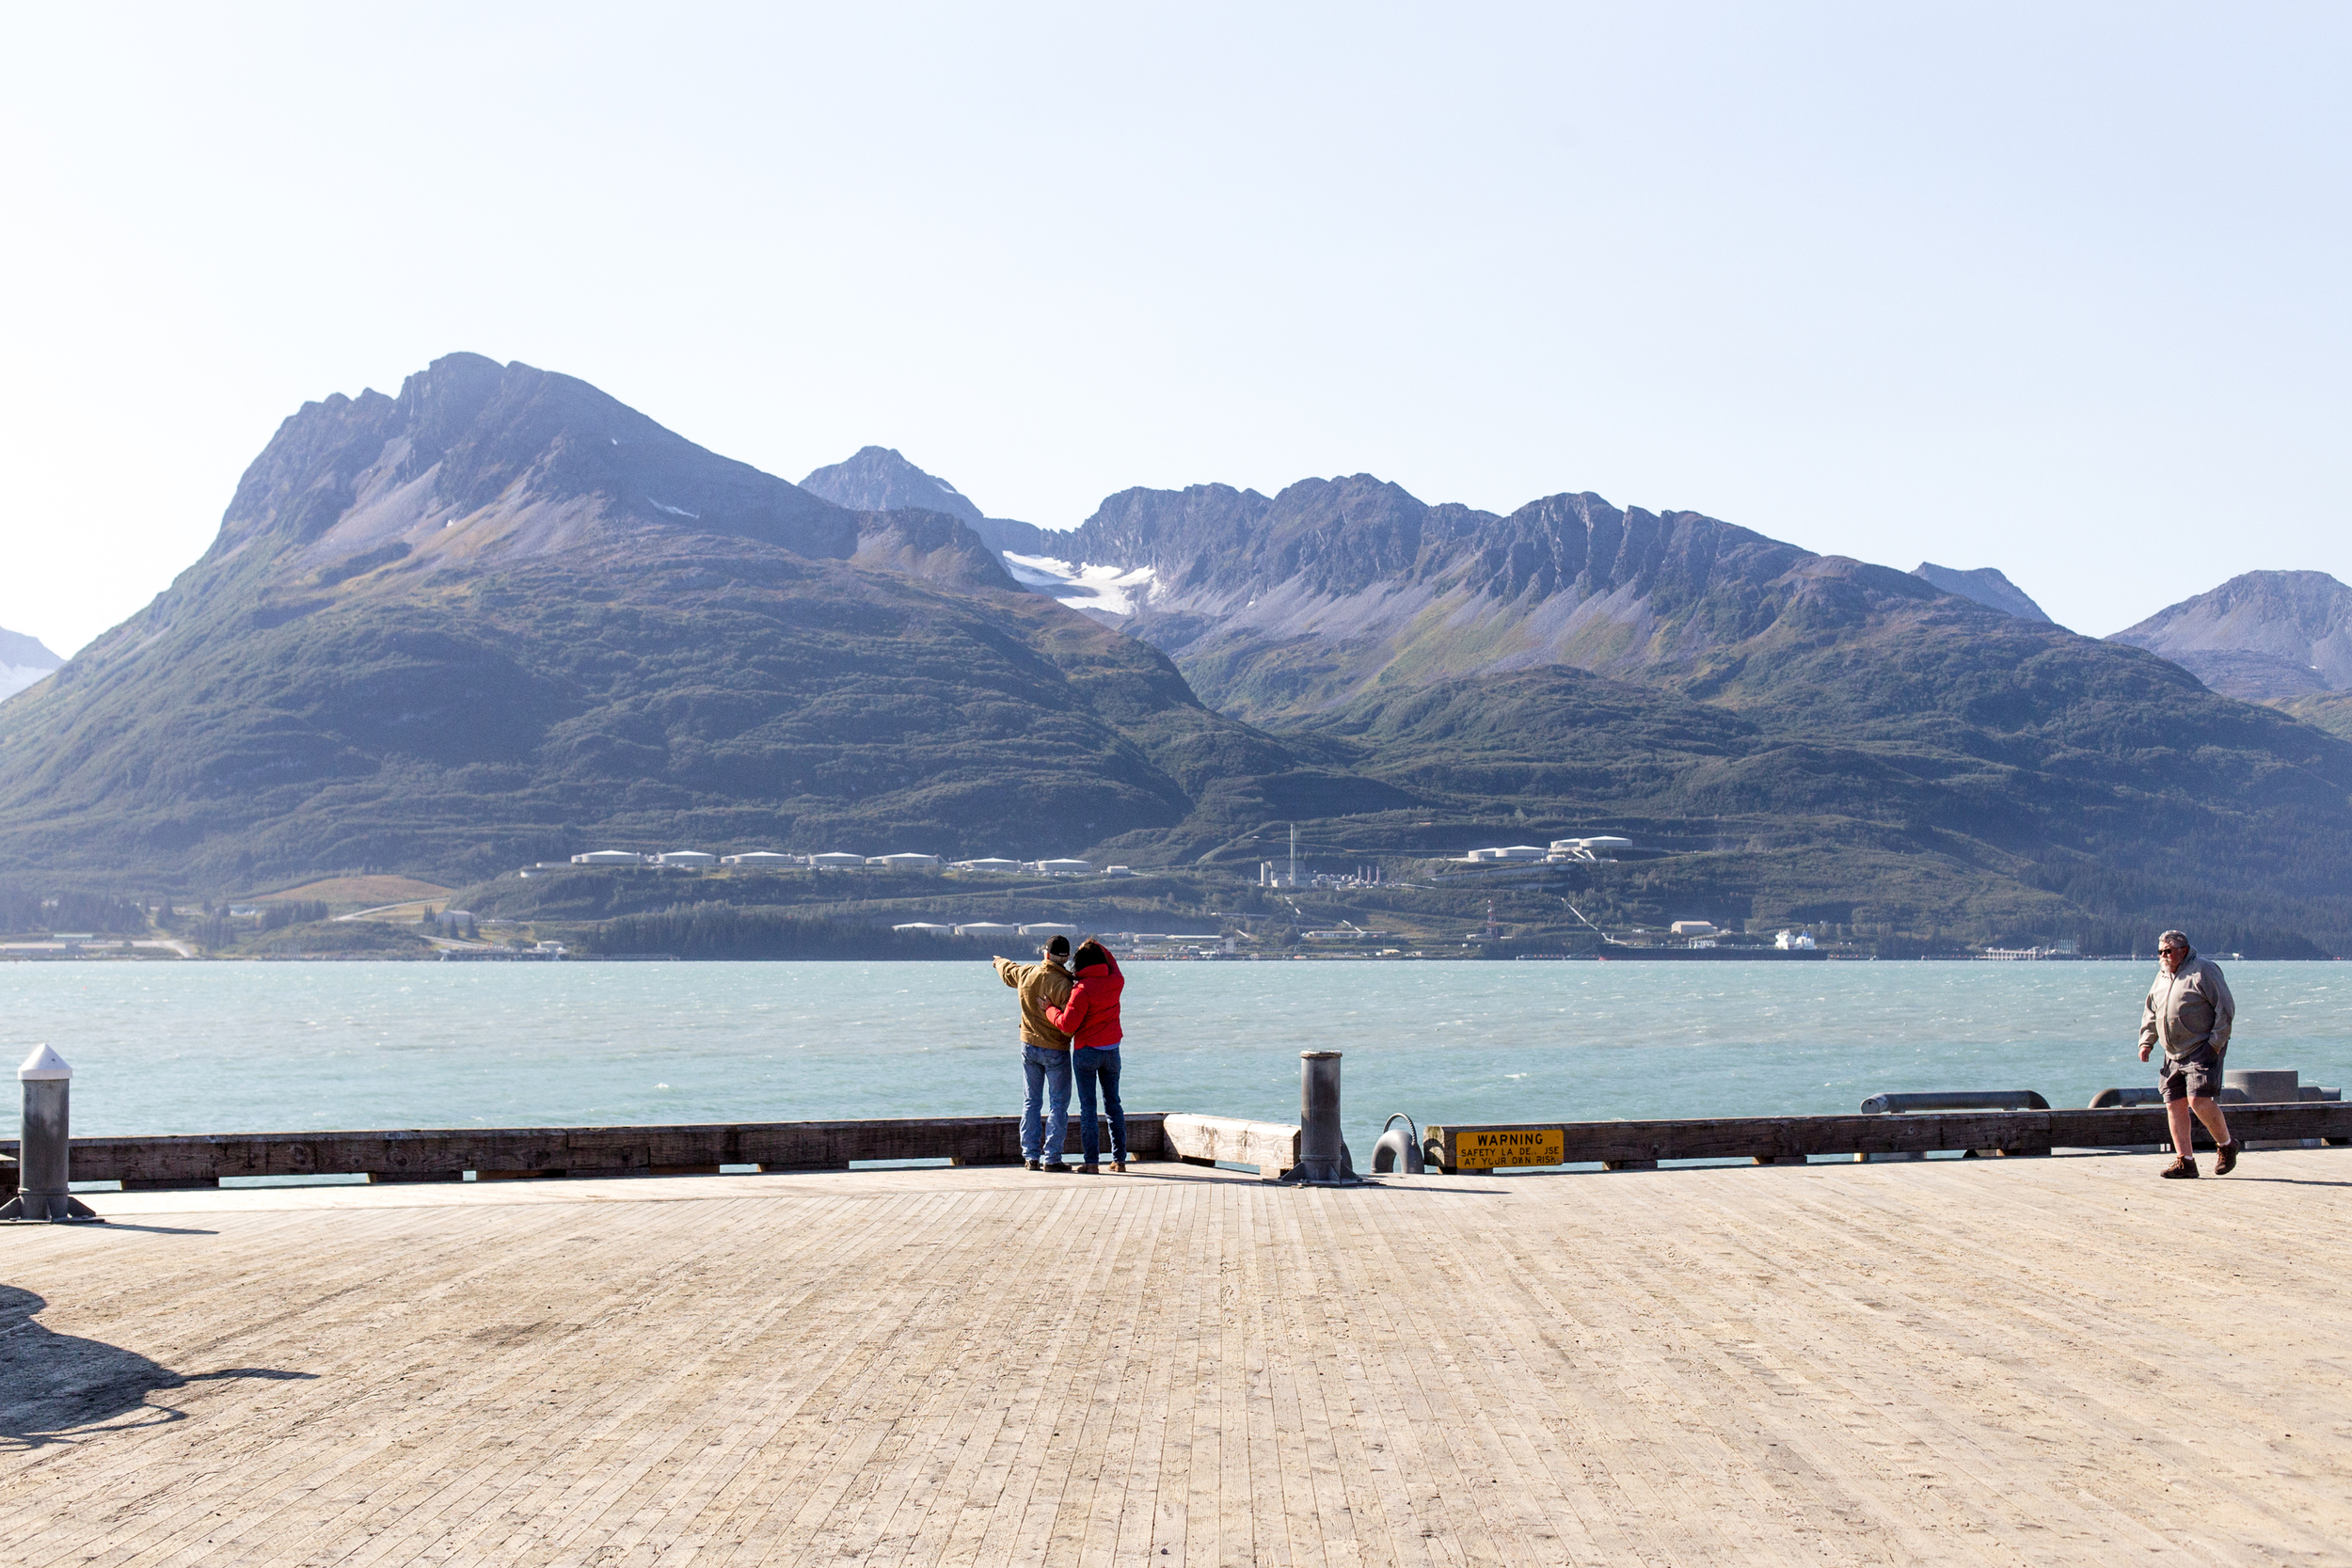
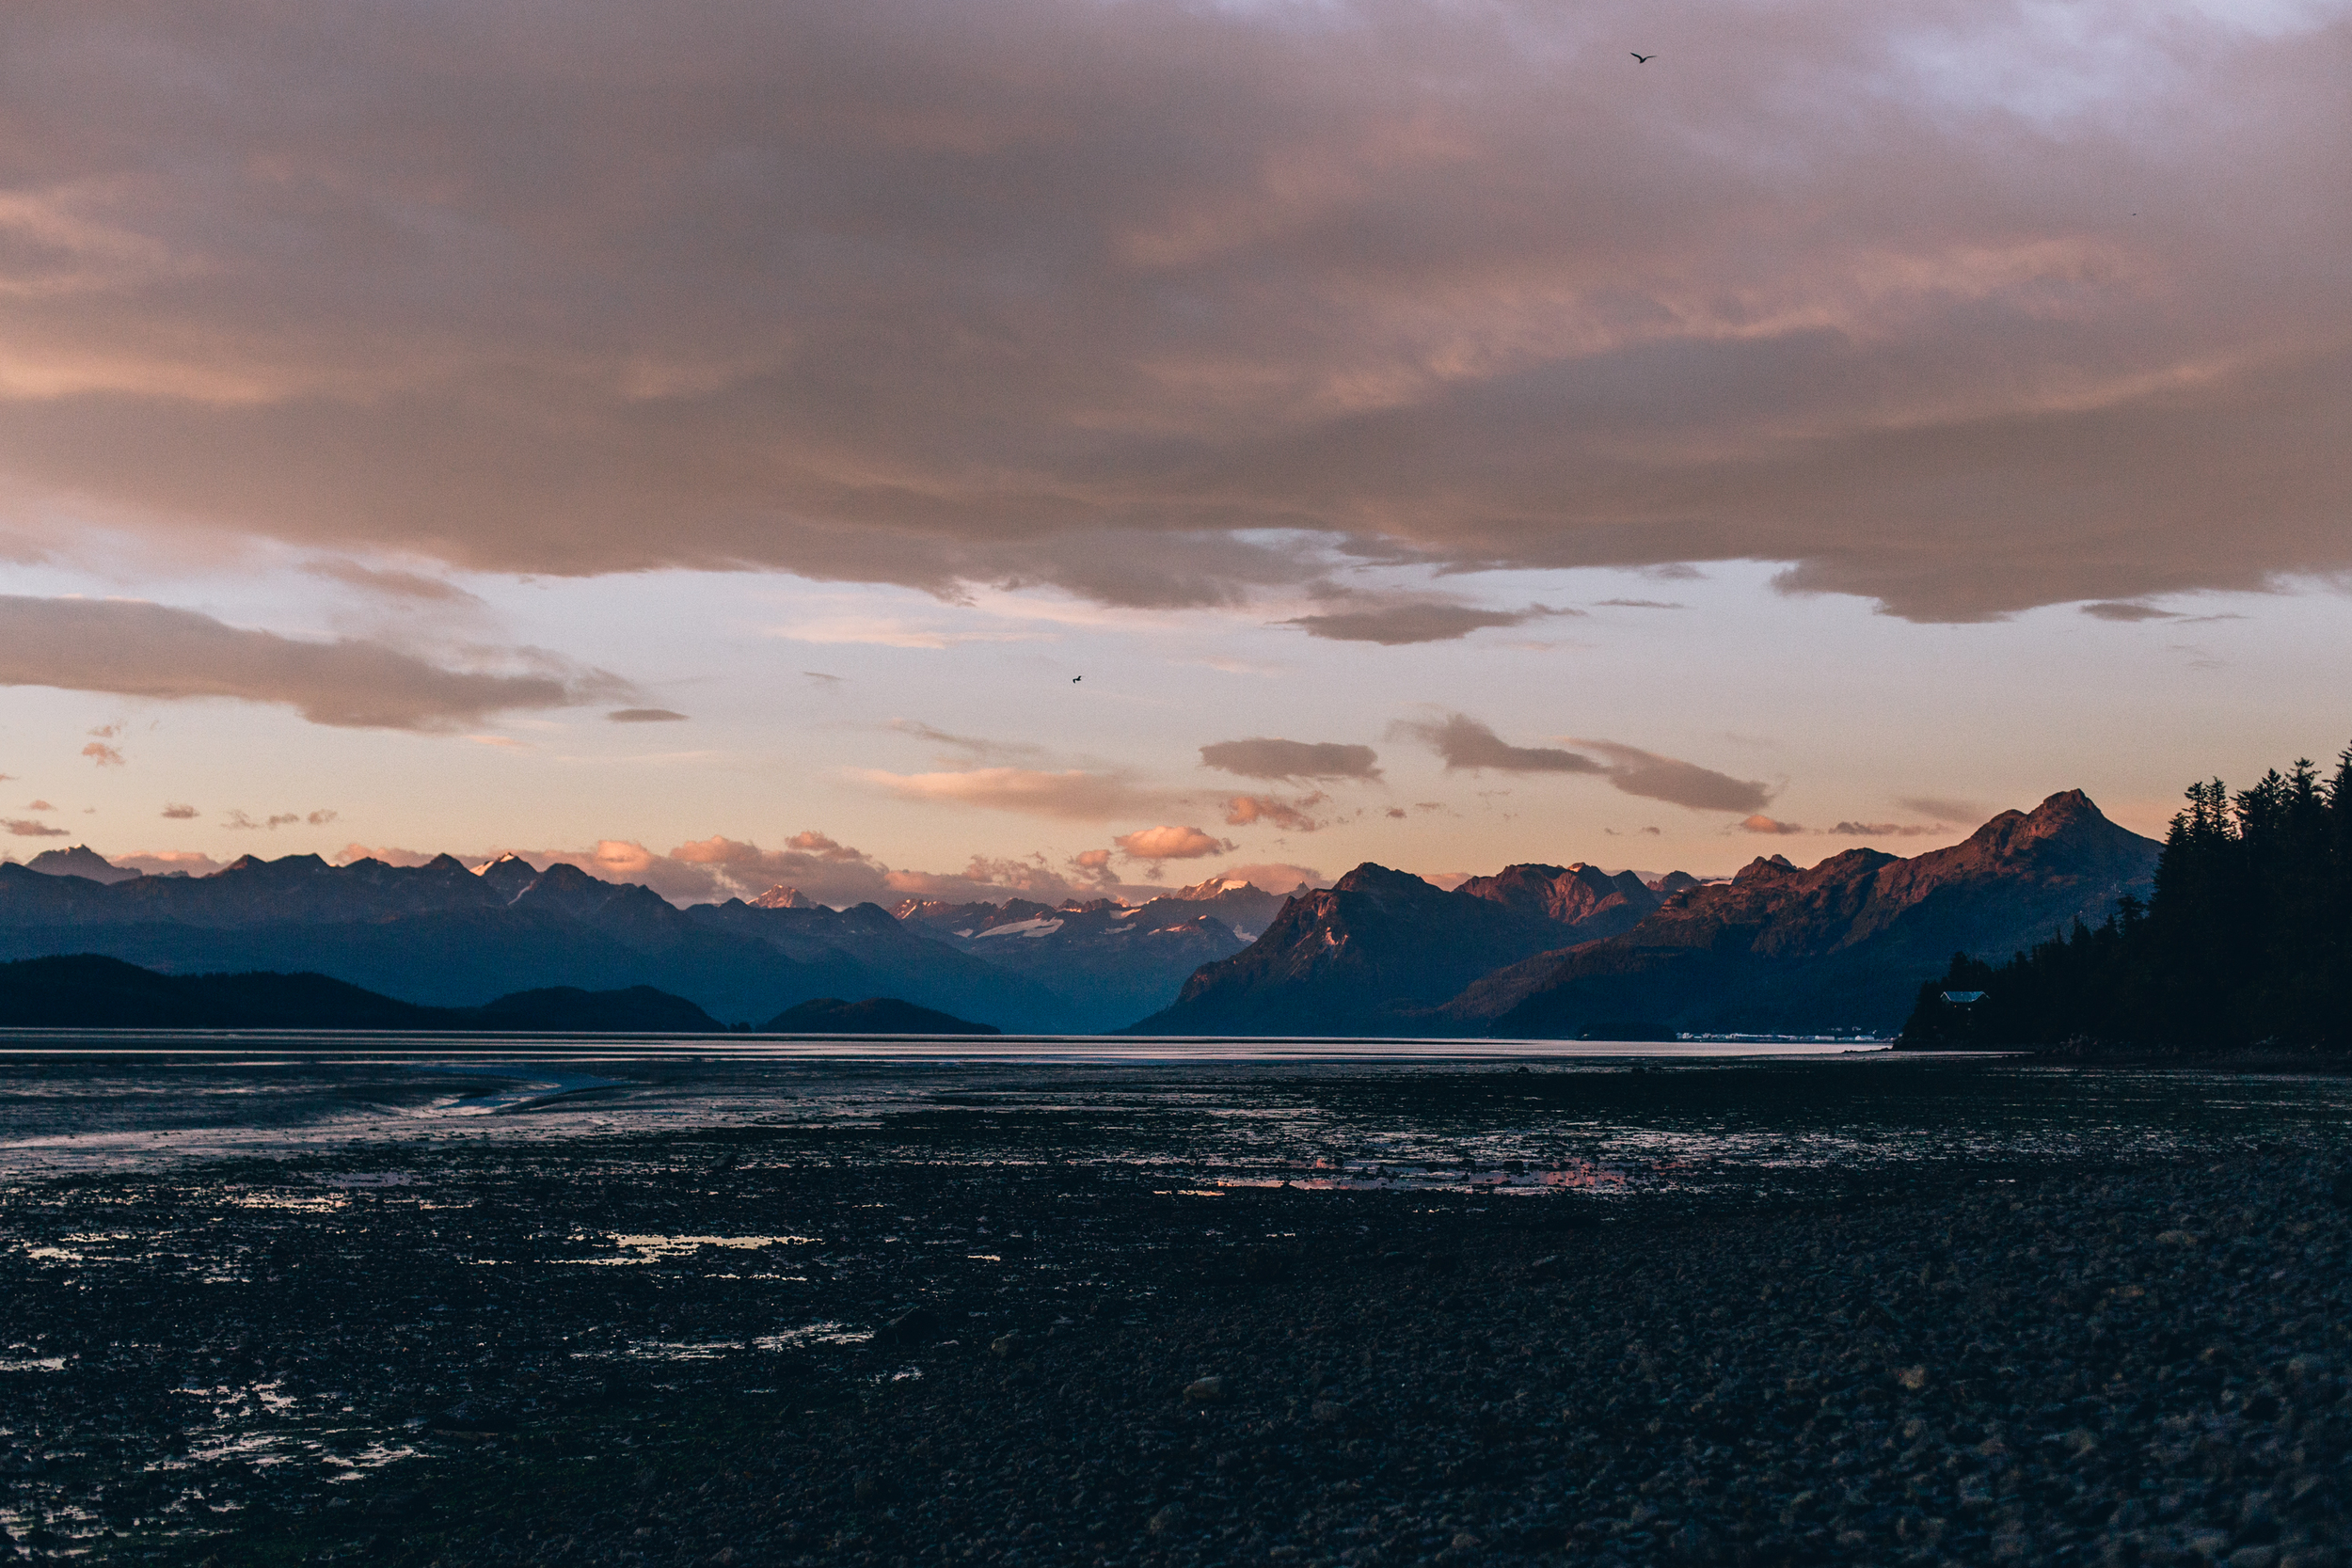
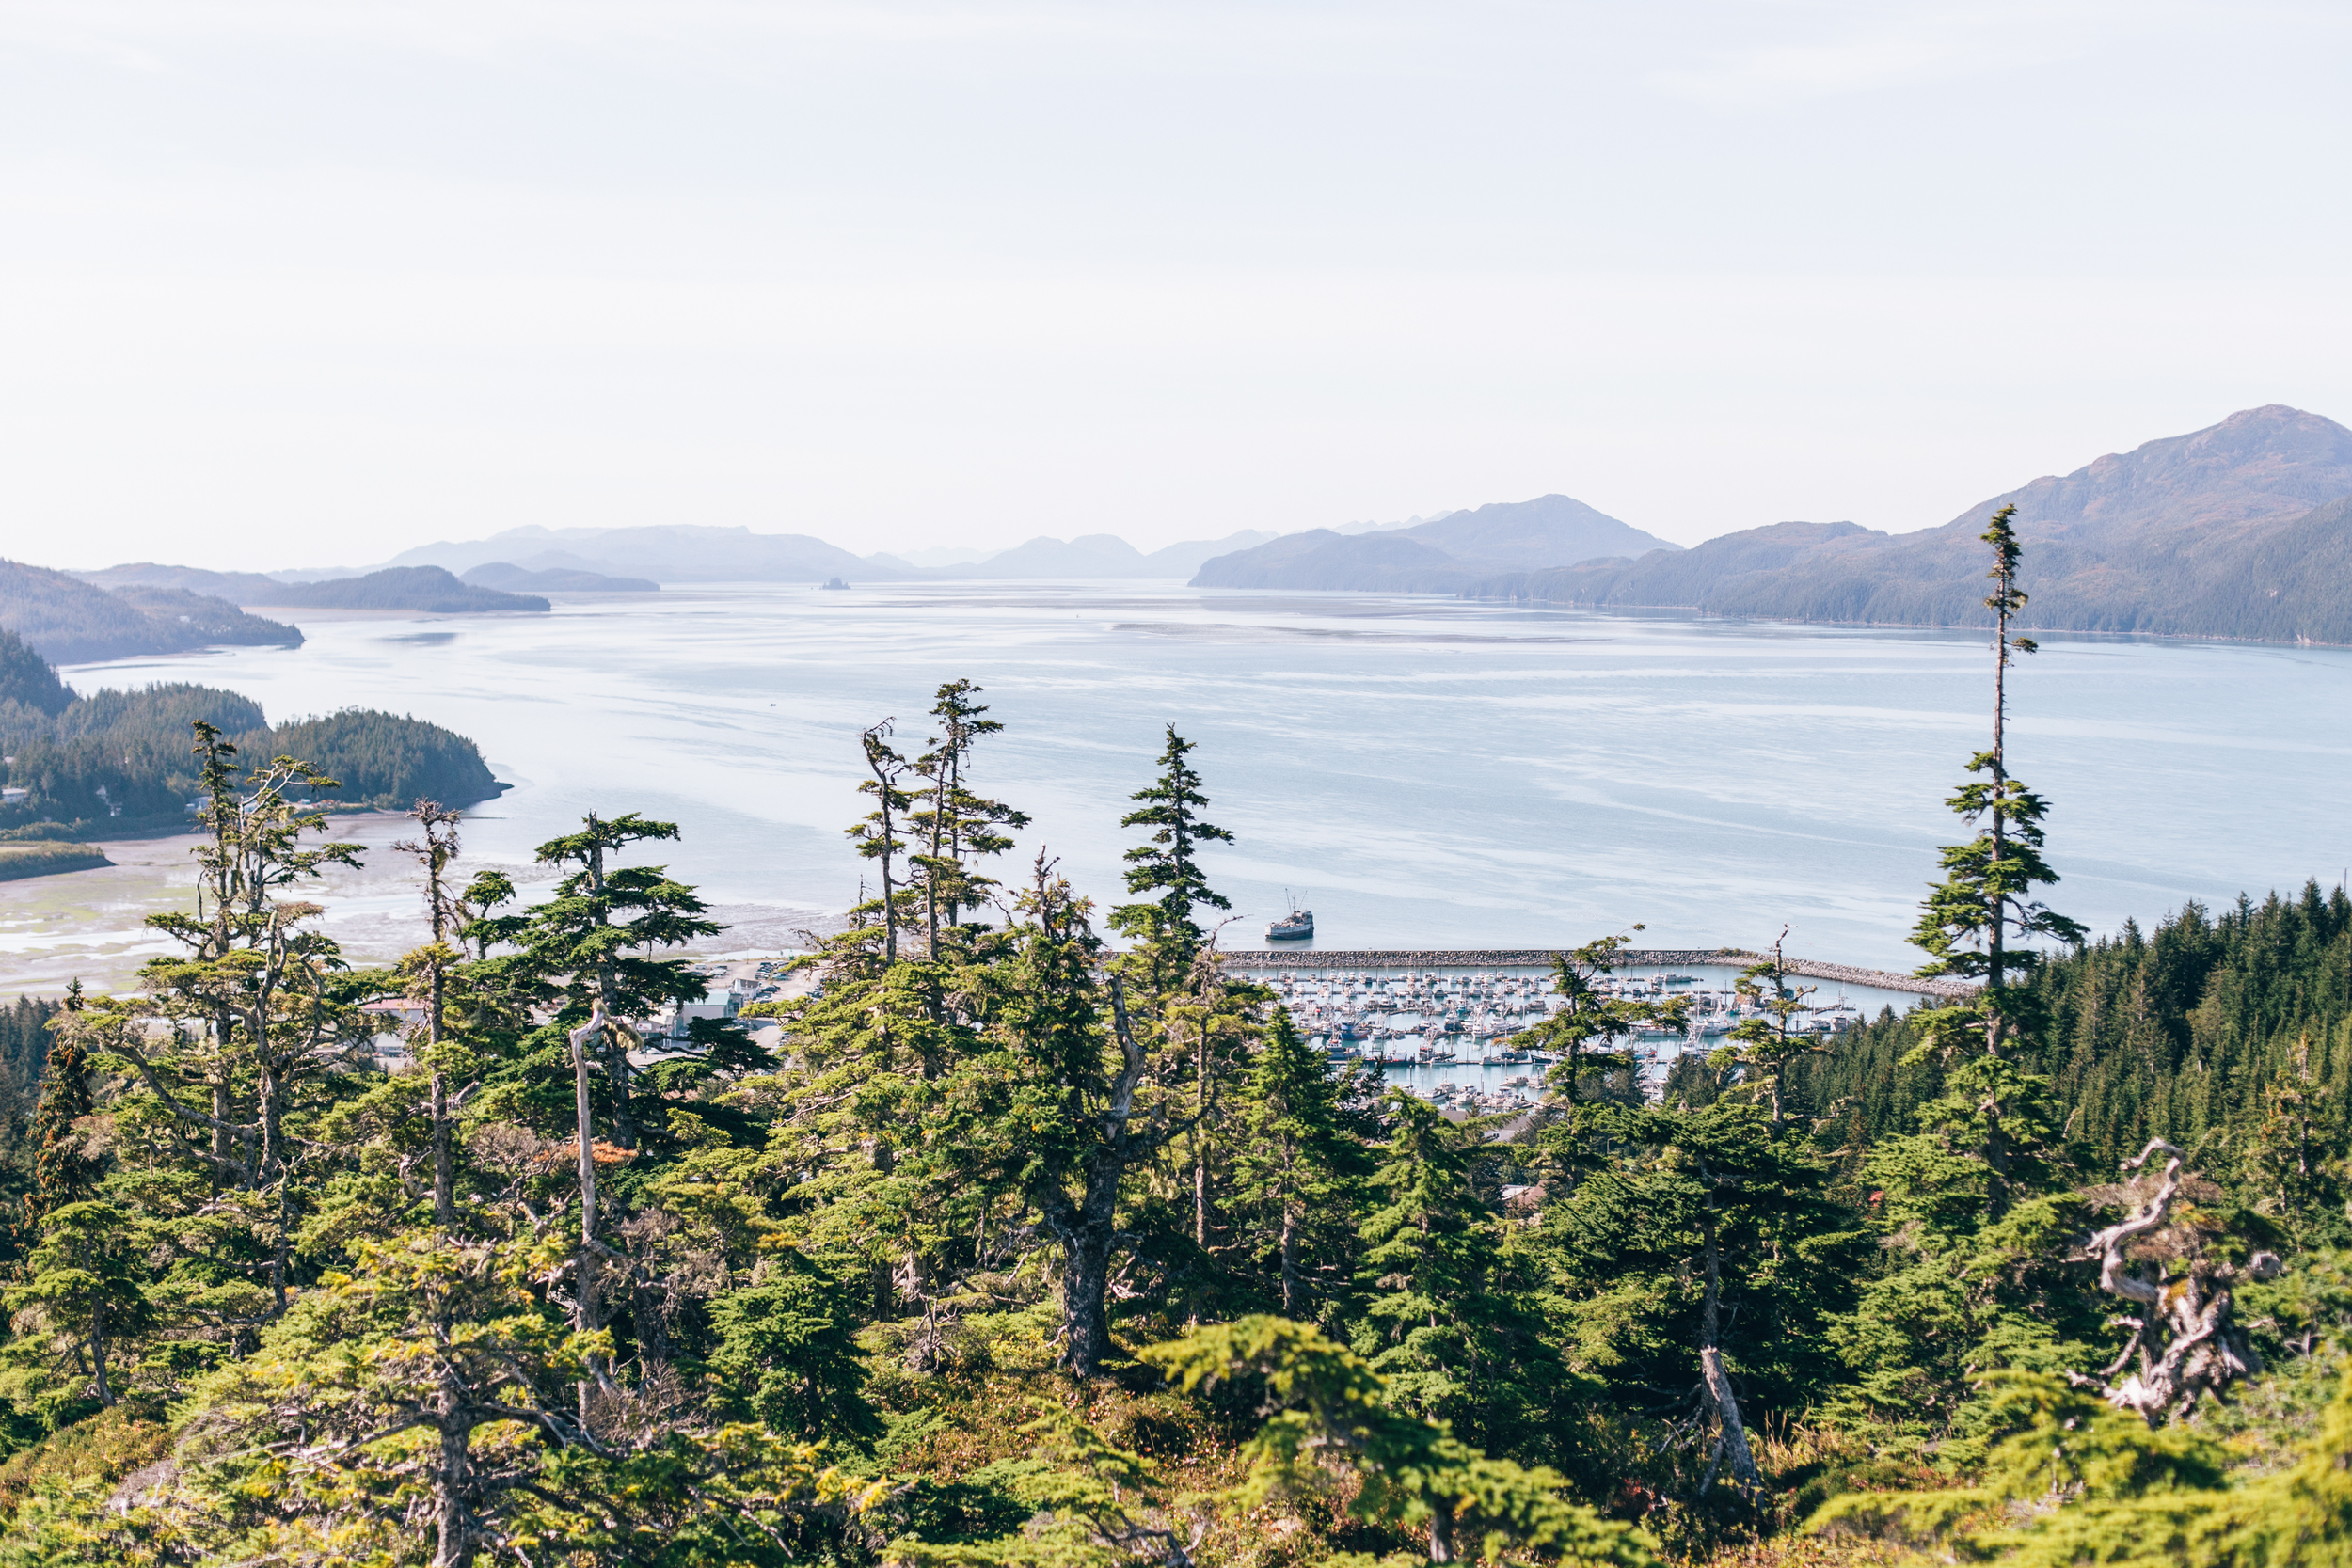
Valdez, Cordova, and Alaska's Highways


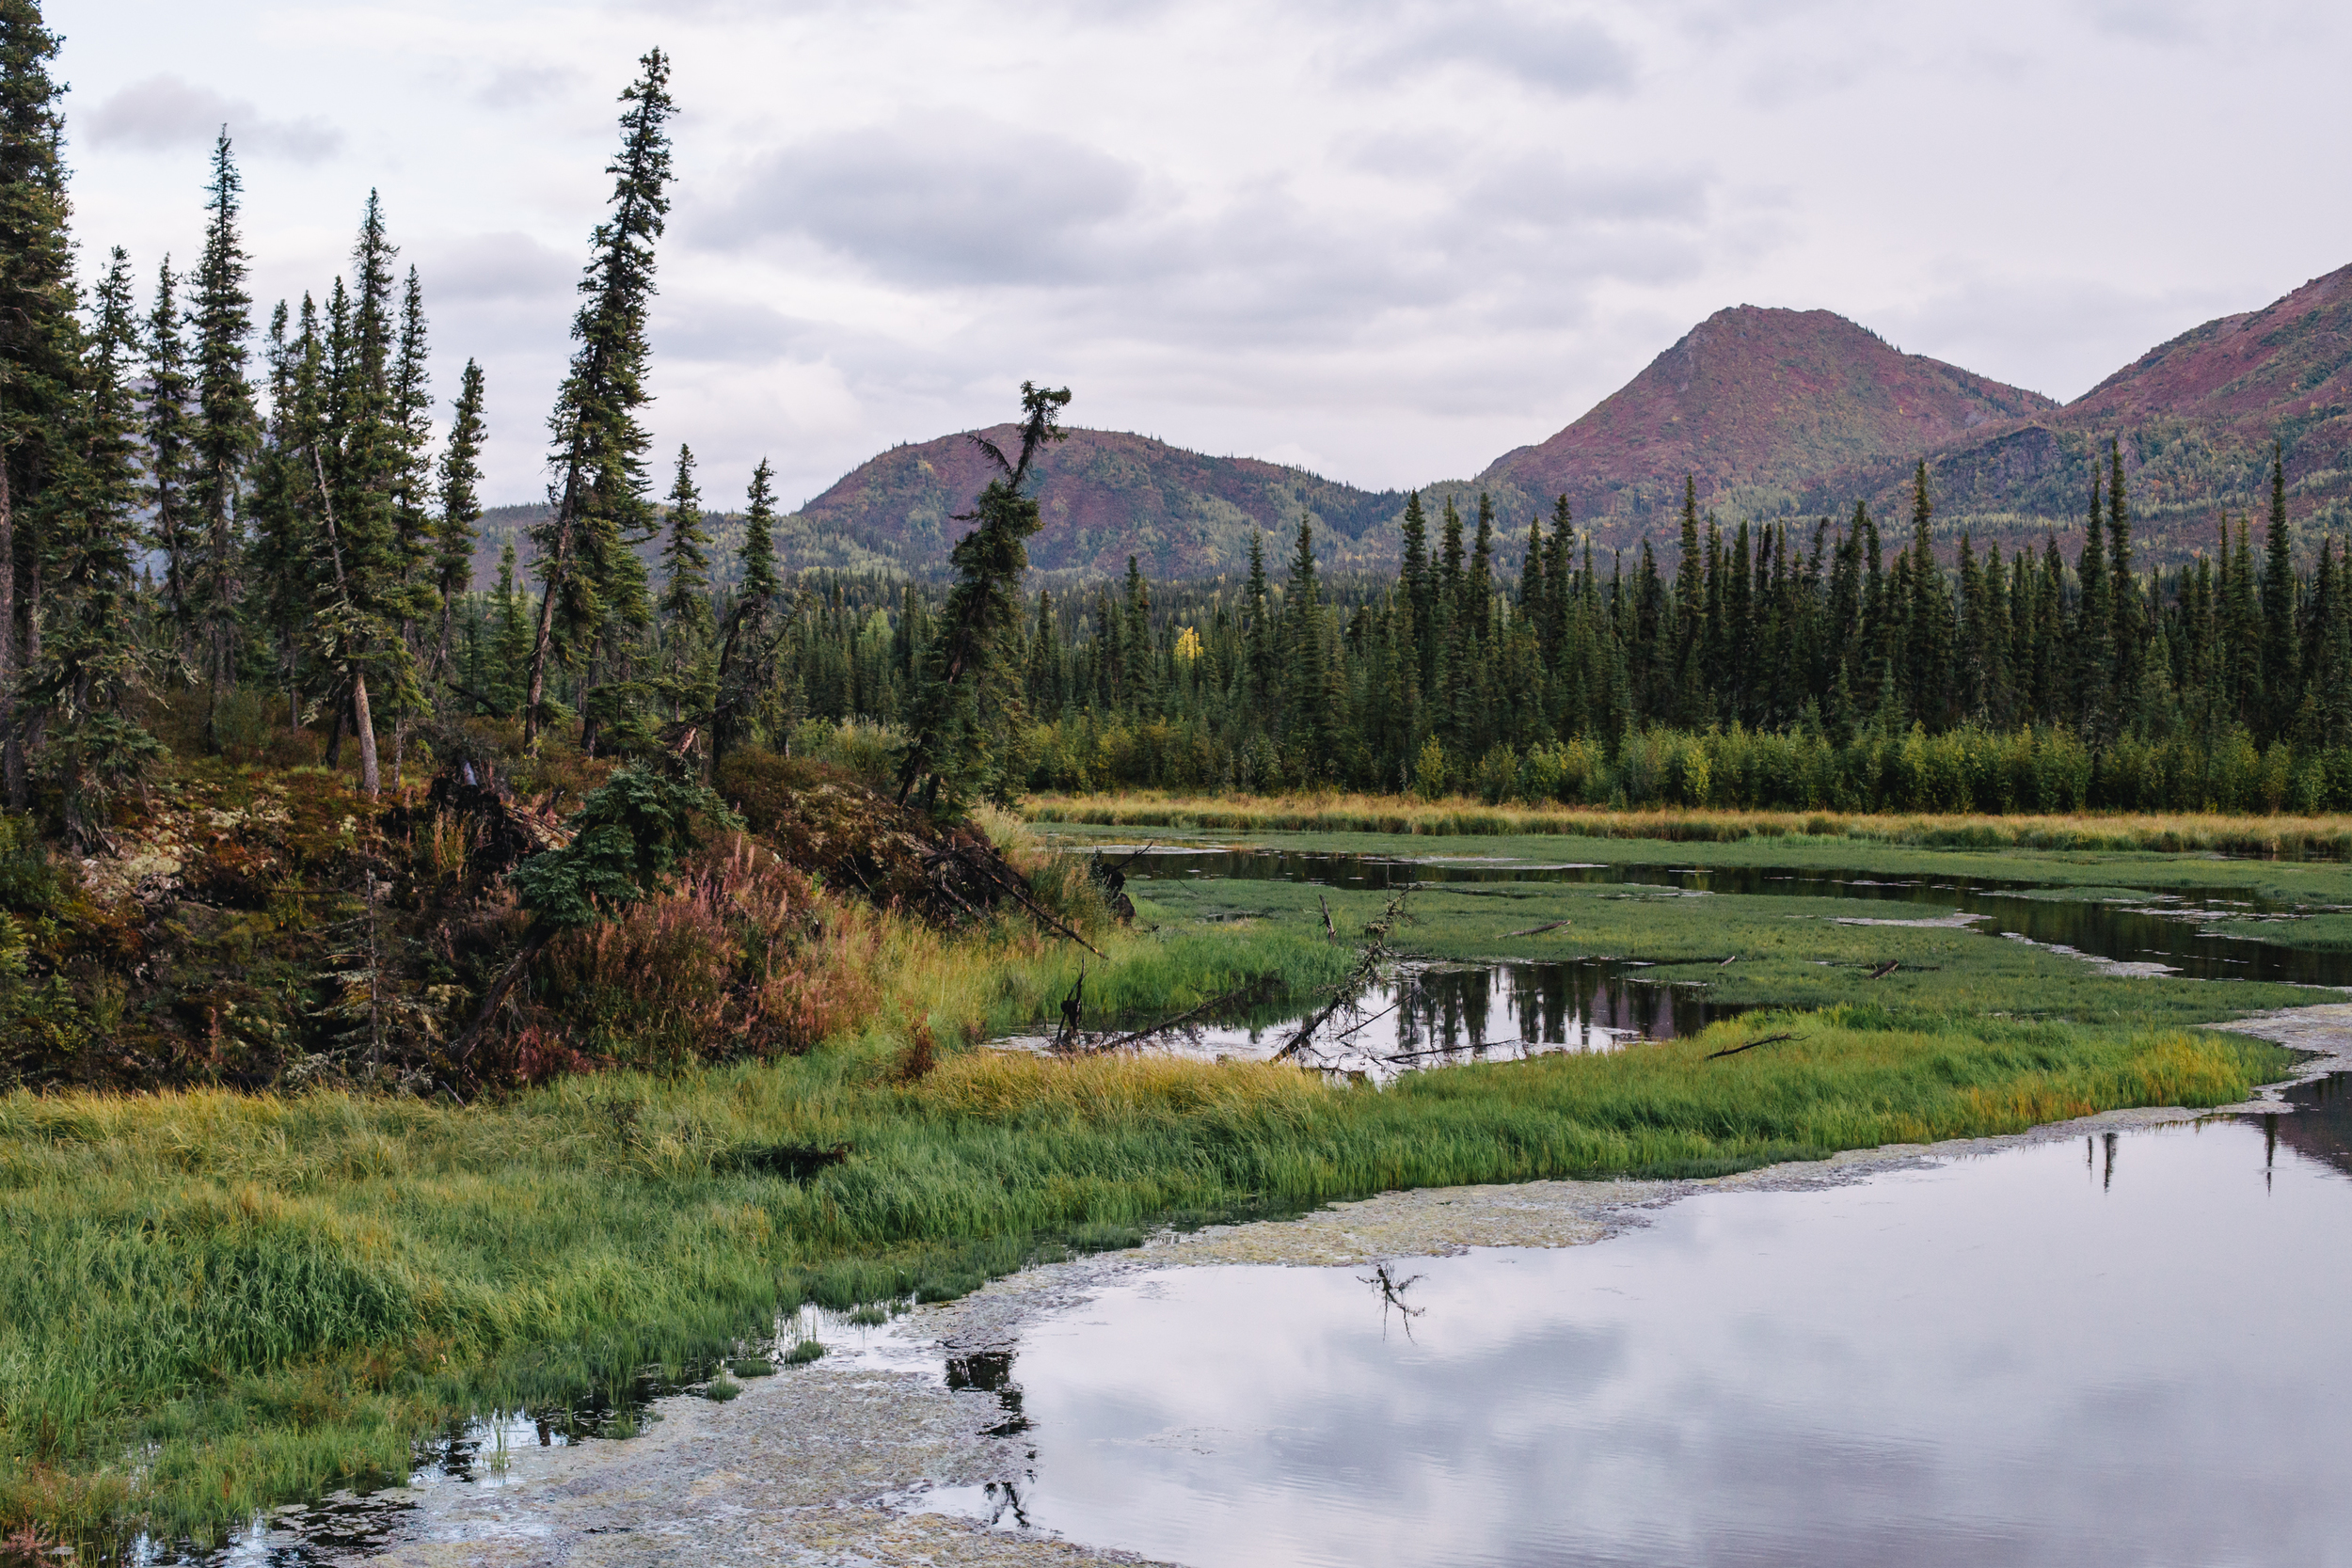


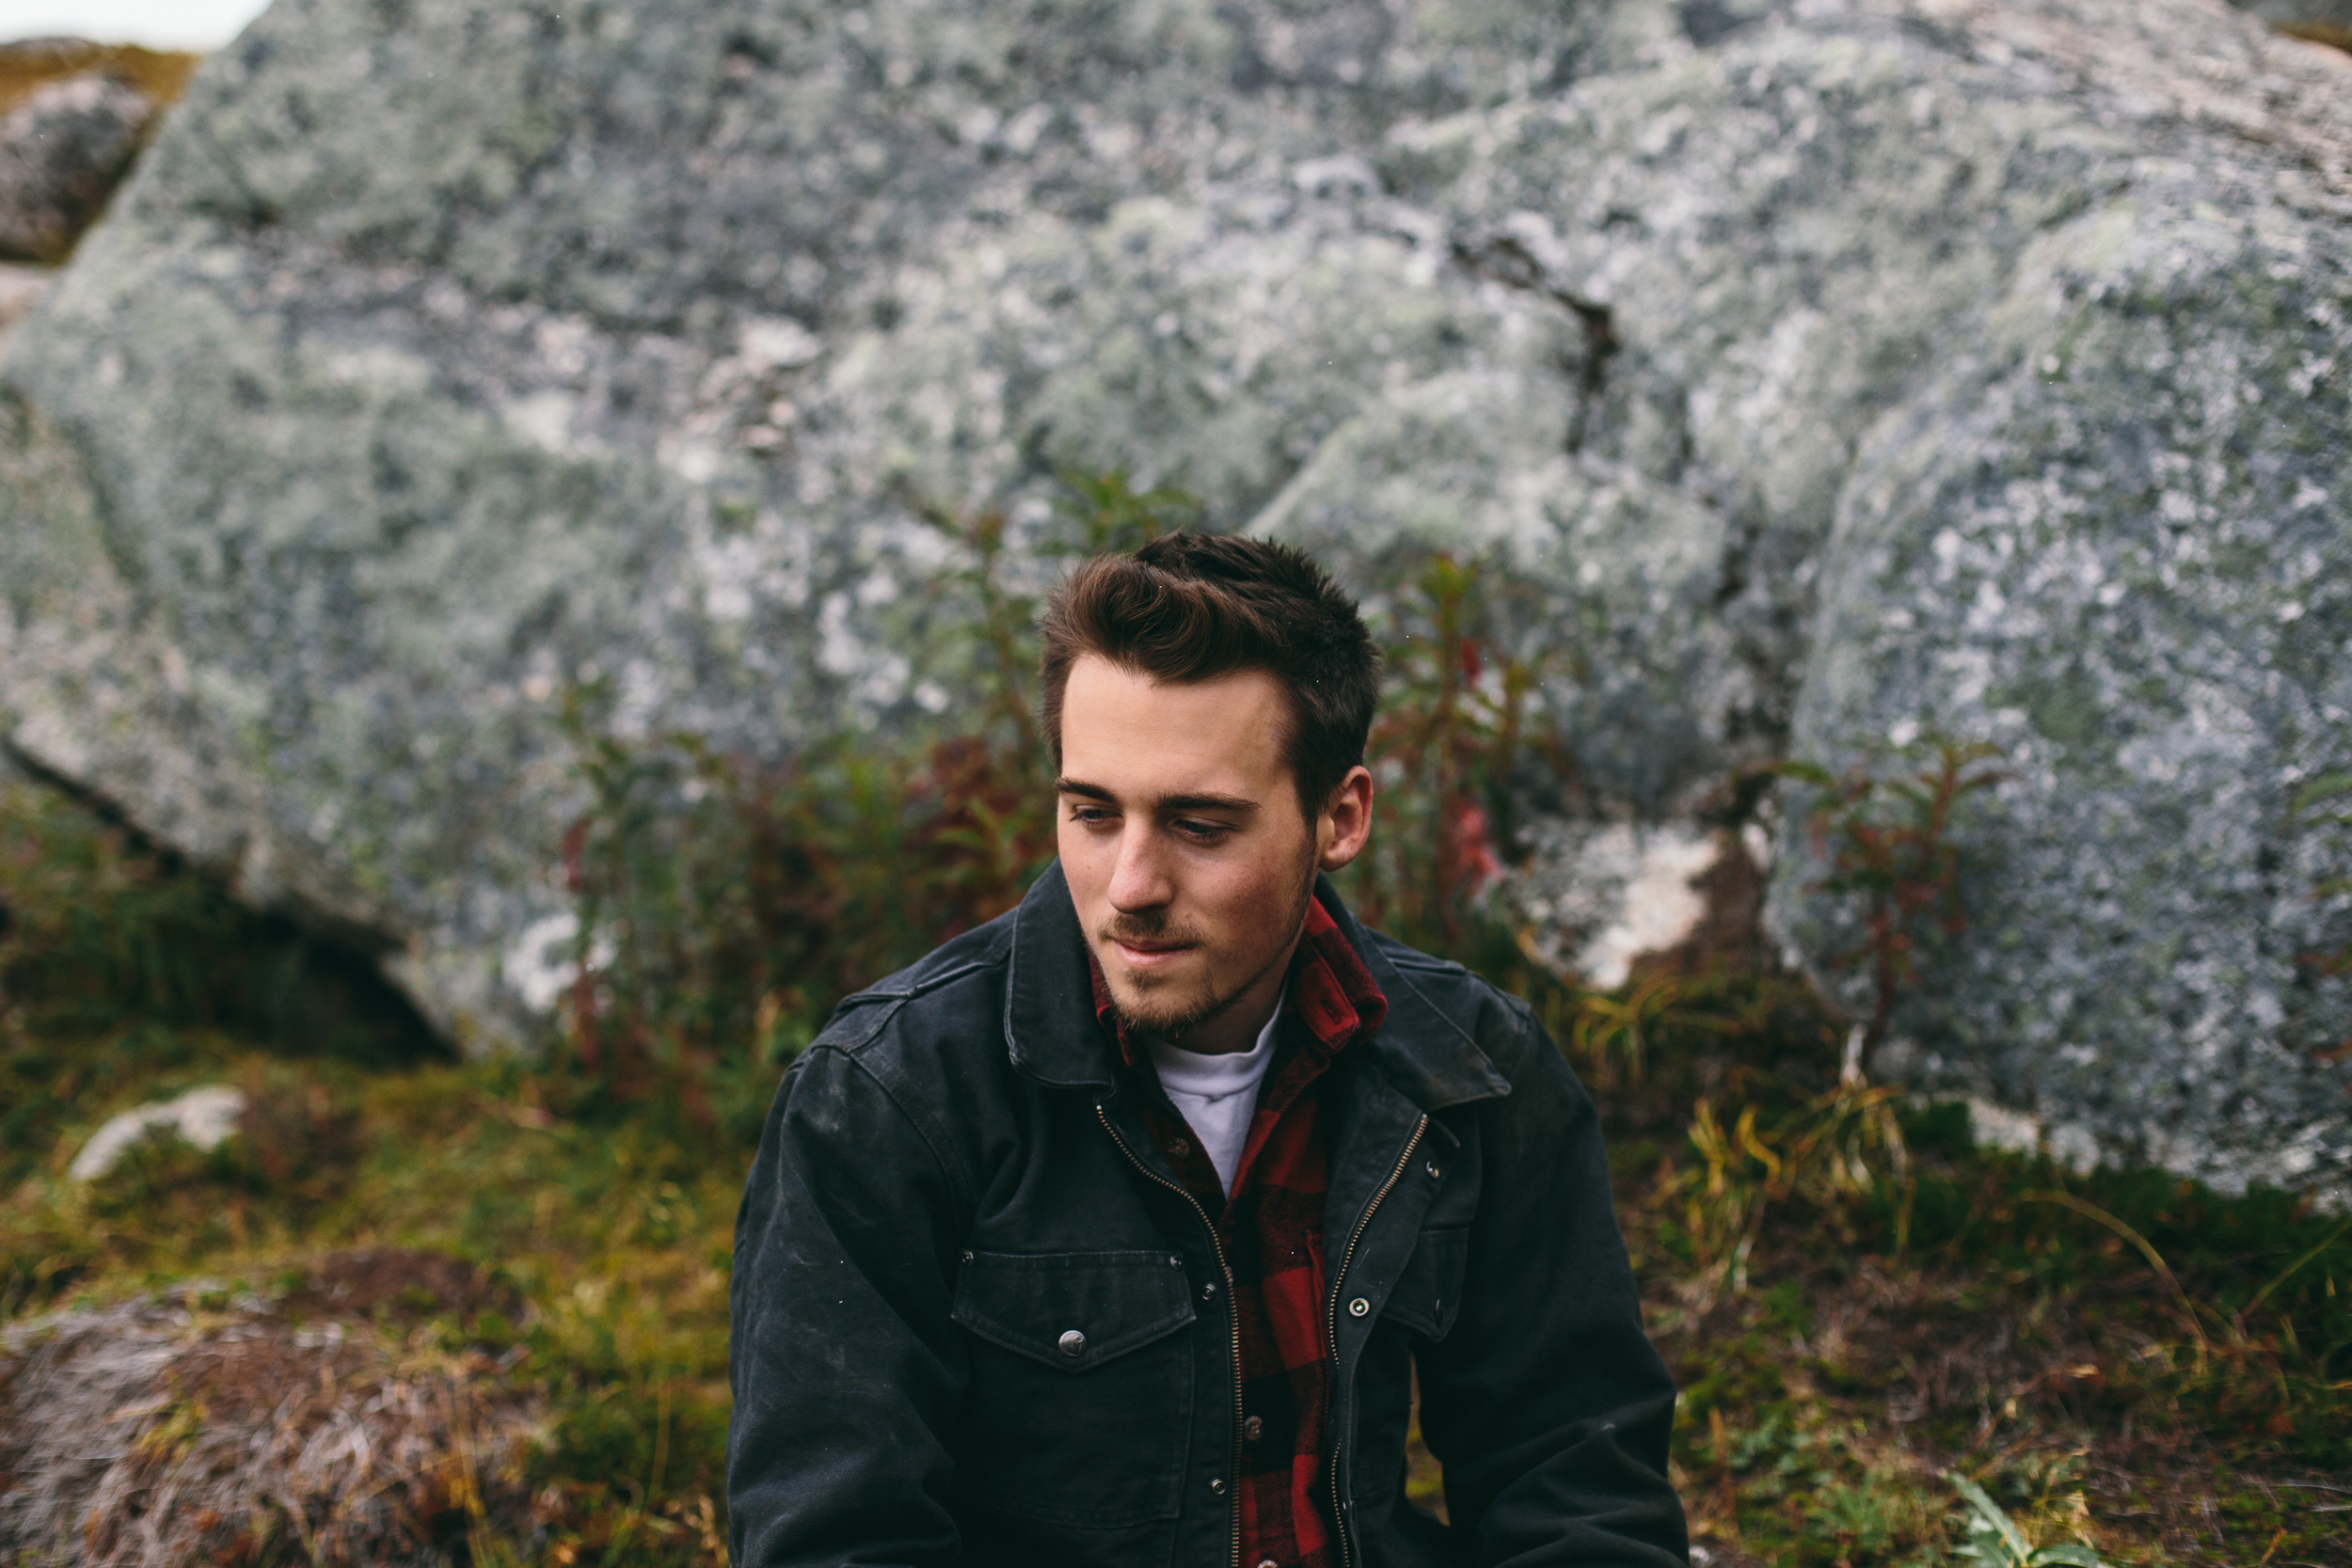
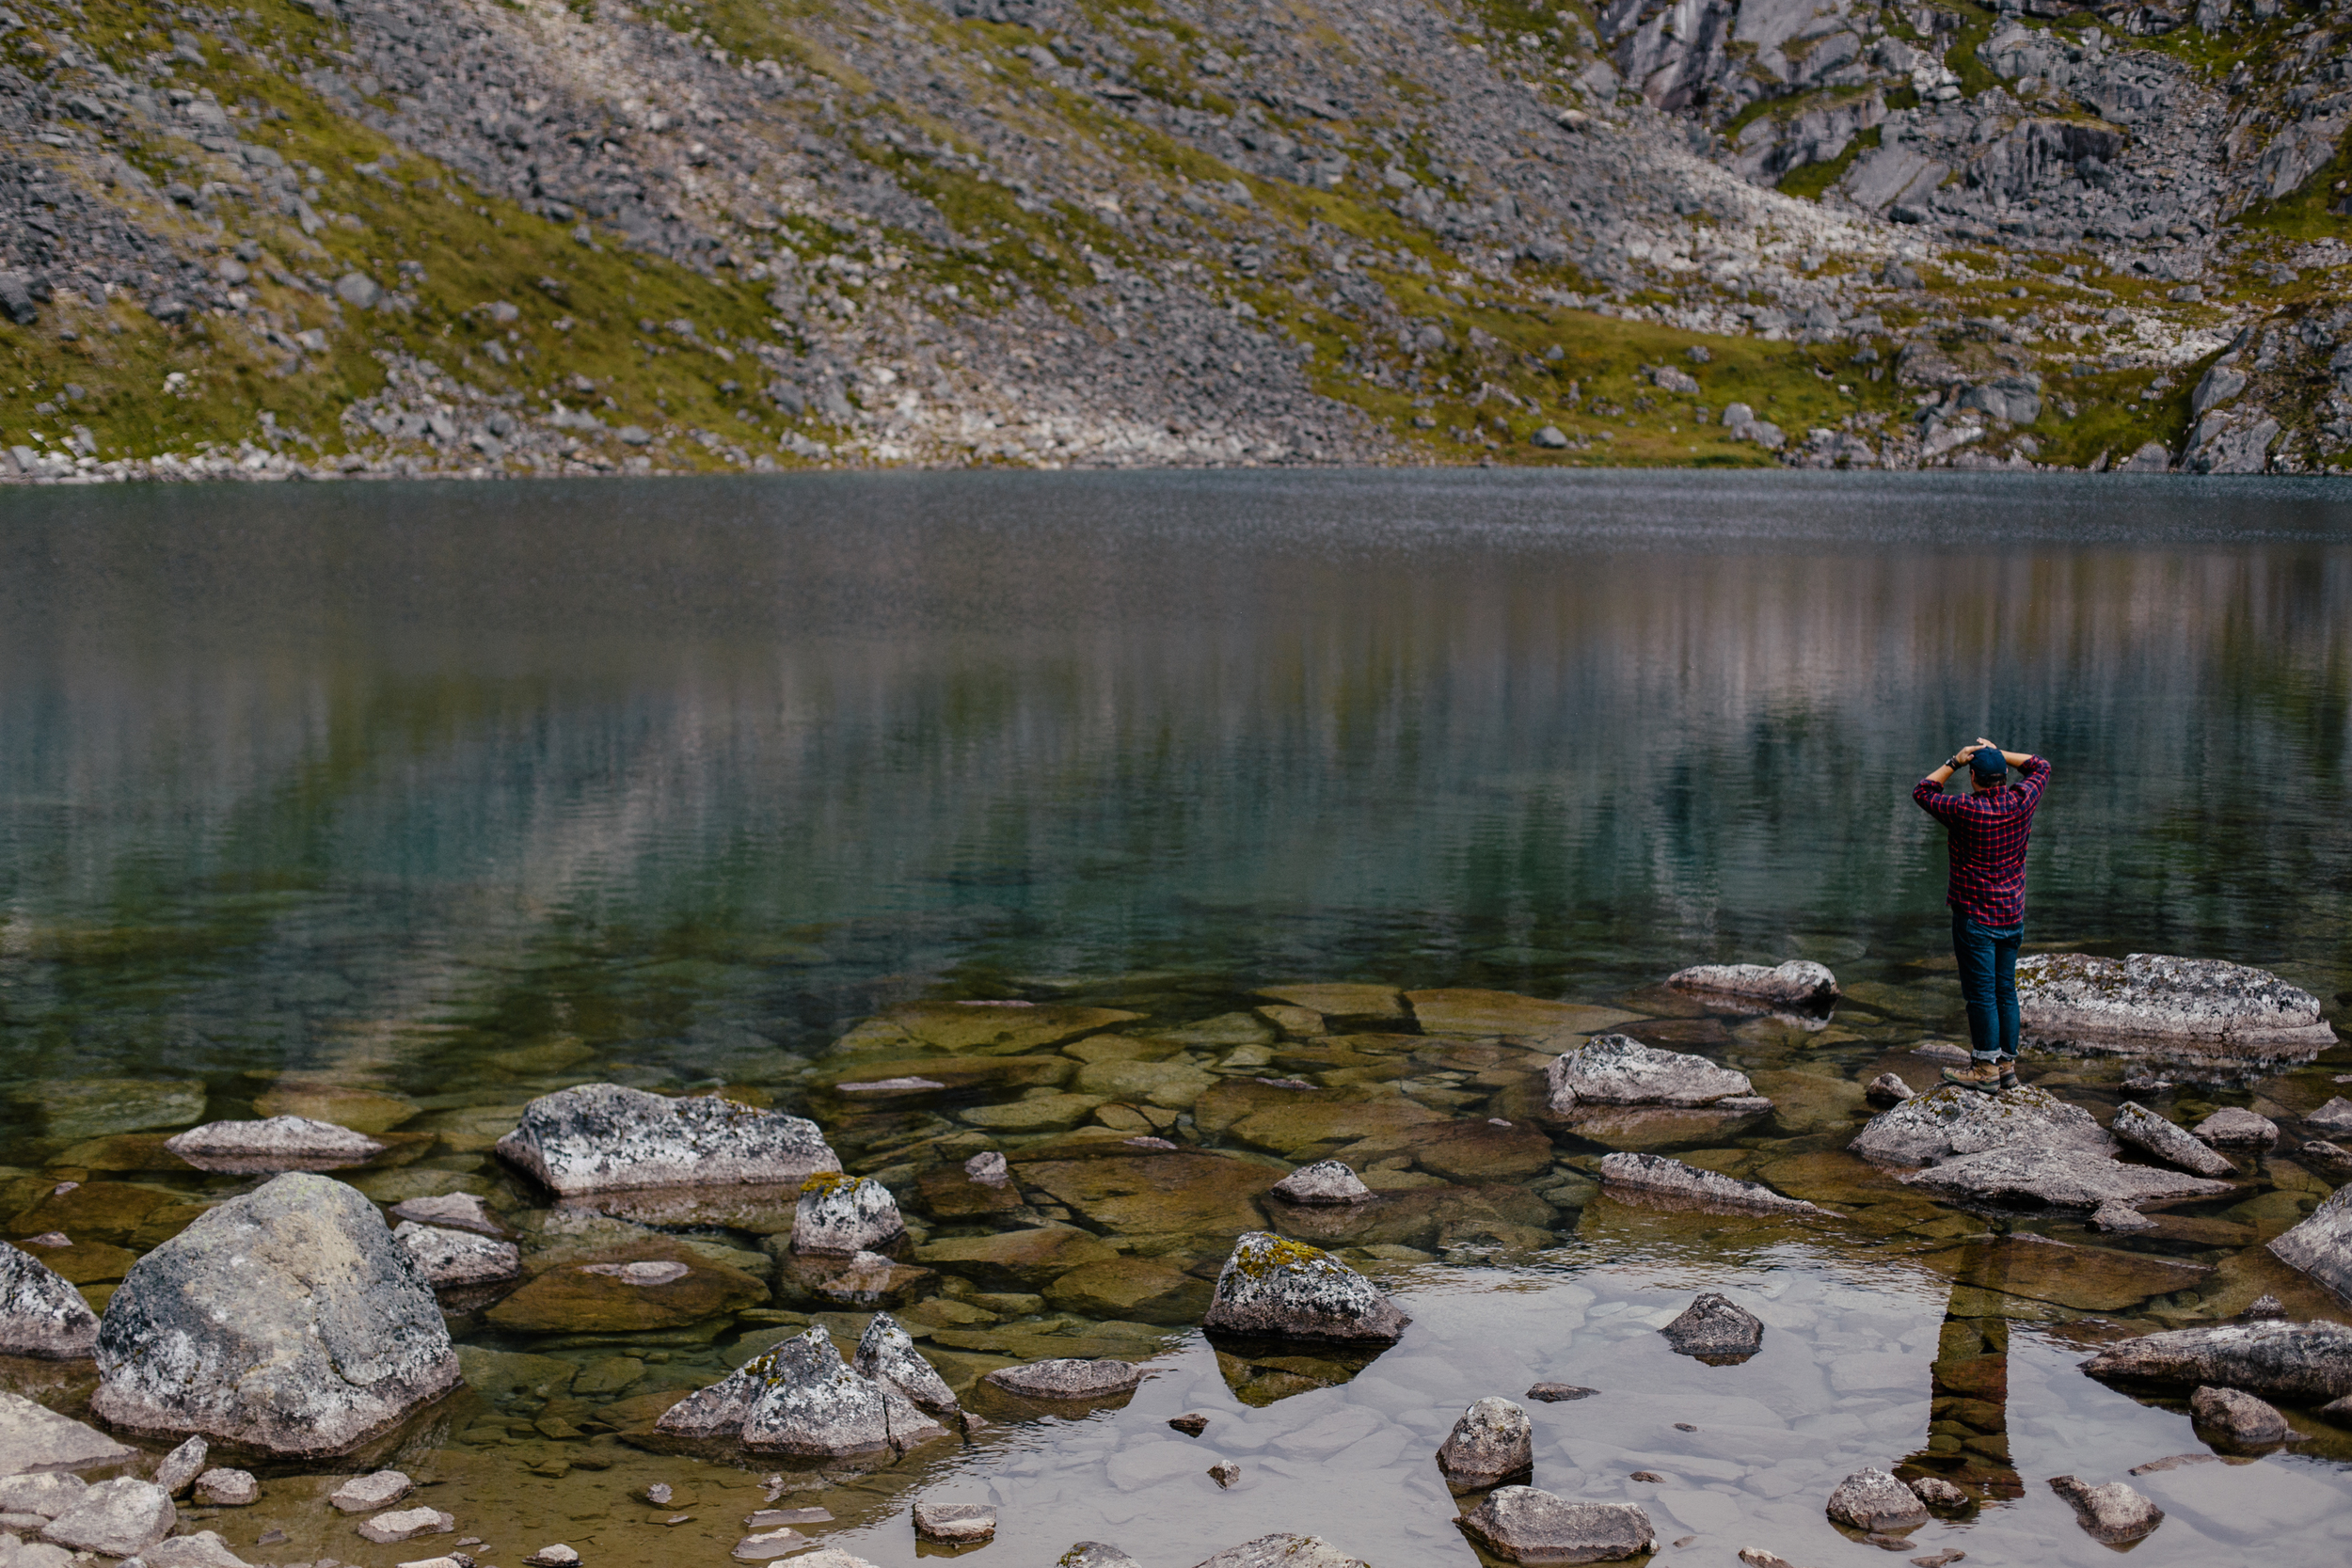
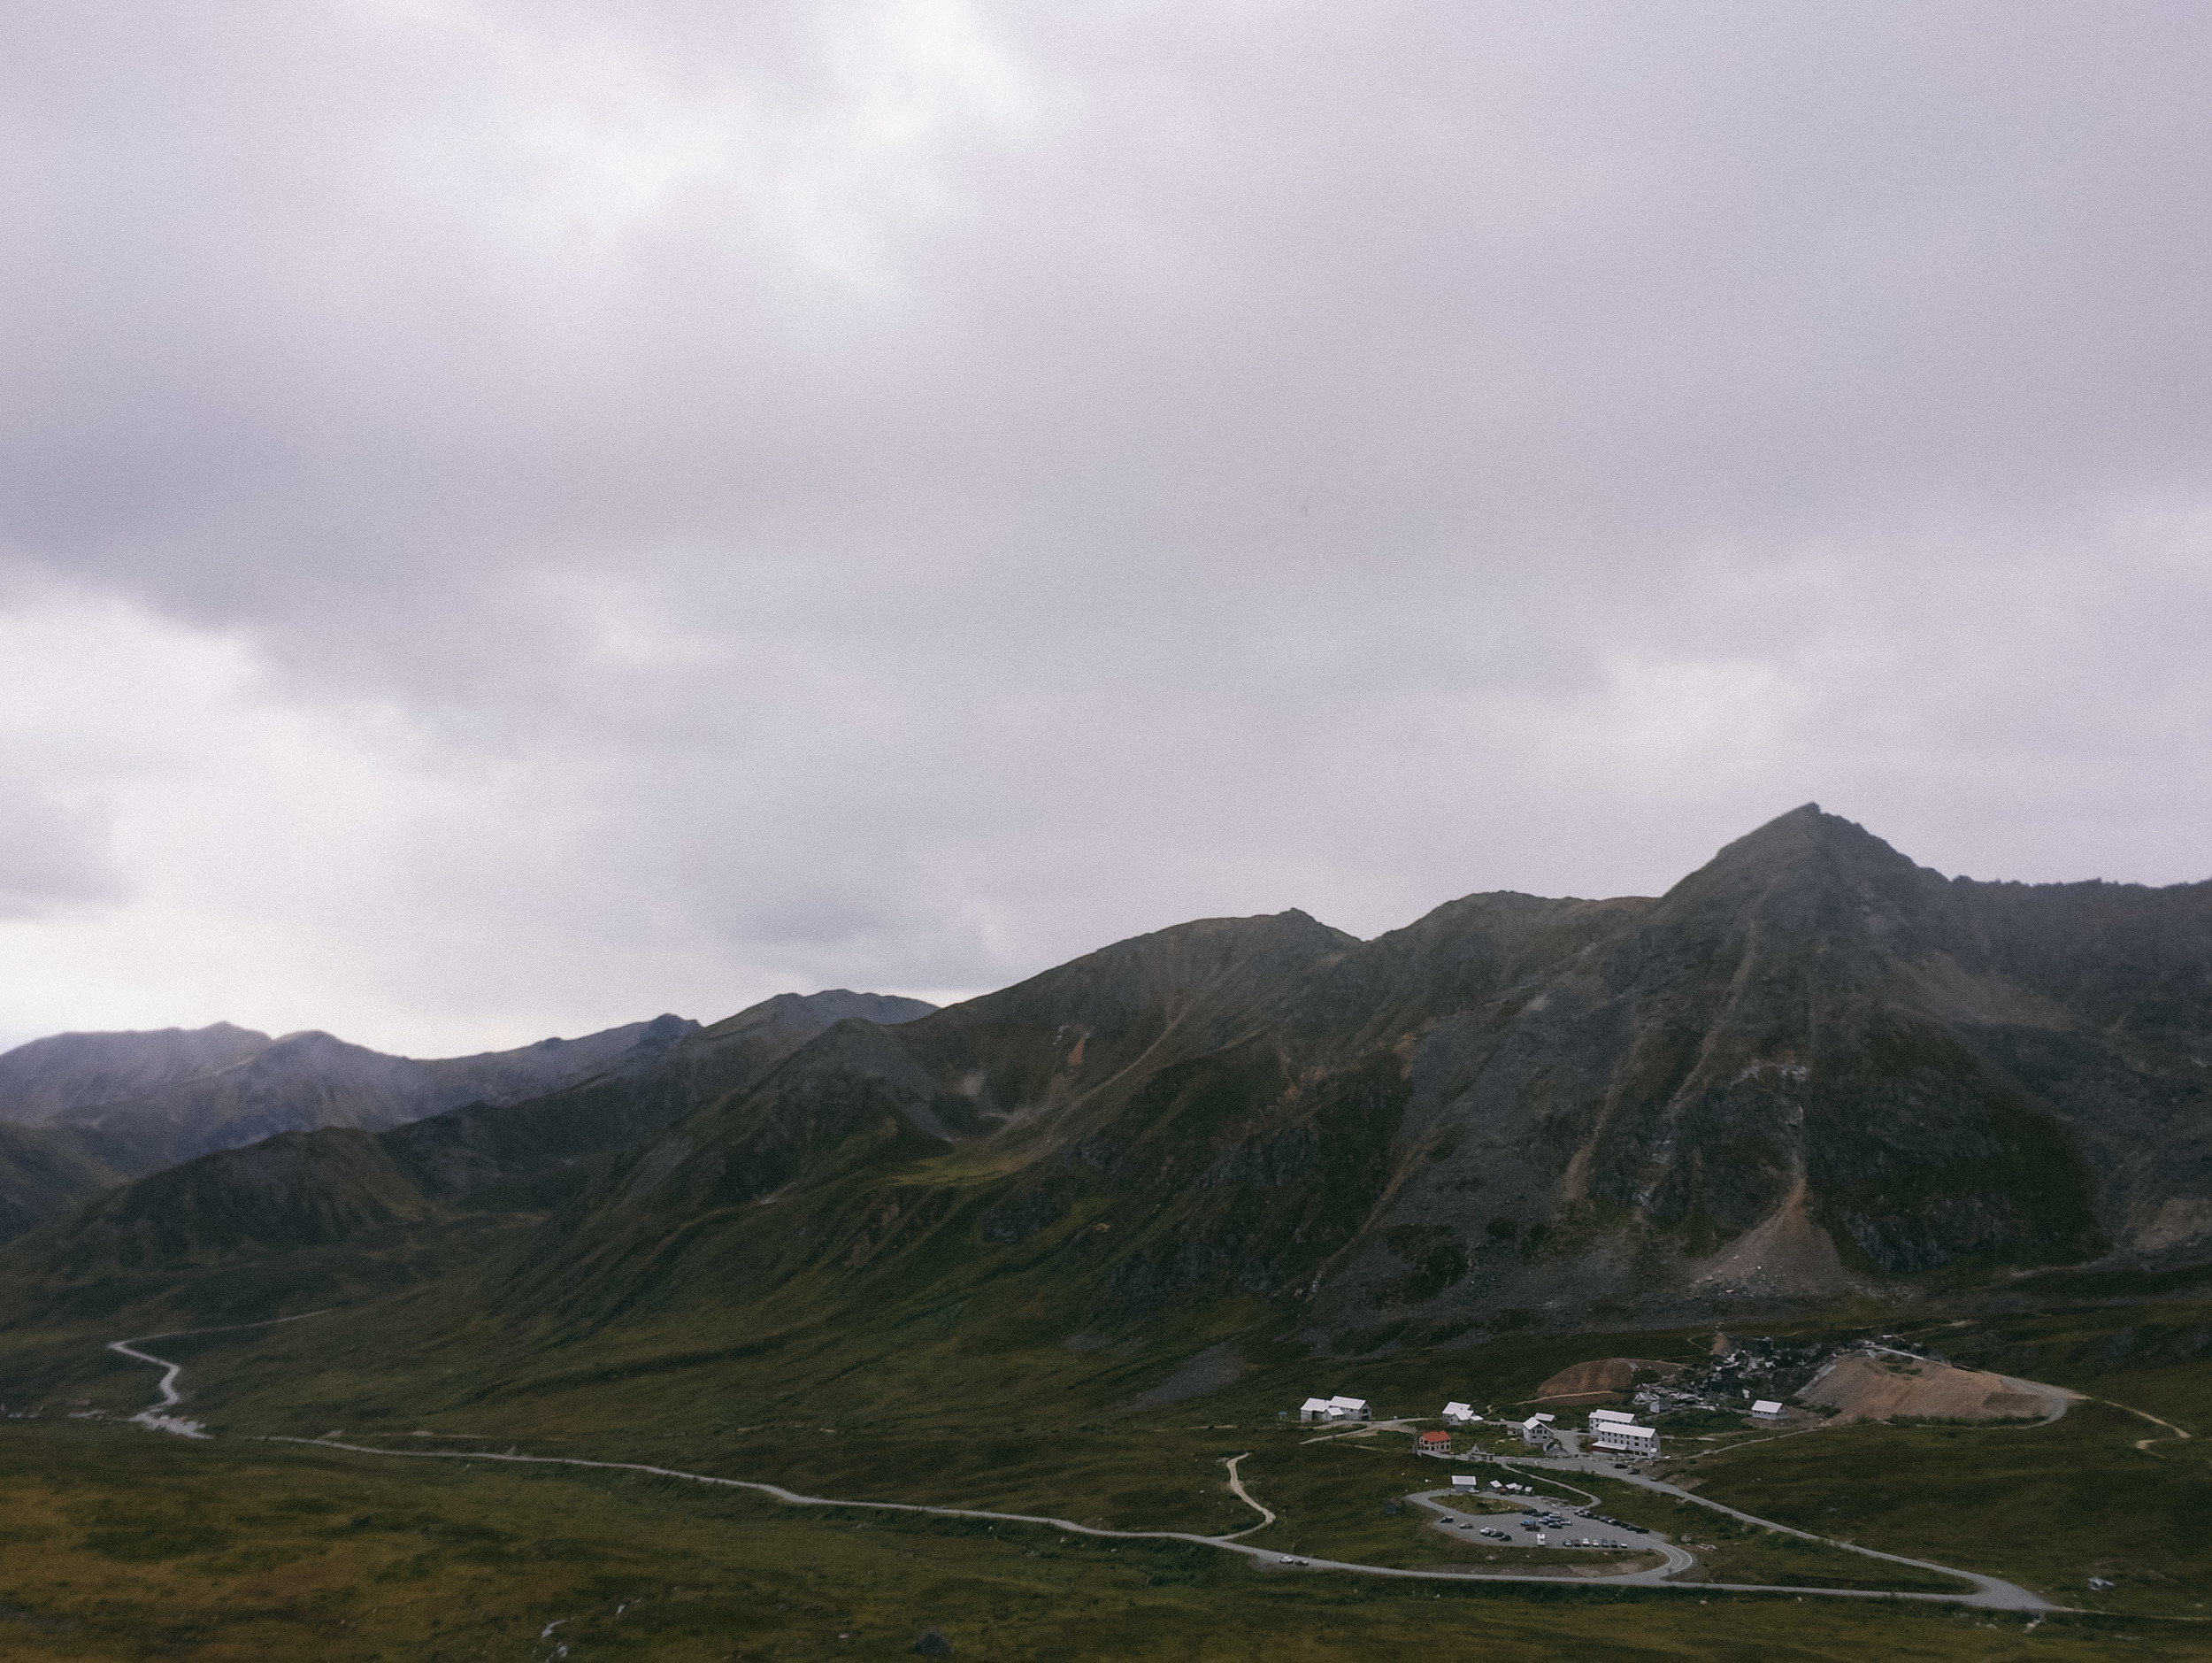
Hatcher Pass


Road Test Kitchen #4: Camping Stove Salmon

We were very generously gifted fresh Alaskan sockeye salmon filets by our new friends Micah and Michelle. They cleaned the fish right on their boat and sent us on our merry way.
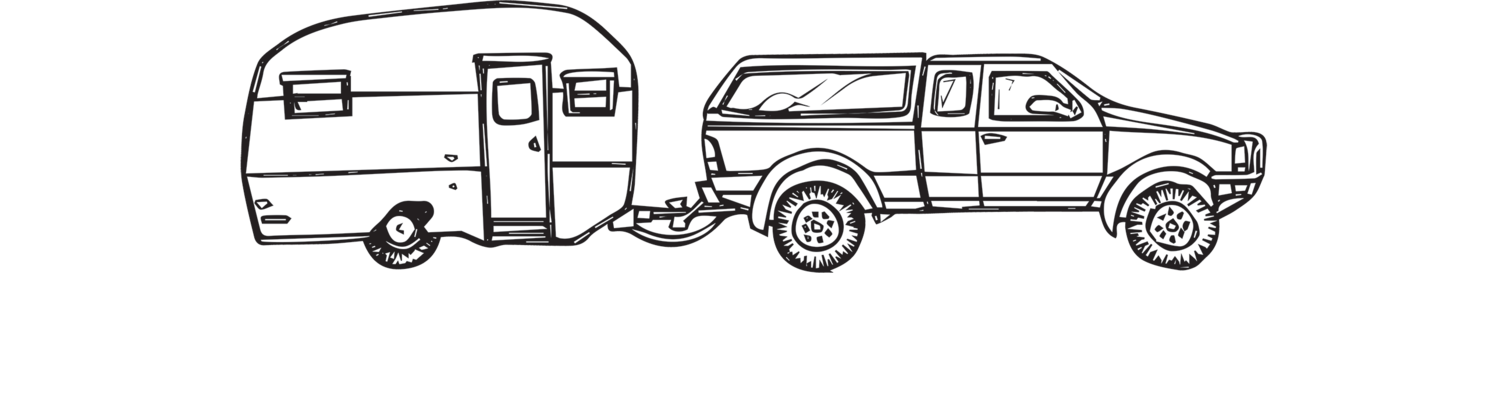
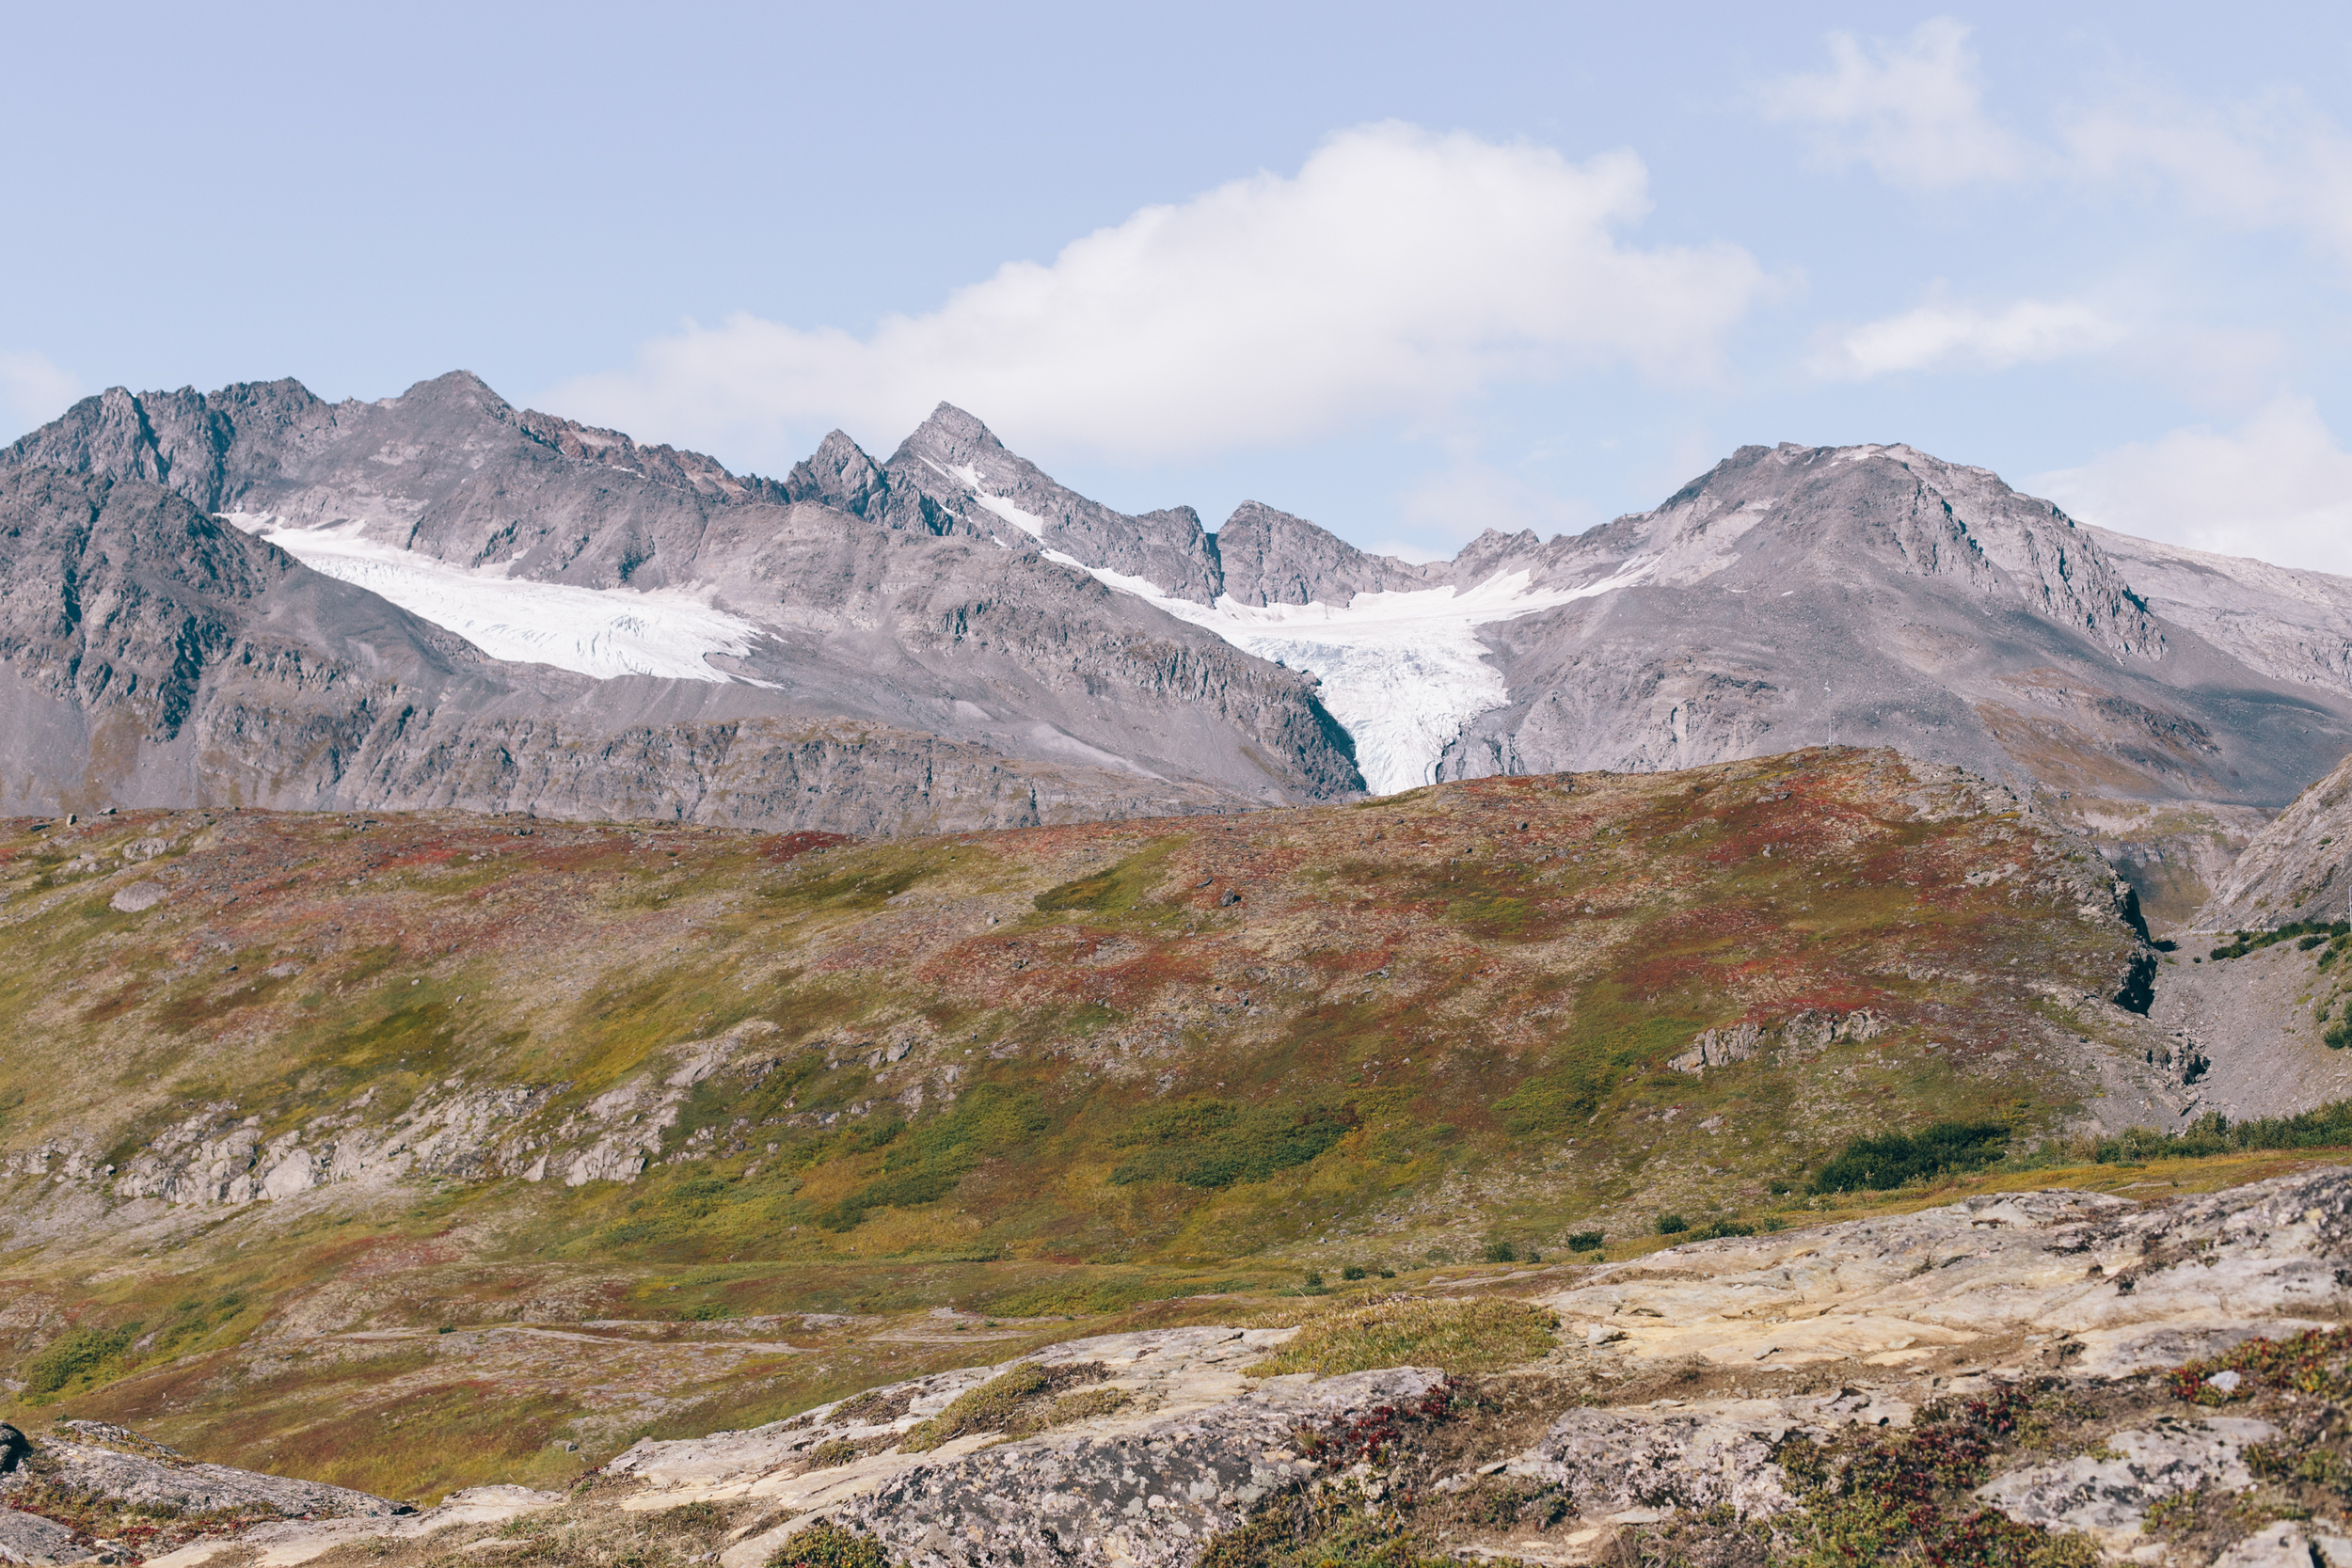
Because we no longer have our trailer in tow (Ben's truck engine is totaled and we're now driving my Honda CRV which can't pull the trailer, in case you missed it), we had brought a Coleman camp stove with us to America's Last Frontier. We decided to cook our salmon and have a picnic overlooking Sheridan glacier.
And let me tell you friends, it was life-changing. The gentle breeze was cooled by the ice and refreshed our faces under the midday sun as we made a meal fit for kings.
I now ONLY cook salmon by a glacier, whenever possible.

The recipe is simple. All you need is a camping stove, two aluminum pans, and four ingredients.
CAMPING STOVE SALMON (serves 2-4)
2-4 Salmon portions
1 Lemon
Salt
Olive Oil


First add a small amount of olive oil to one of the metal pans and swish it around, allowing the oil to thinly coat the bottom of the pan. Use as little as possible - this is just to prevent the salmon from sticking.
Then lay the filets out in the pan, skin down. We were barely able to squeeze four of them in.

Sprinkle a couple teaspoons of salt over everything. You won't need much because sockeye is flavorful and delicious and we're going for purity, here.
Cut half of the lemon into round slices and place a slice on each piece of fish. Then use the rest of the lemon to squeeze a little citrusy goodness all over everything.


Set the pan on your camping stove to cook over low heat. You'll want to cook the fish as slowly as possible so it doesn't burn and stays nice and moist.


Here's where things get REALLY innovative: Cover with the other aluminum pan to keep the moisture in. Hello, major life-hack! You now have a salmon oven.

After only about 10-15 minutes of cooking, our salmon was done! It will look, well, 'salmon' in color instead of bright red. Test with a fork and it should be soft and flaky and consistent.

We paired our salmon with the fanciest salad-in-a-bag kit that we could find at the local grocery store. The one we found had kale and cabbage in it. I can't even begin to think how many antioxidants/Omega 3 fatty acids are on one of these plates. Eating this meal probably takes like a year off of your life. Your skin will thank you. Your cardiovascular system will thank you. Your dry eyes will thank you.


Sit down on your most hipster wool blanket and enjoy your salmon that took you hardly any time at all. Hold back the tears that want to fall when you think of how much money you spent that one time when you ate salmon in a restaurant.

After we finished our meal, we explored around the glacier hiking trails. We found a bridge that was sunken under the frosted pond. We attempted to summon it back to functioning order with the mystical powers of Indiana Jones, but, alas, no dice. Just ice.

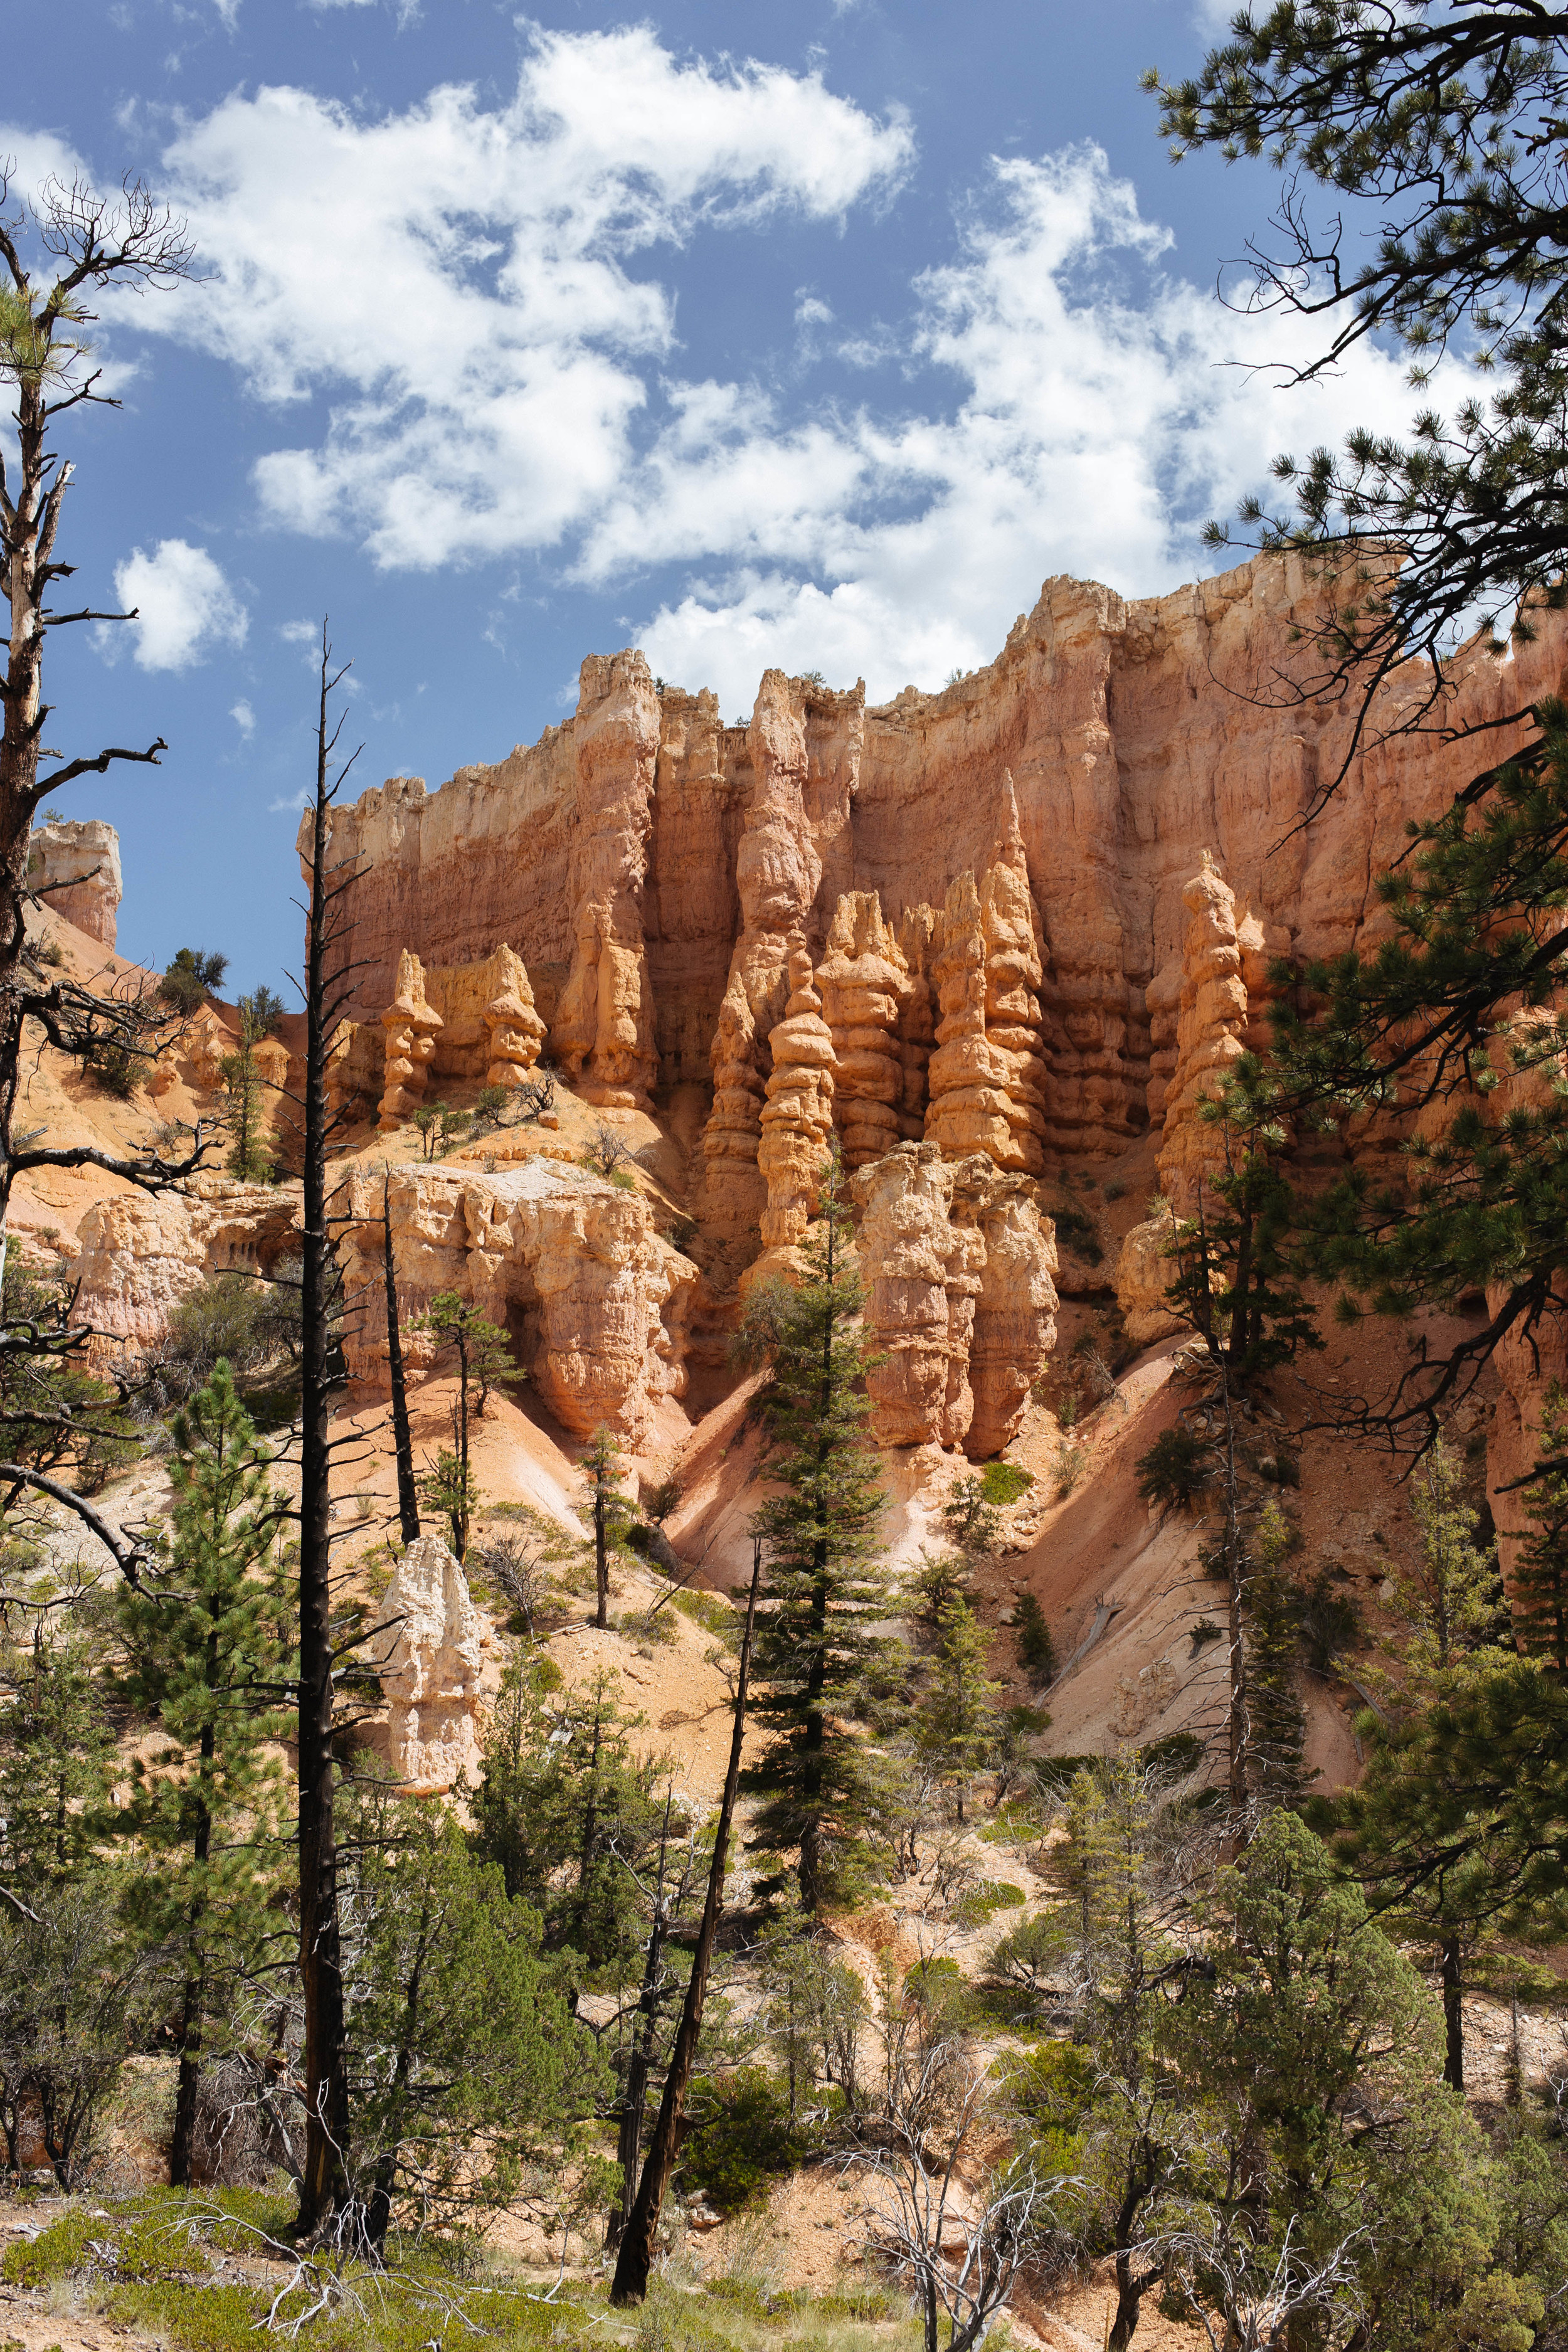
Bryce Canyon National Park


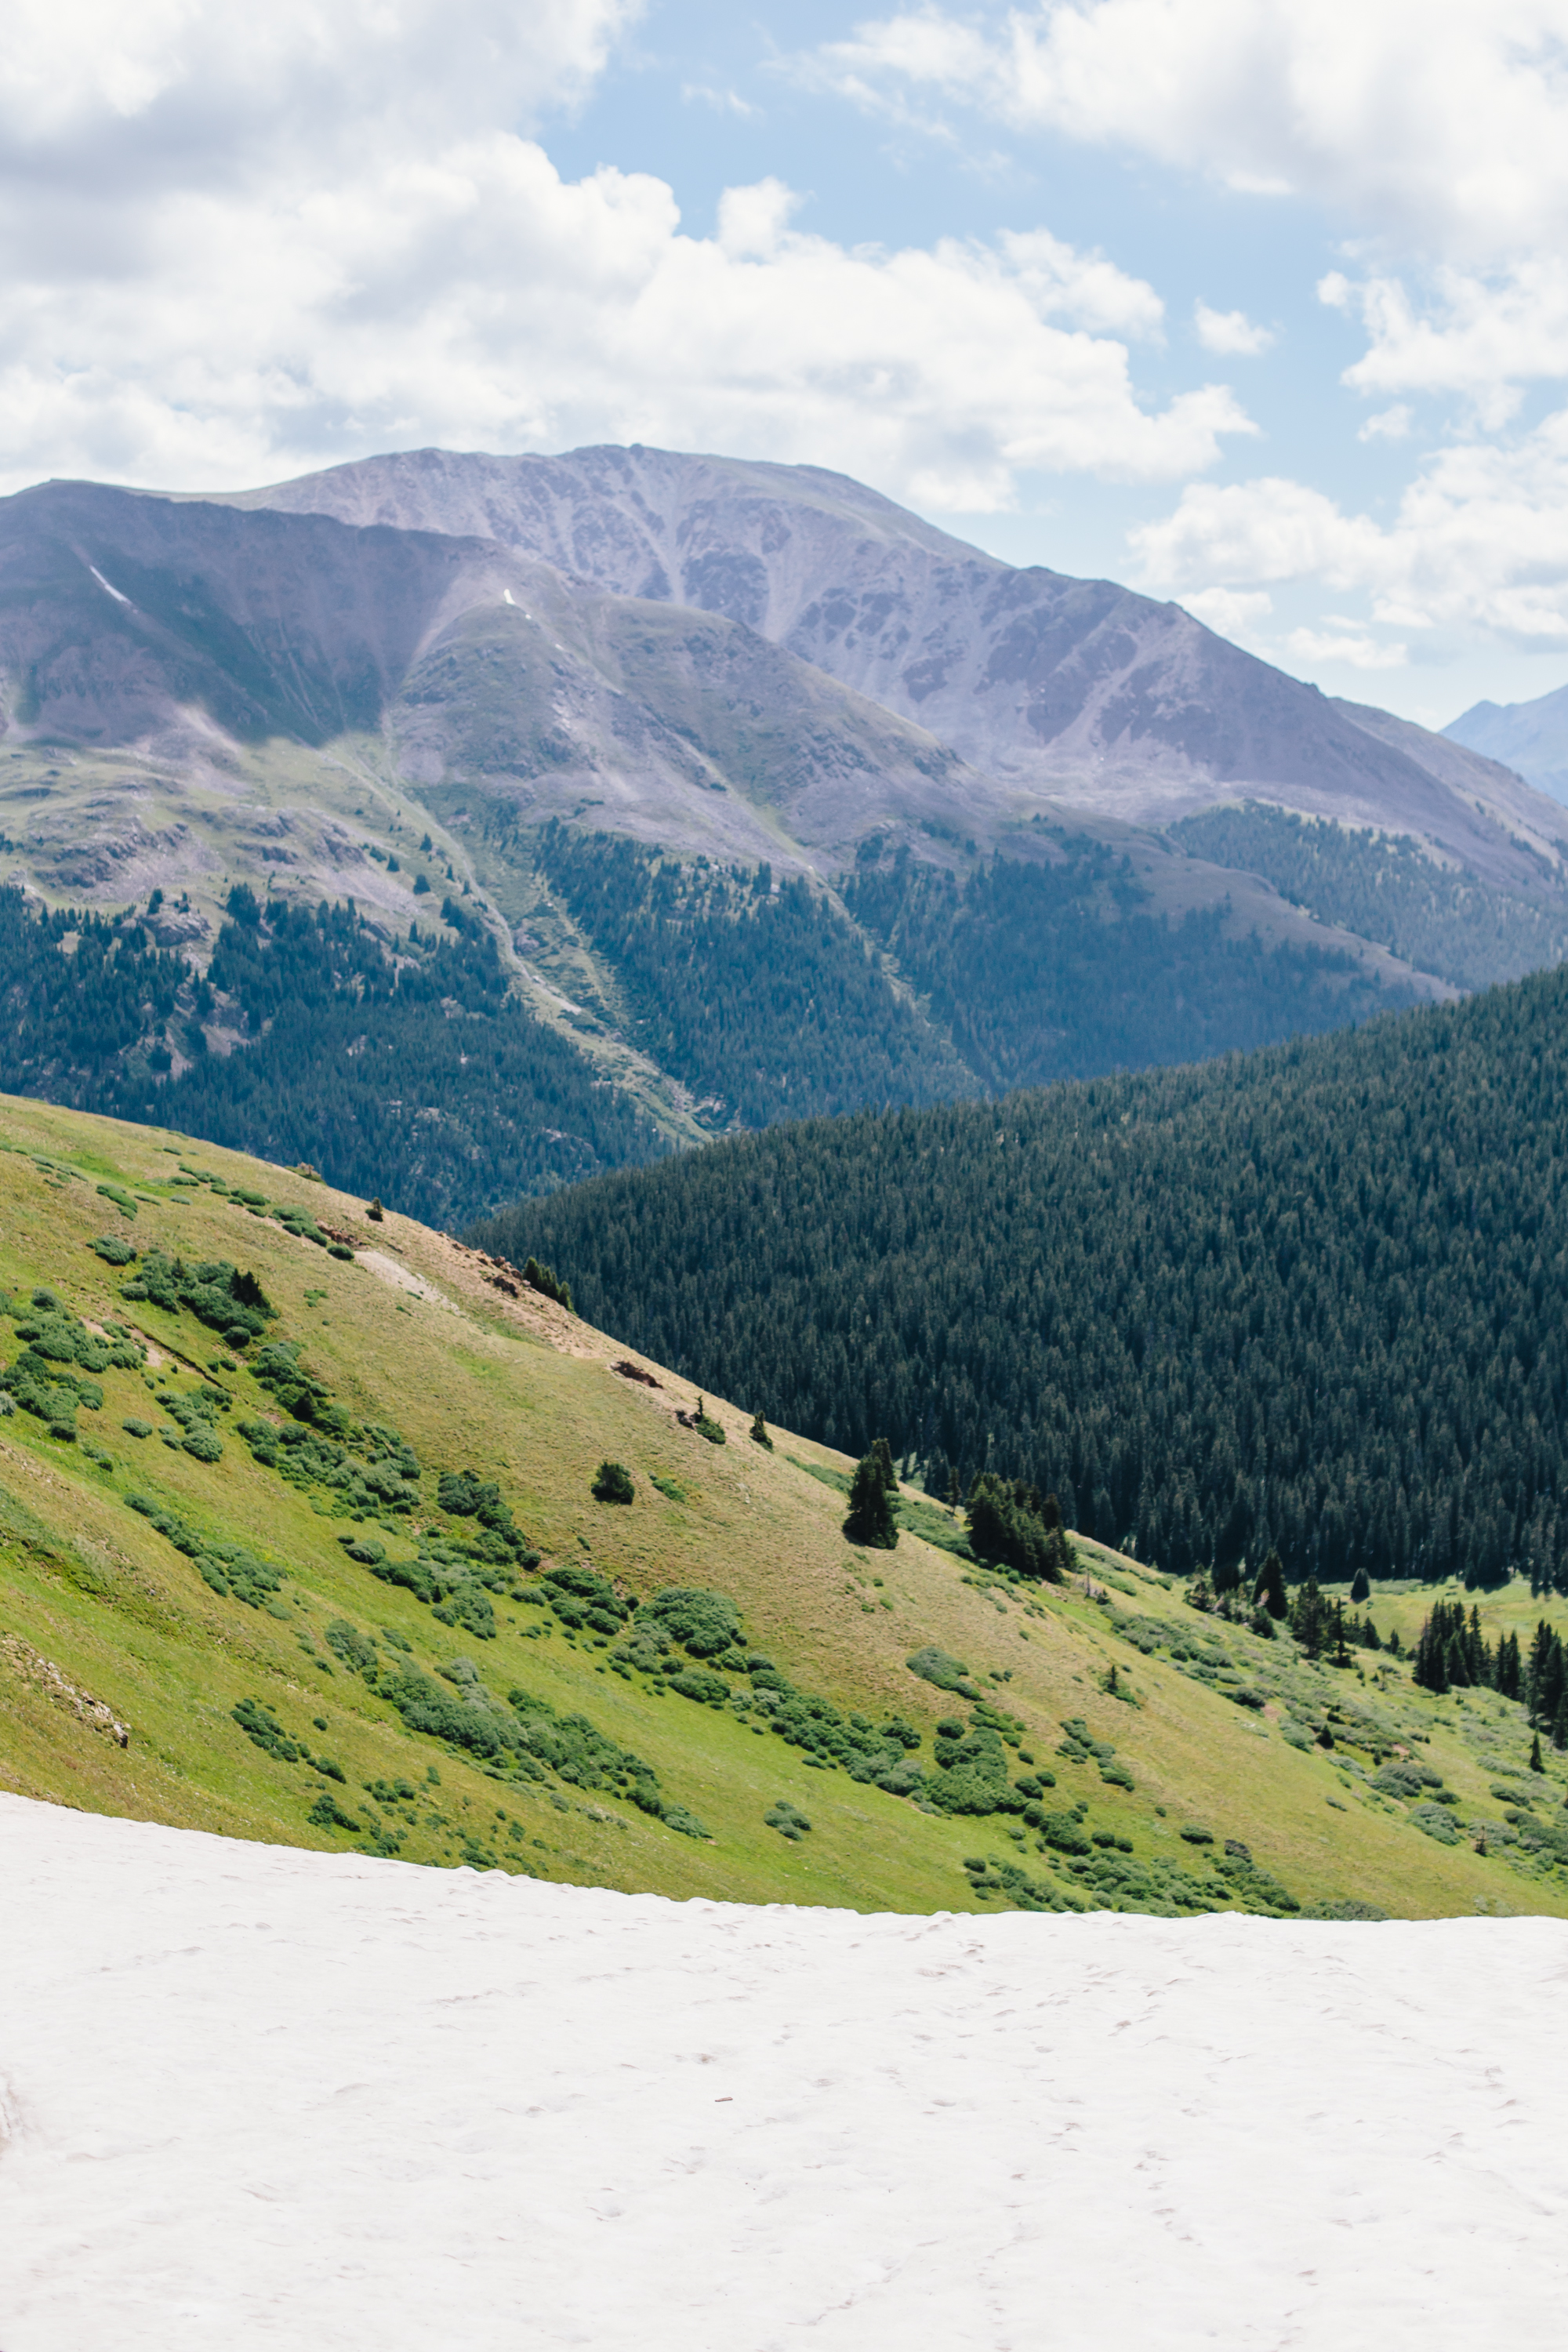
Alpine Colorado


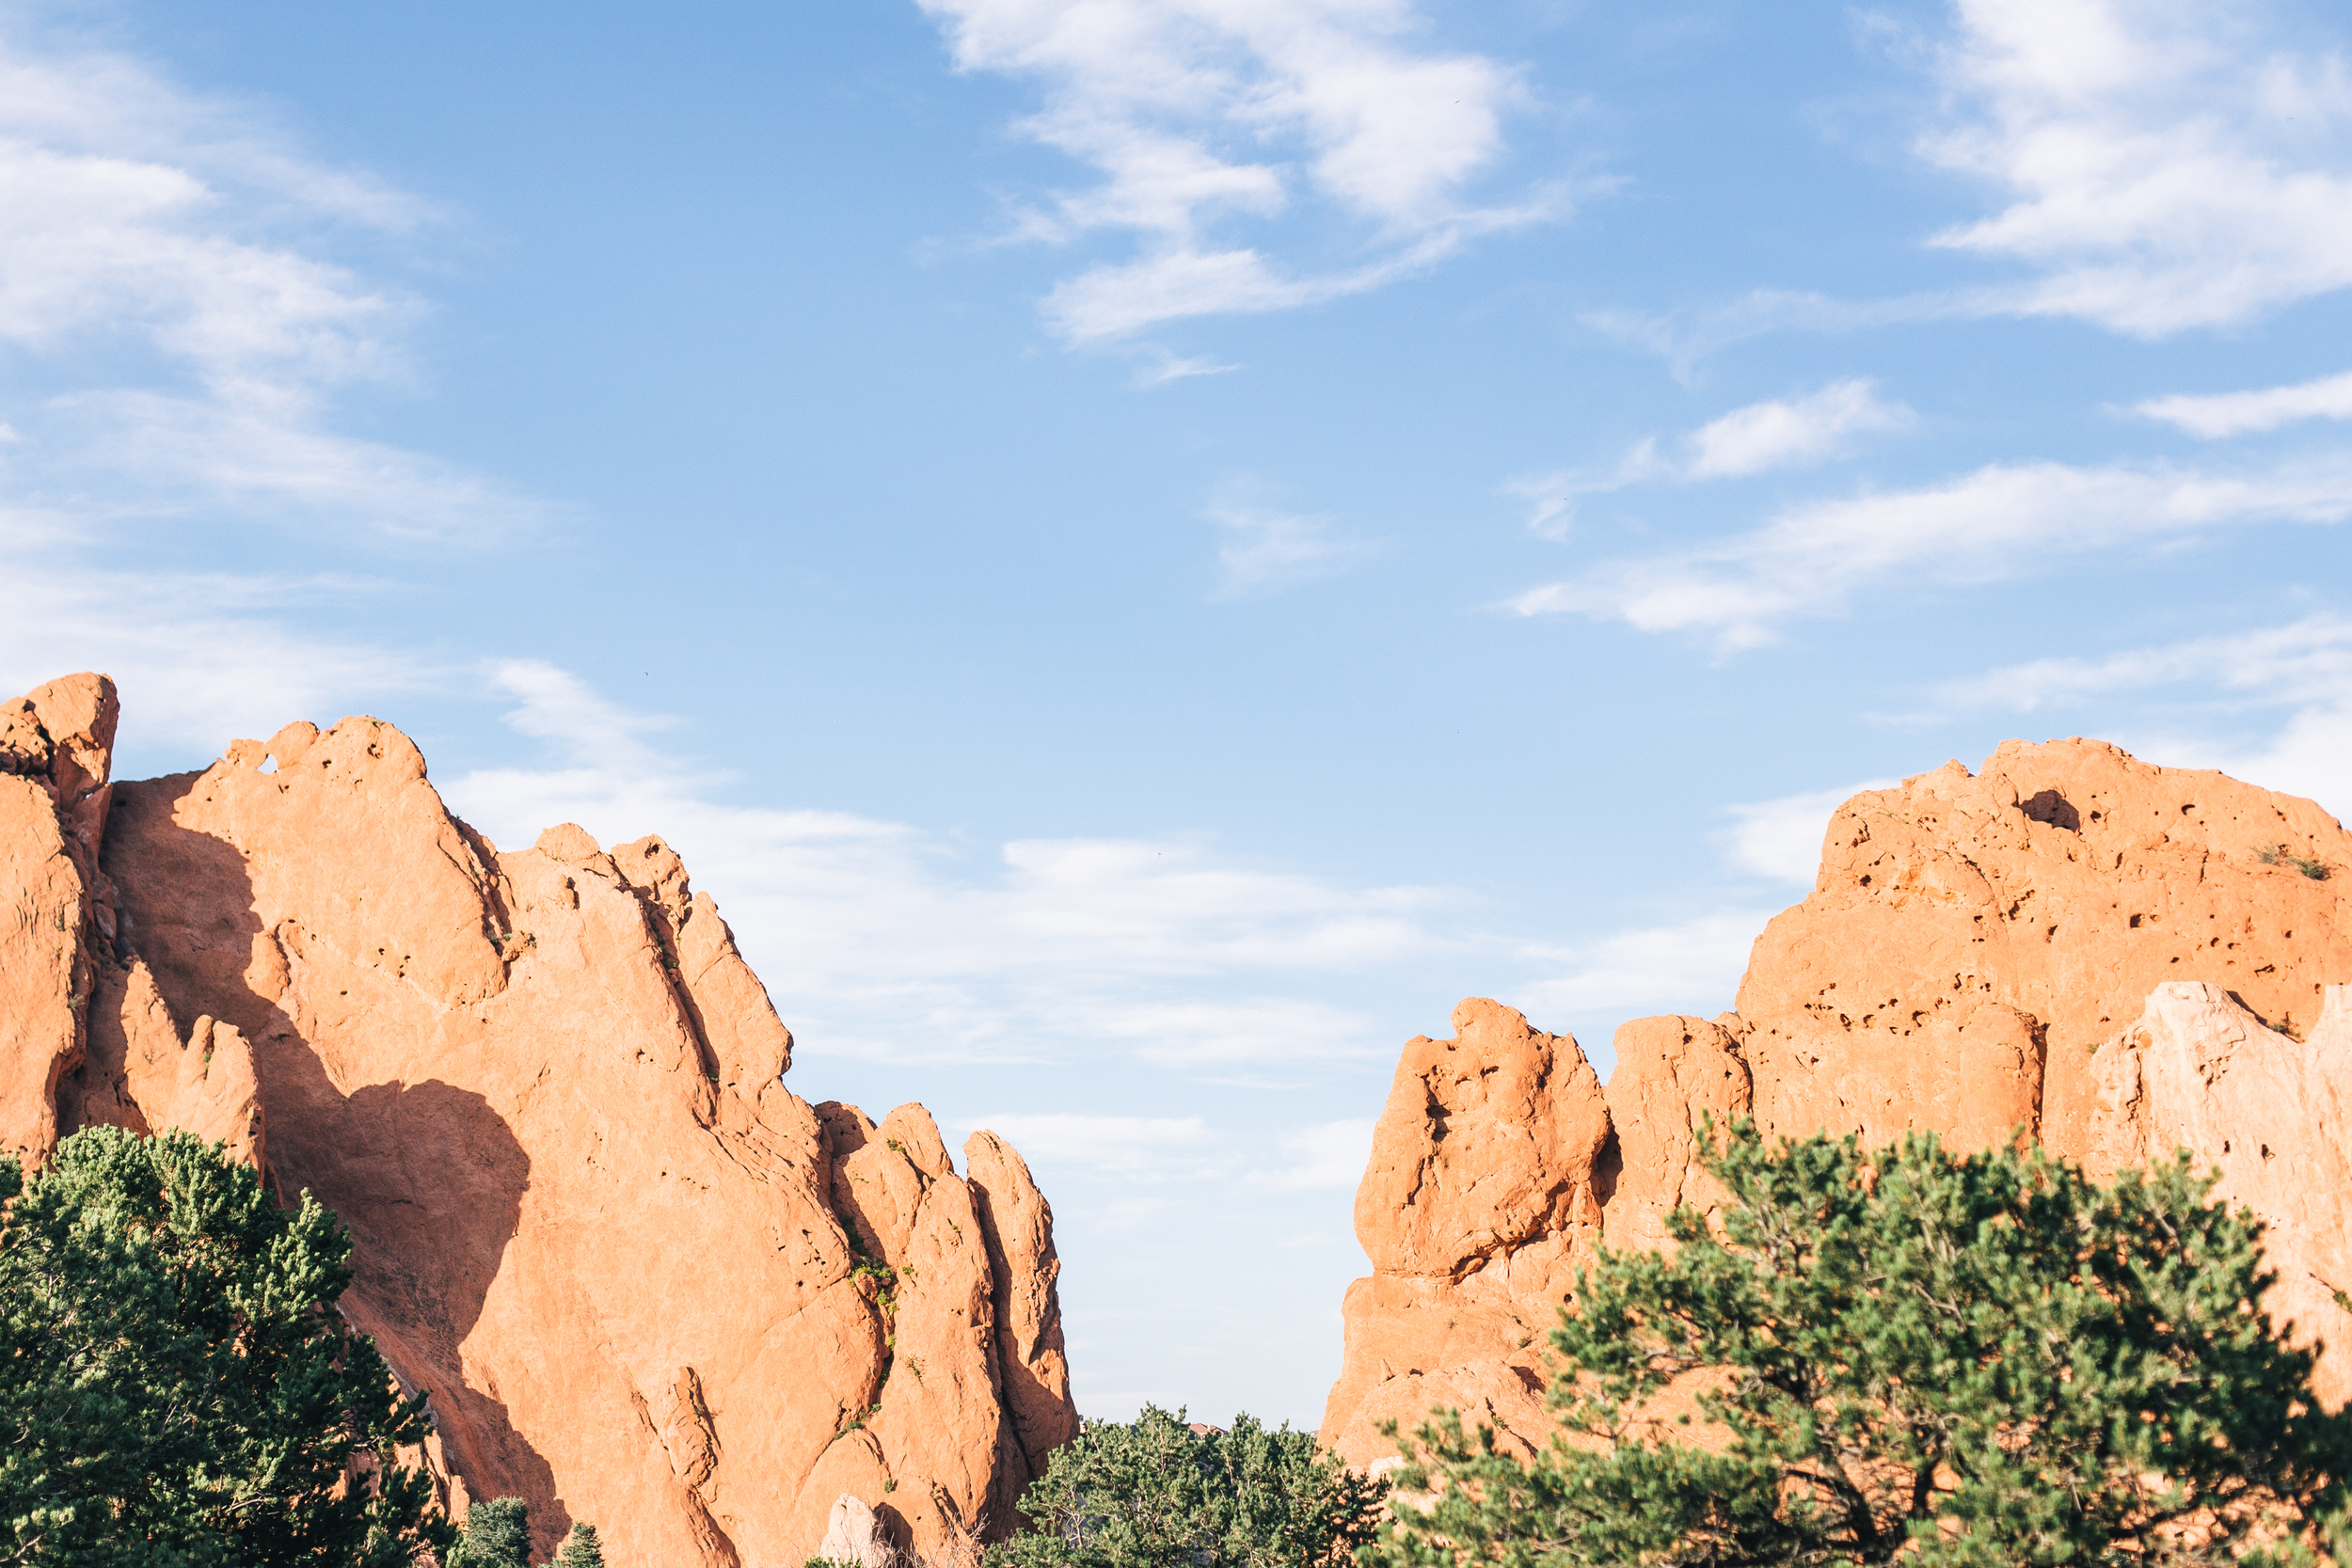
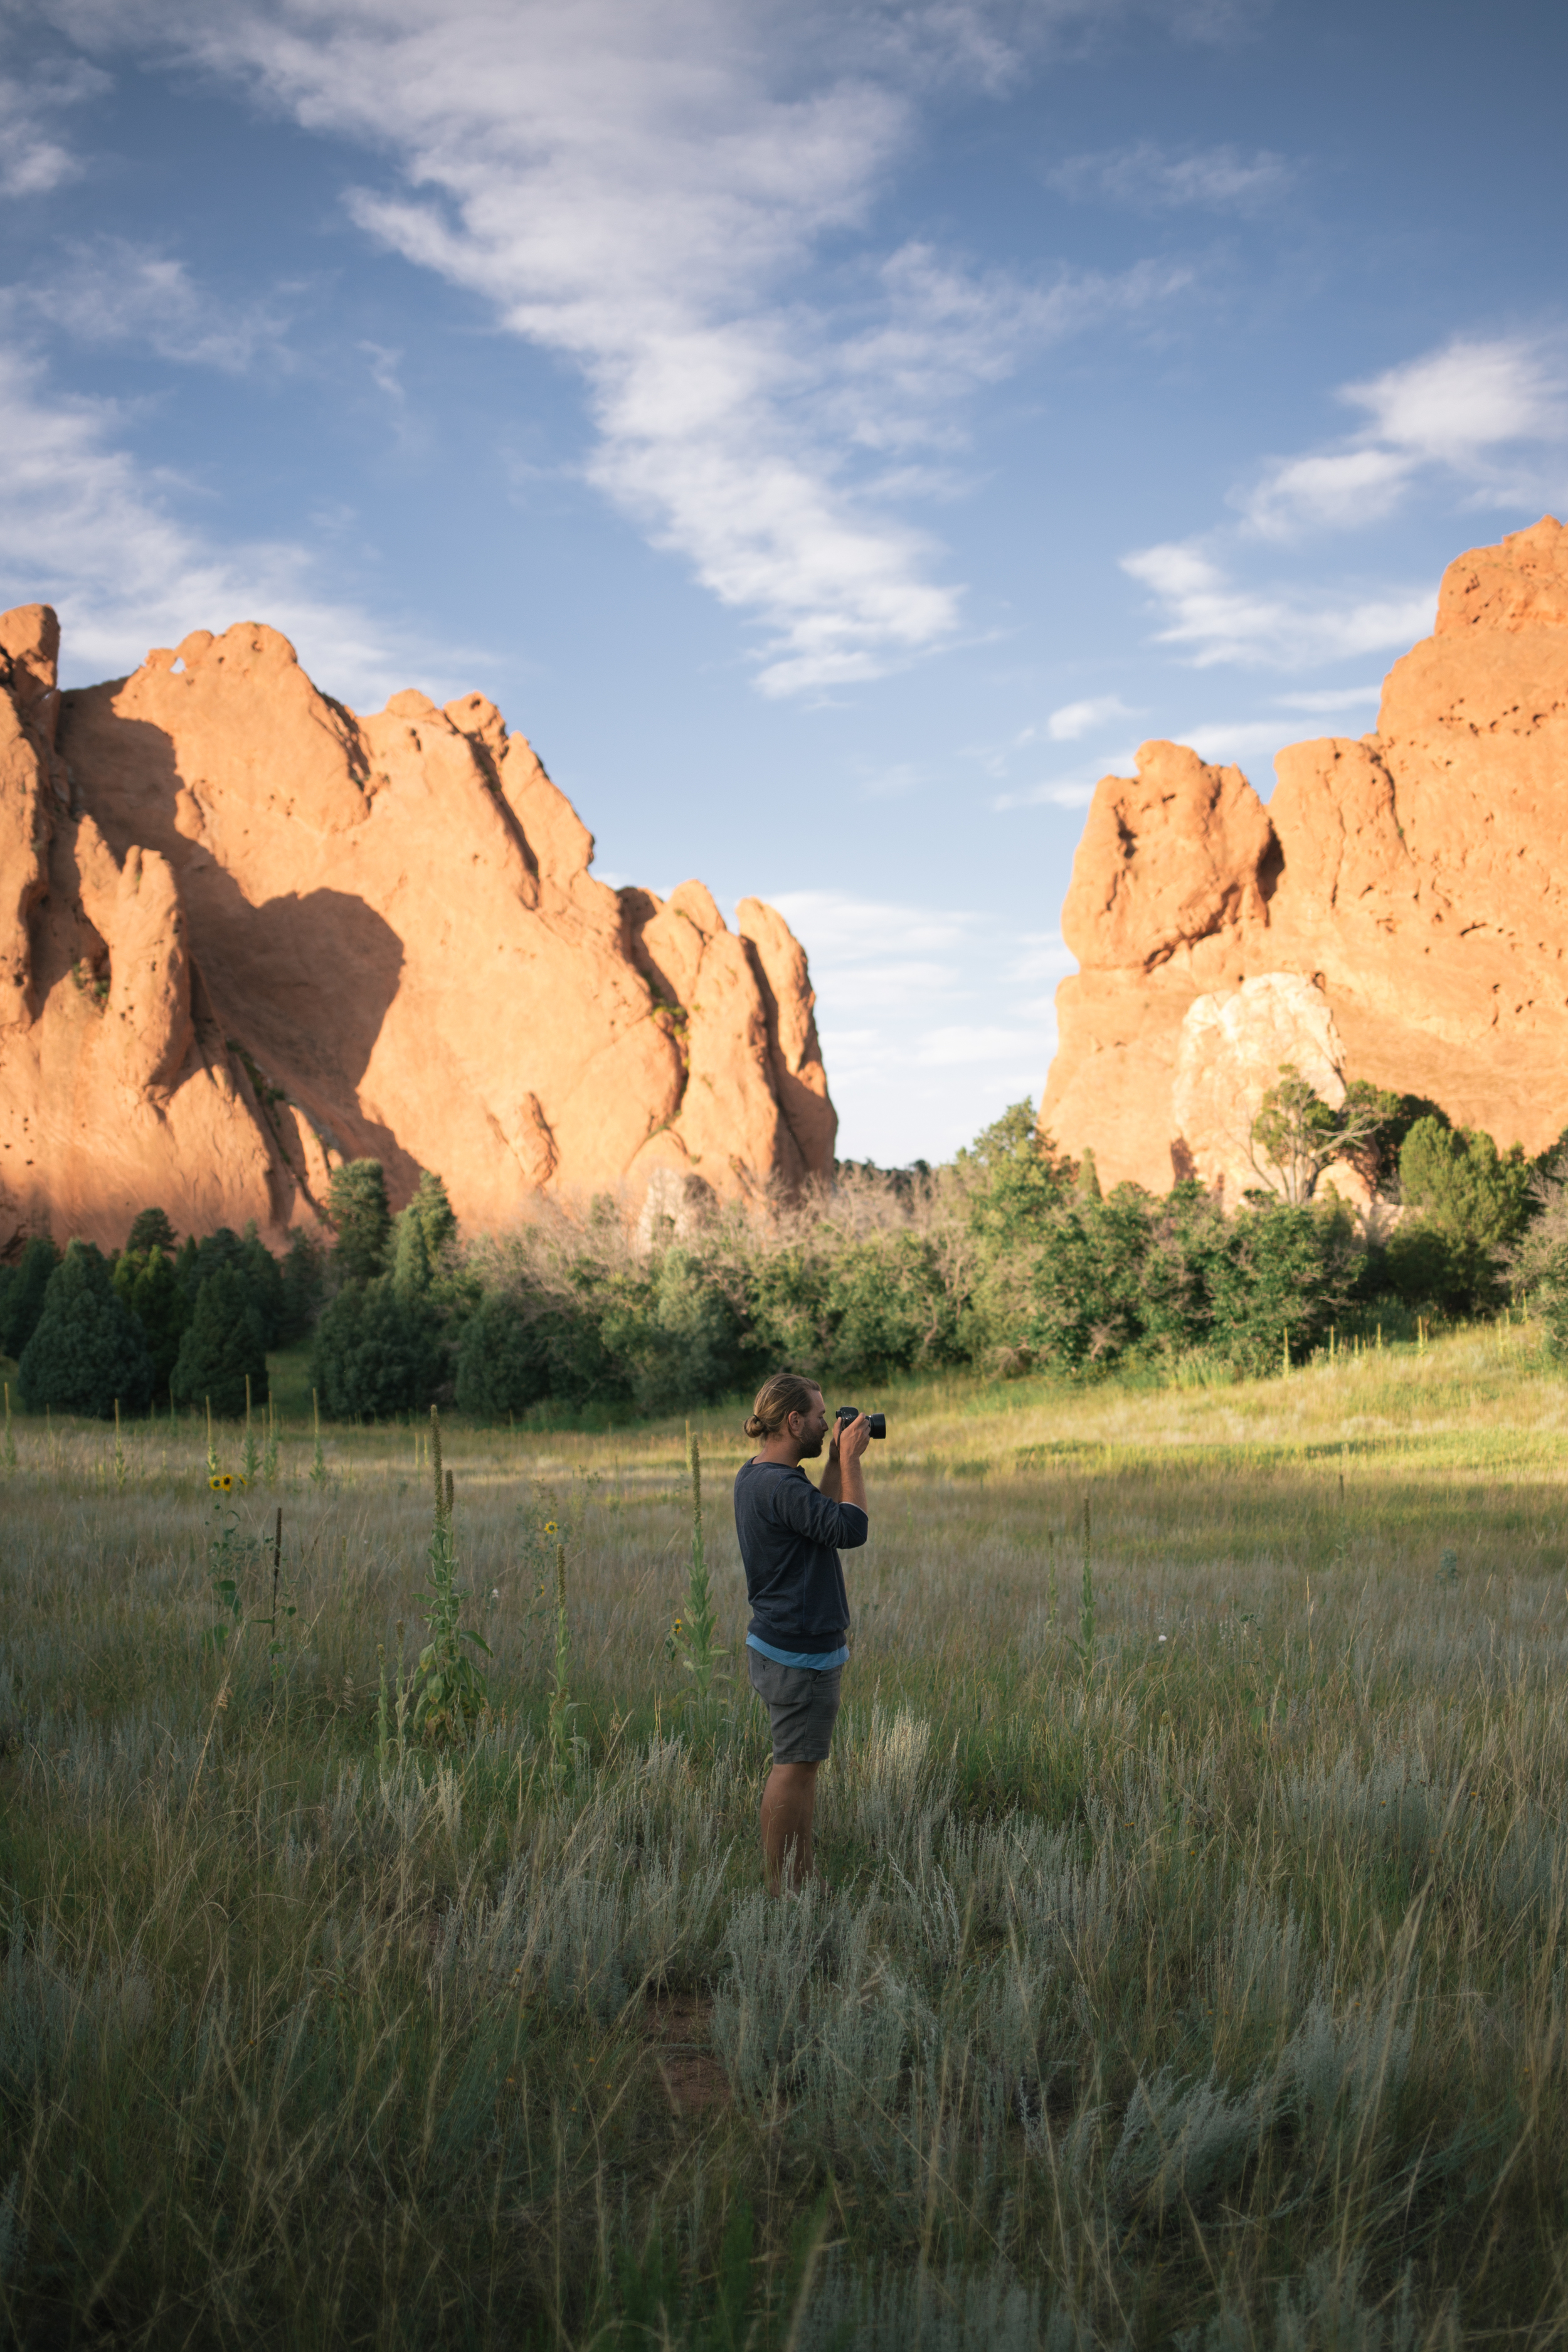
Garden of the Gods


Grand Canyon


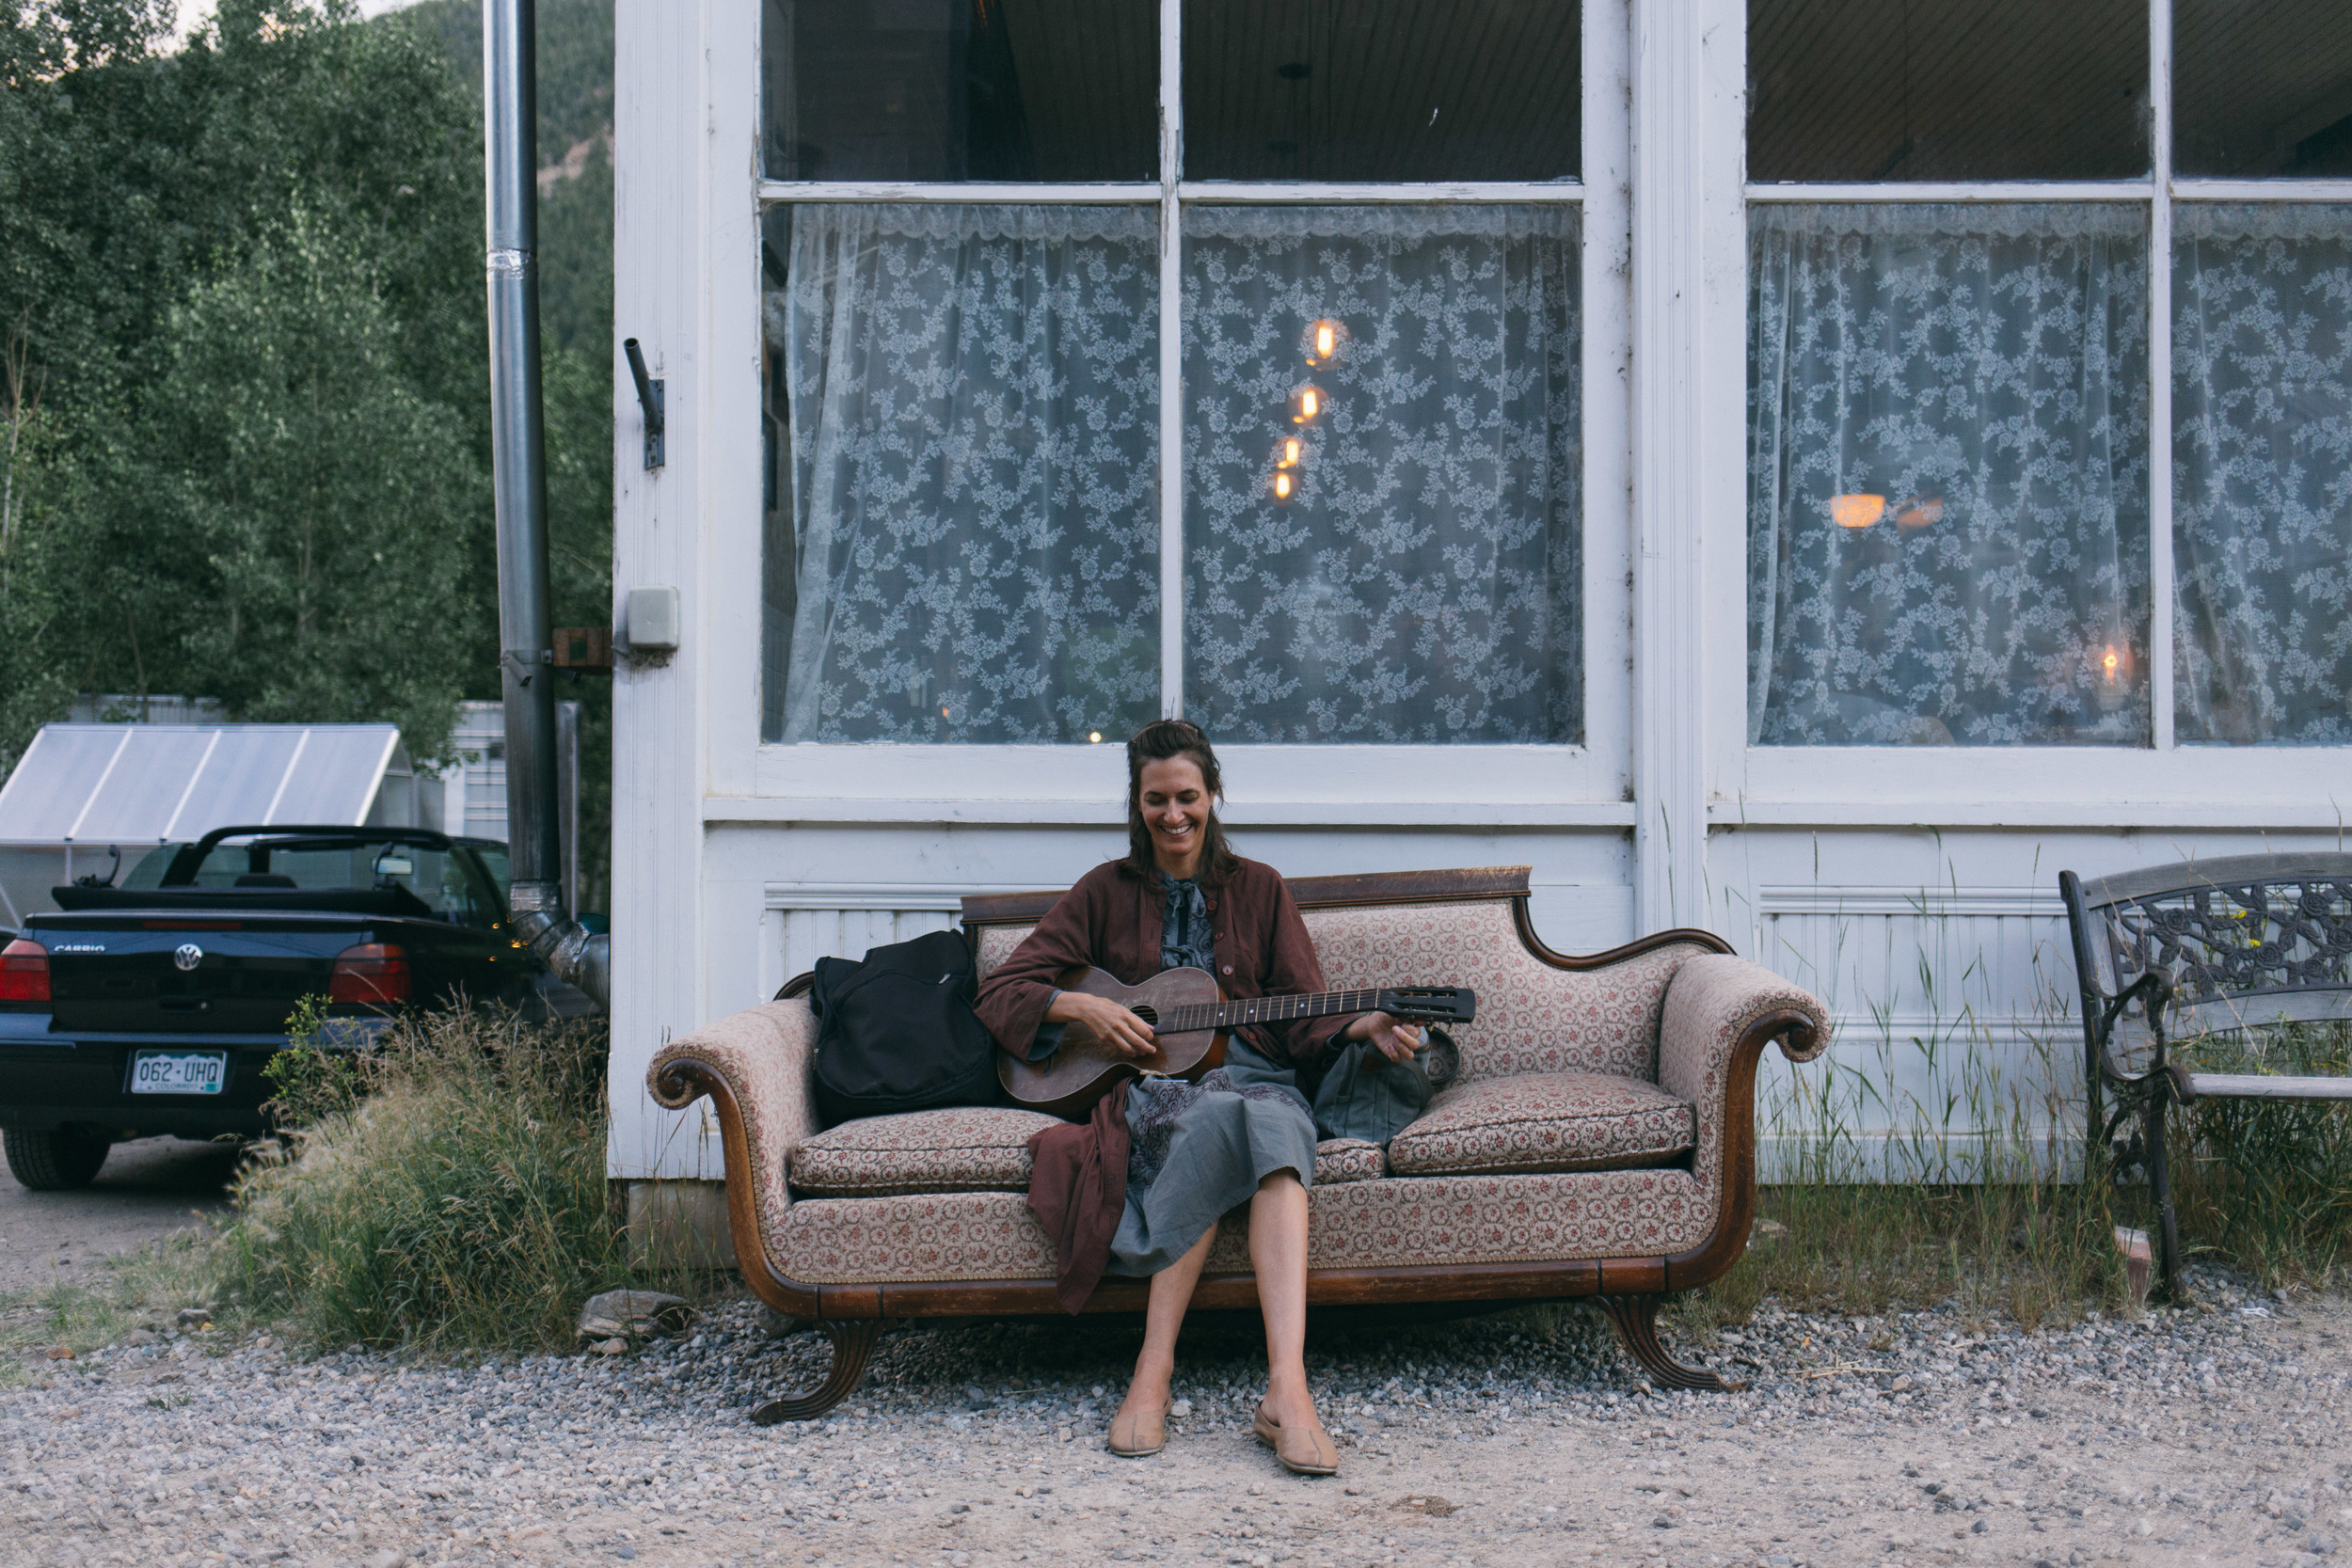
Silver Plume


Road Test Kitchen #3: Rachel's Palisade Peach Cobbler
We're sure that you must be familiar with the age old adage, "If life gives you peaches, make peach cobbler?"
Well, James and Rachel gave us fresh peaches from the farm and that's just what we did!

PALISADE PEACH COBBLER
4 large peaches, peeled and thinly sliced
1 cup rolled oats
1 stick butter
Brown Sugar
Flour
Cinnamon, ground

This is actually Rachel's recipe that she quickly orated from beneath the fruit laden orchard branches as we jotted the instructions down quickly on our mental note-tabs.
Rachel's recipe is one of the easiest we've ever made with a huge payoff in deliciousness. It's also one of the messiest. Peeling and slicing peaches is not for the faint of heart. It's basically like cutting up giant slime-balls that smell really good. It's weird.


Before we go any further, this is also one of the most sugar-filled recipes we've ever made. So if you're doing like a Paleo thing or something, just look away now.

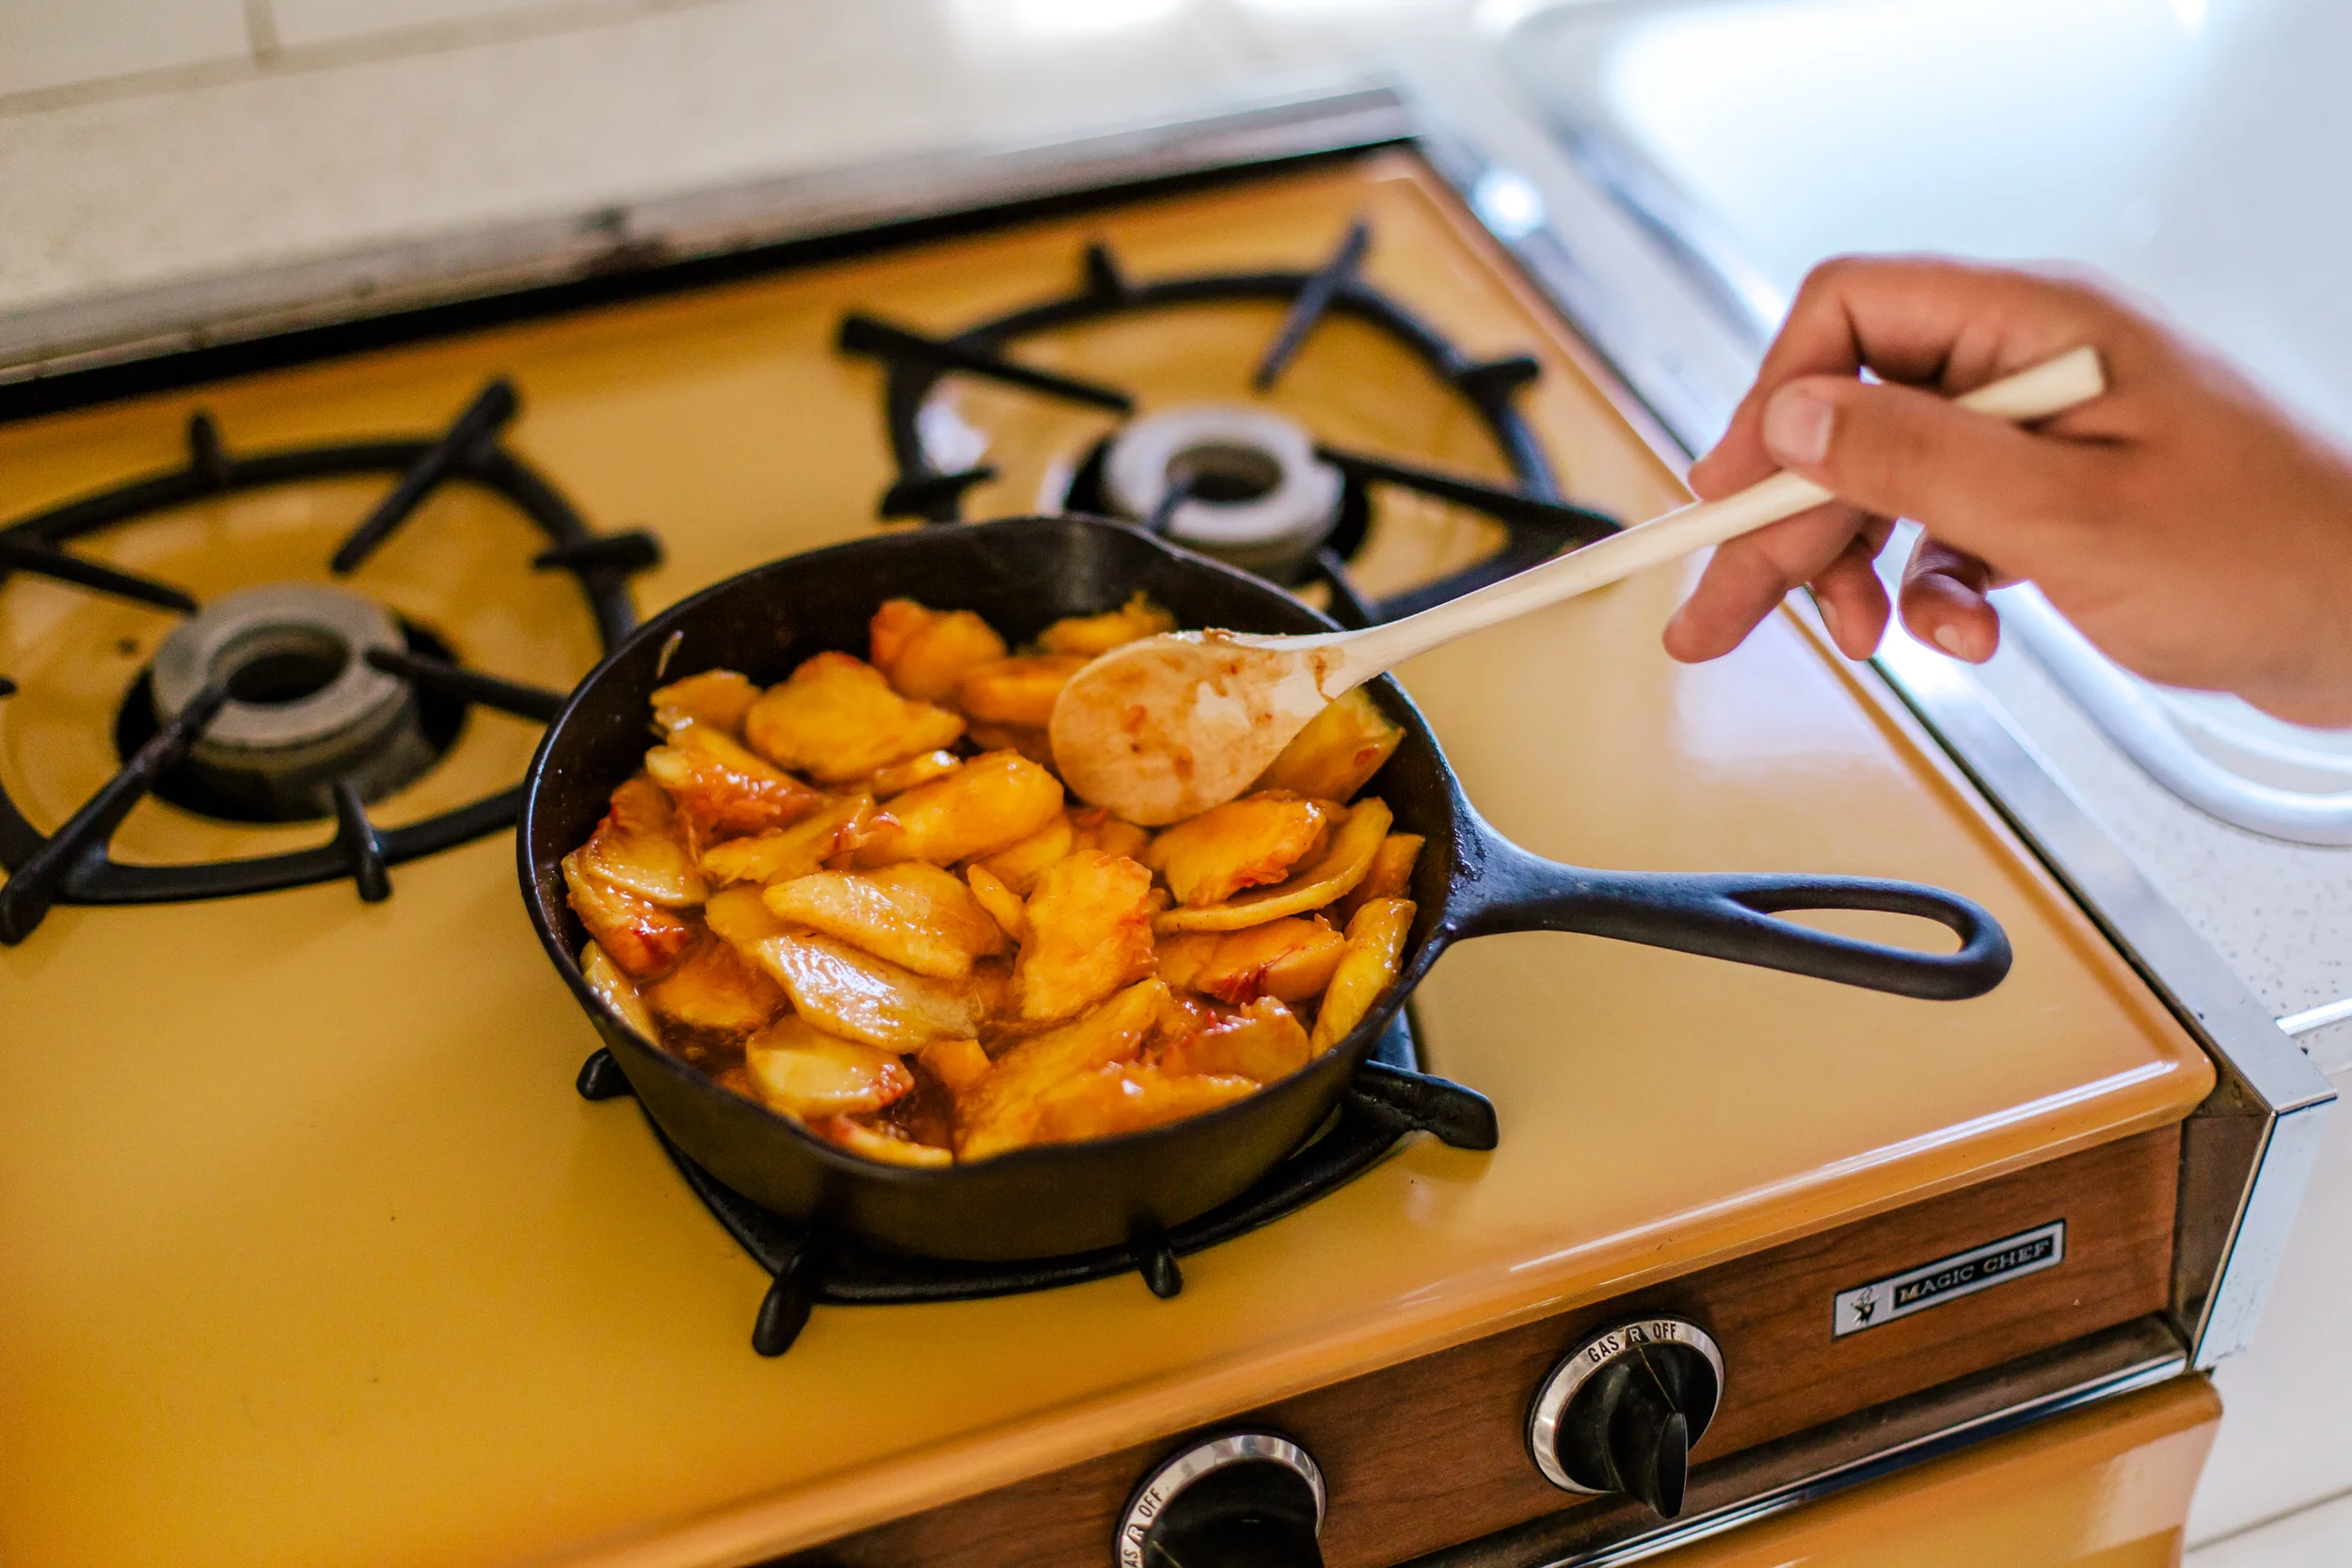
Once you've peeled and thinly sliced your peaches (and are likely up to your wrists in peach slime), layer all of the peach slices into a cast iron skillet. Sprinkle two pinches of brown sugar and a dash of ground cinnamon on top of the peaches and then set over medium heat on the stovetop.

While the peaches are on the stovetop, you can work on the cobbler topping. Put a softened stick of butter into a bowl and then cover with oats (this will be about a cup of oats).
Mix it up really well with a wooden spoon or spatula. It's going to start clumping up a little which is good. Essentially, what we're going for here is like a wet papier-mache consistency that will hopefully give you nice memories of making the solar system in fifth grade.
Slowly, in pinches, add flour to the bowl while still mixing. After 2-4 pinches of flour, the mixture will clump up even more and then you can stop adding flour. Now it will be like a thick, oatsy goop.

Add MORE SUGAR!!! Sprinkle it all over the top of everything. And three hearty dashes of cinnamon. Mix it all up!

Then spread your topping over the peaches. We took ours off the heat to do so in this photo, just to make it easier.

Put a couple peach slices on top for a nice decorative touch. Then - yes, we're going to say it - sprinkle more brown sugar all over the top. This top layer of brown sugar will melt and caramelize into little crusty bits of burnt goodness on the top of the cobbler.


Into the oven the whole thing goes! Set the oven for 325' and cook for about 30 minutes.

Enjoy warm with vanilla ice cream! It's really, really yummy. And we promise that it doesn't taste like slime or papier-mache. But it does taste like the solar system. It also tastes like cinnamon and toasted sugar and fresh peaches and crunchy goodness.

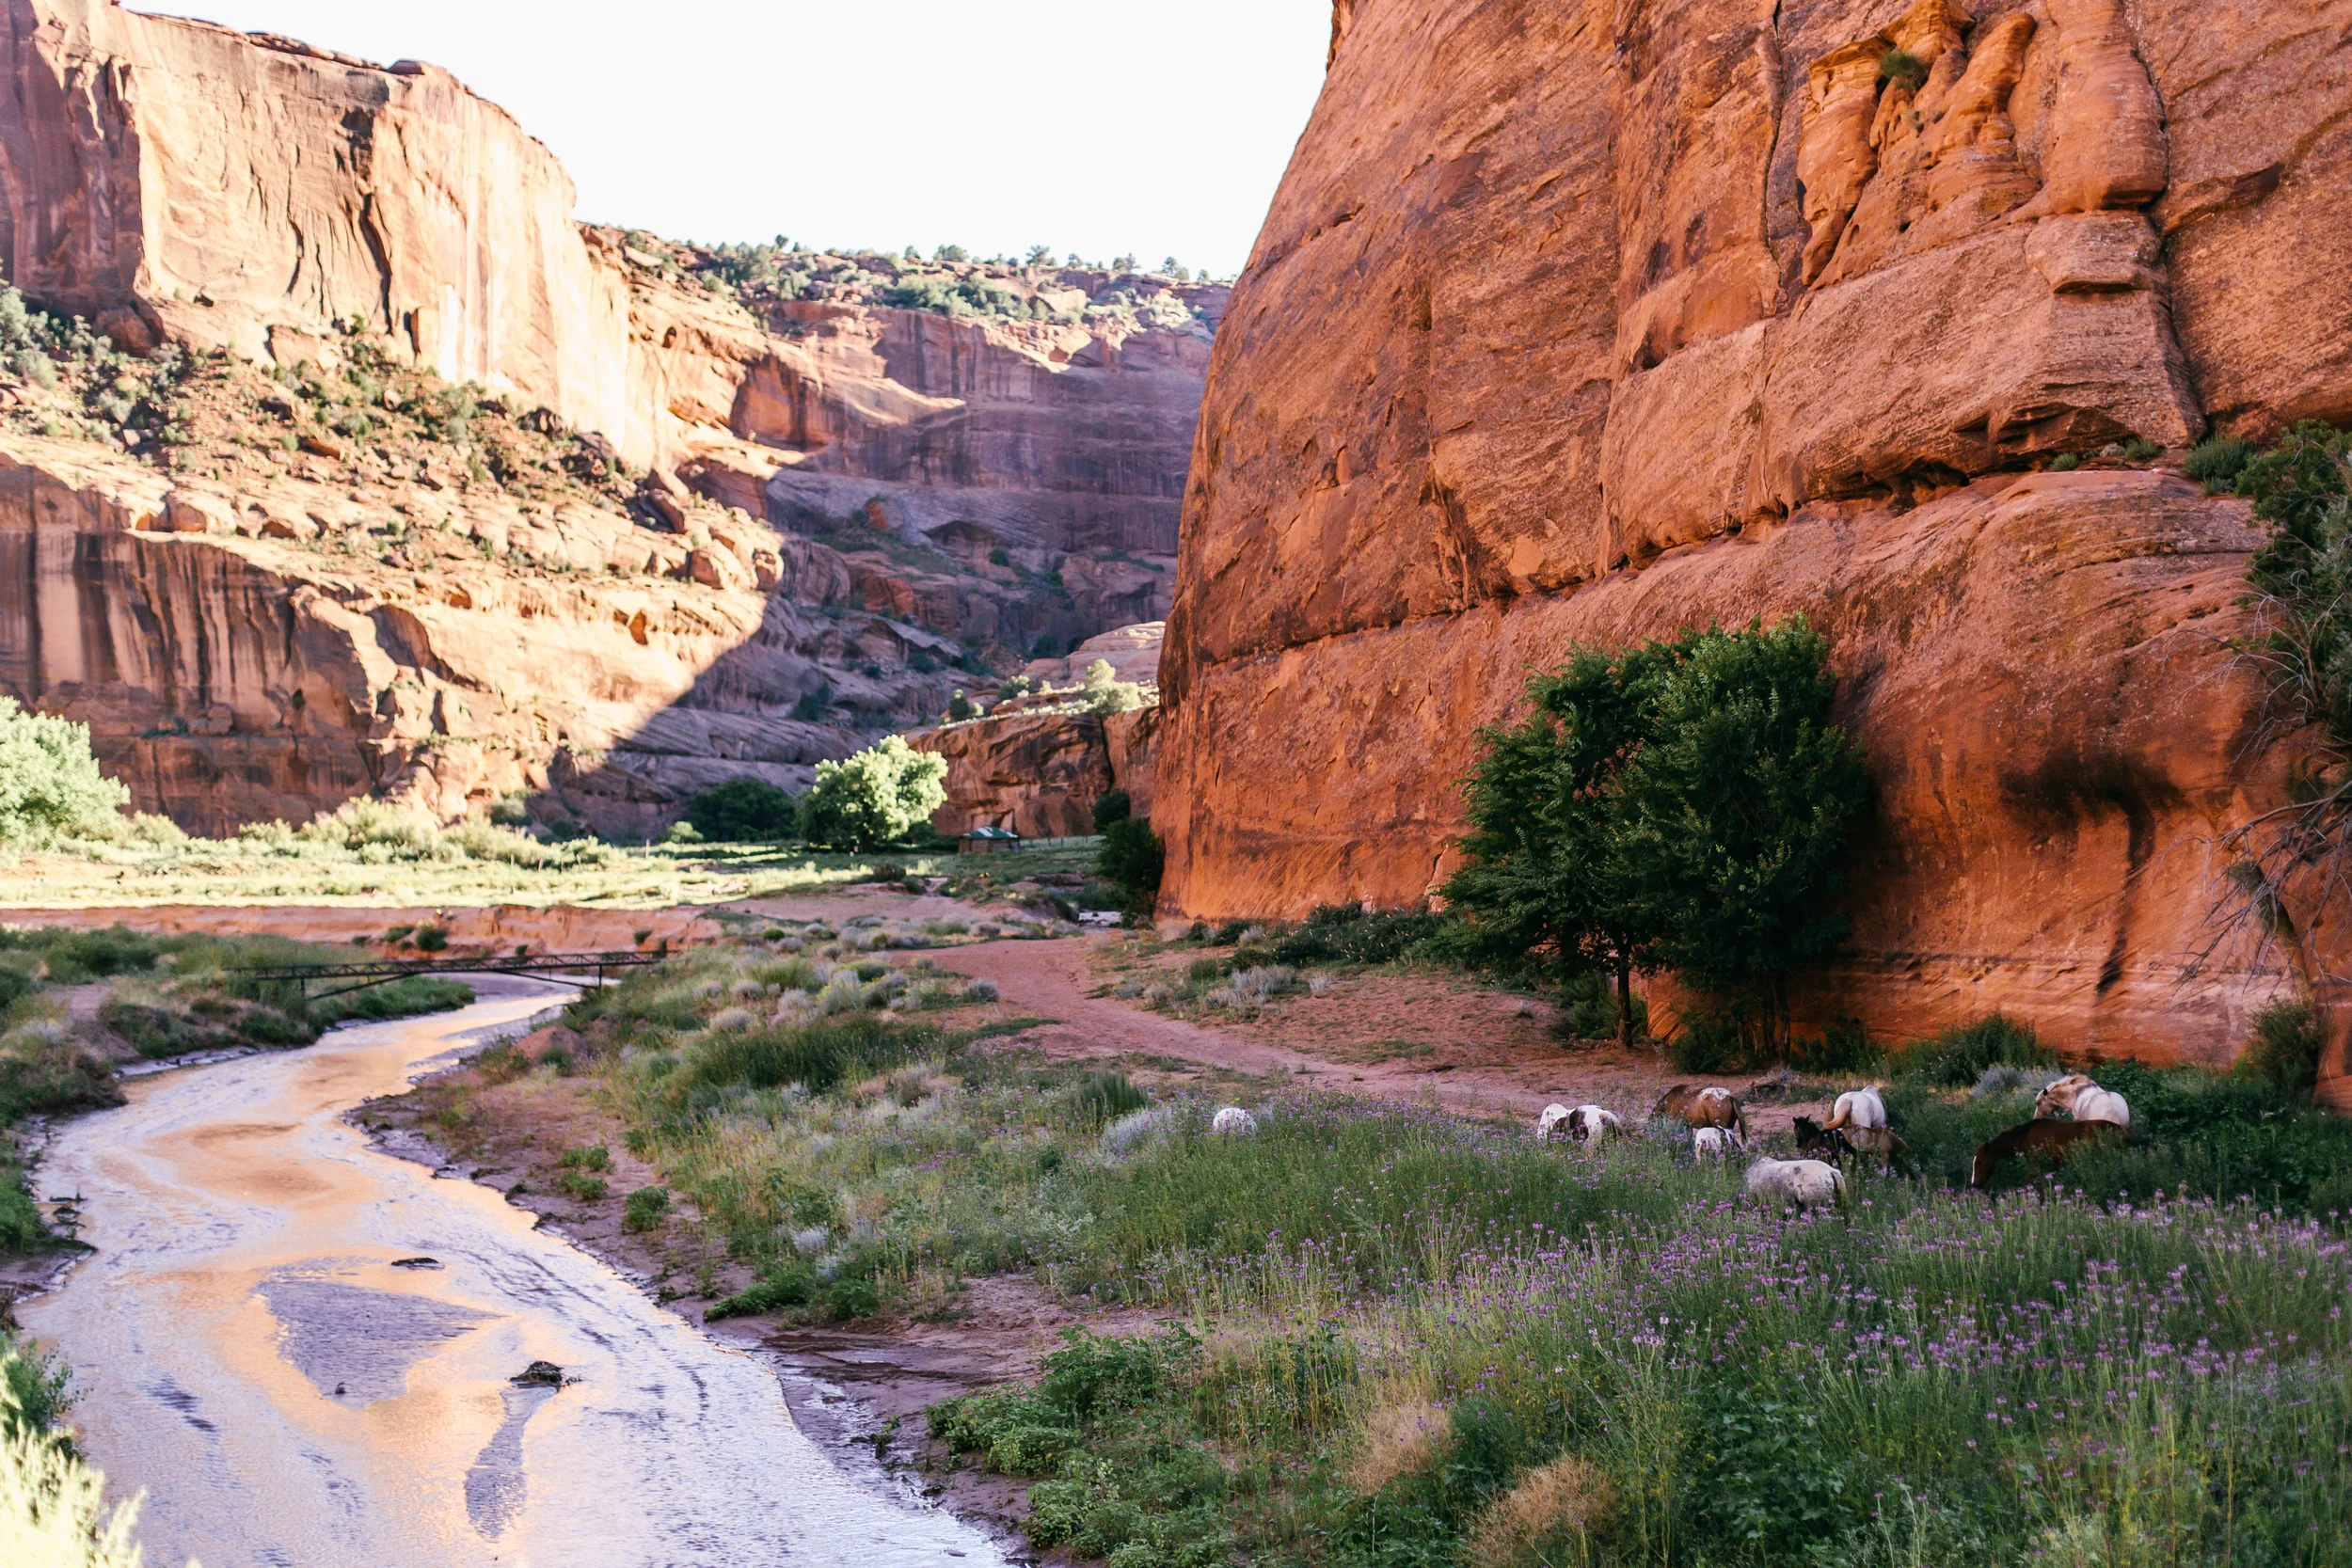
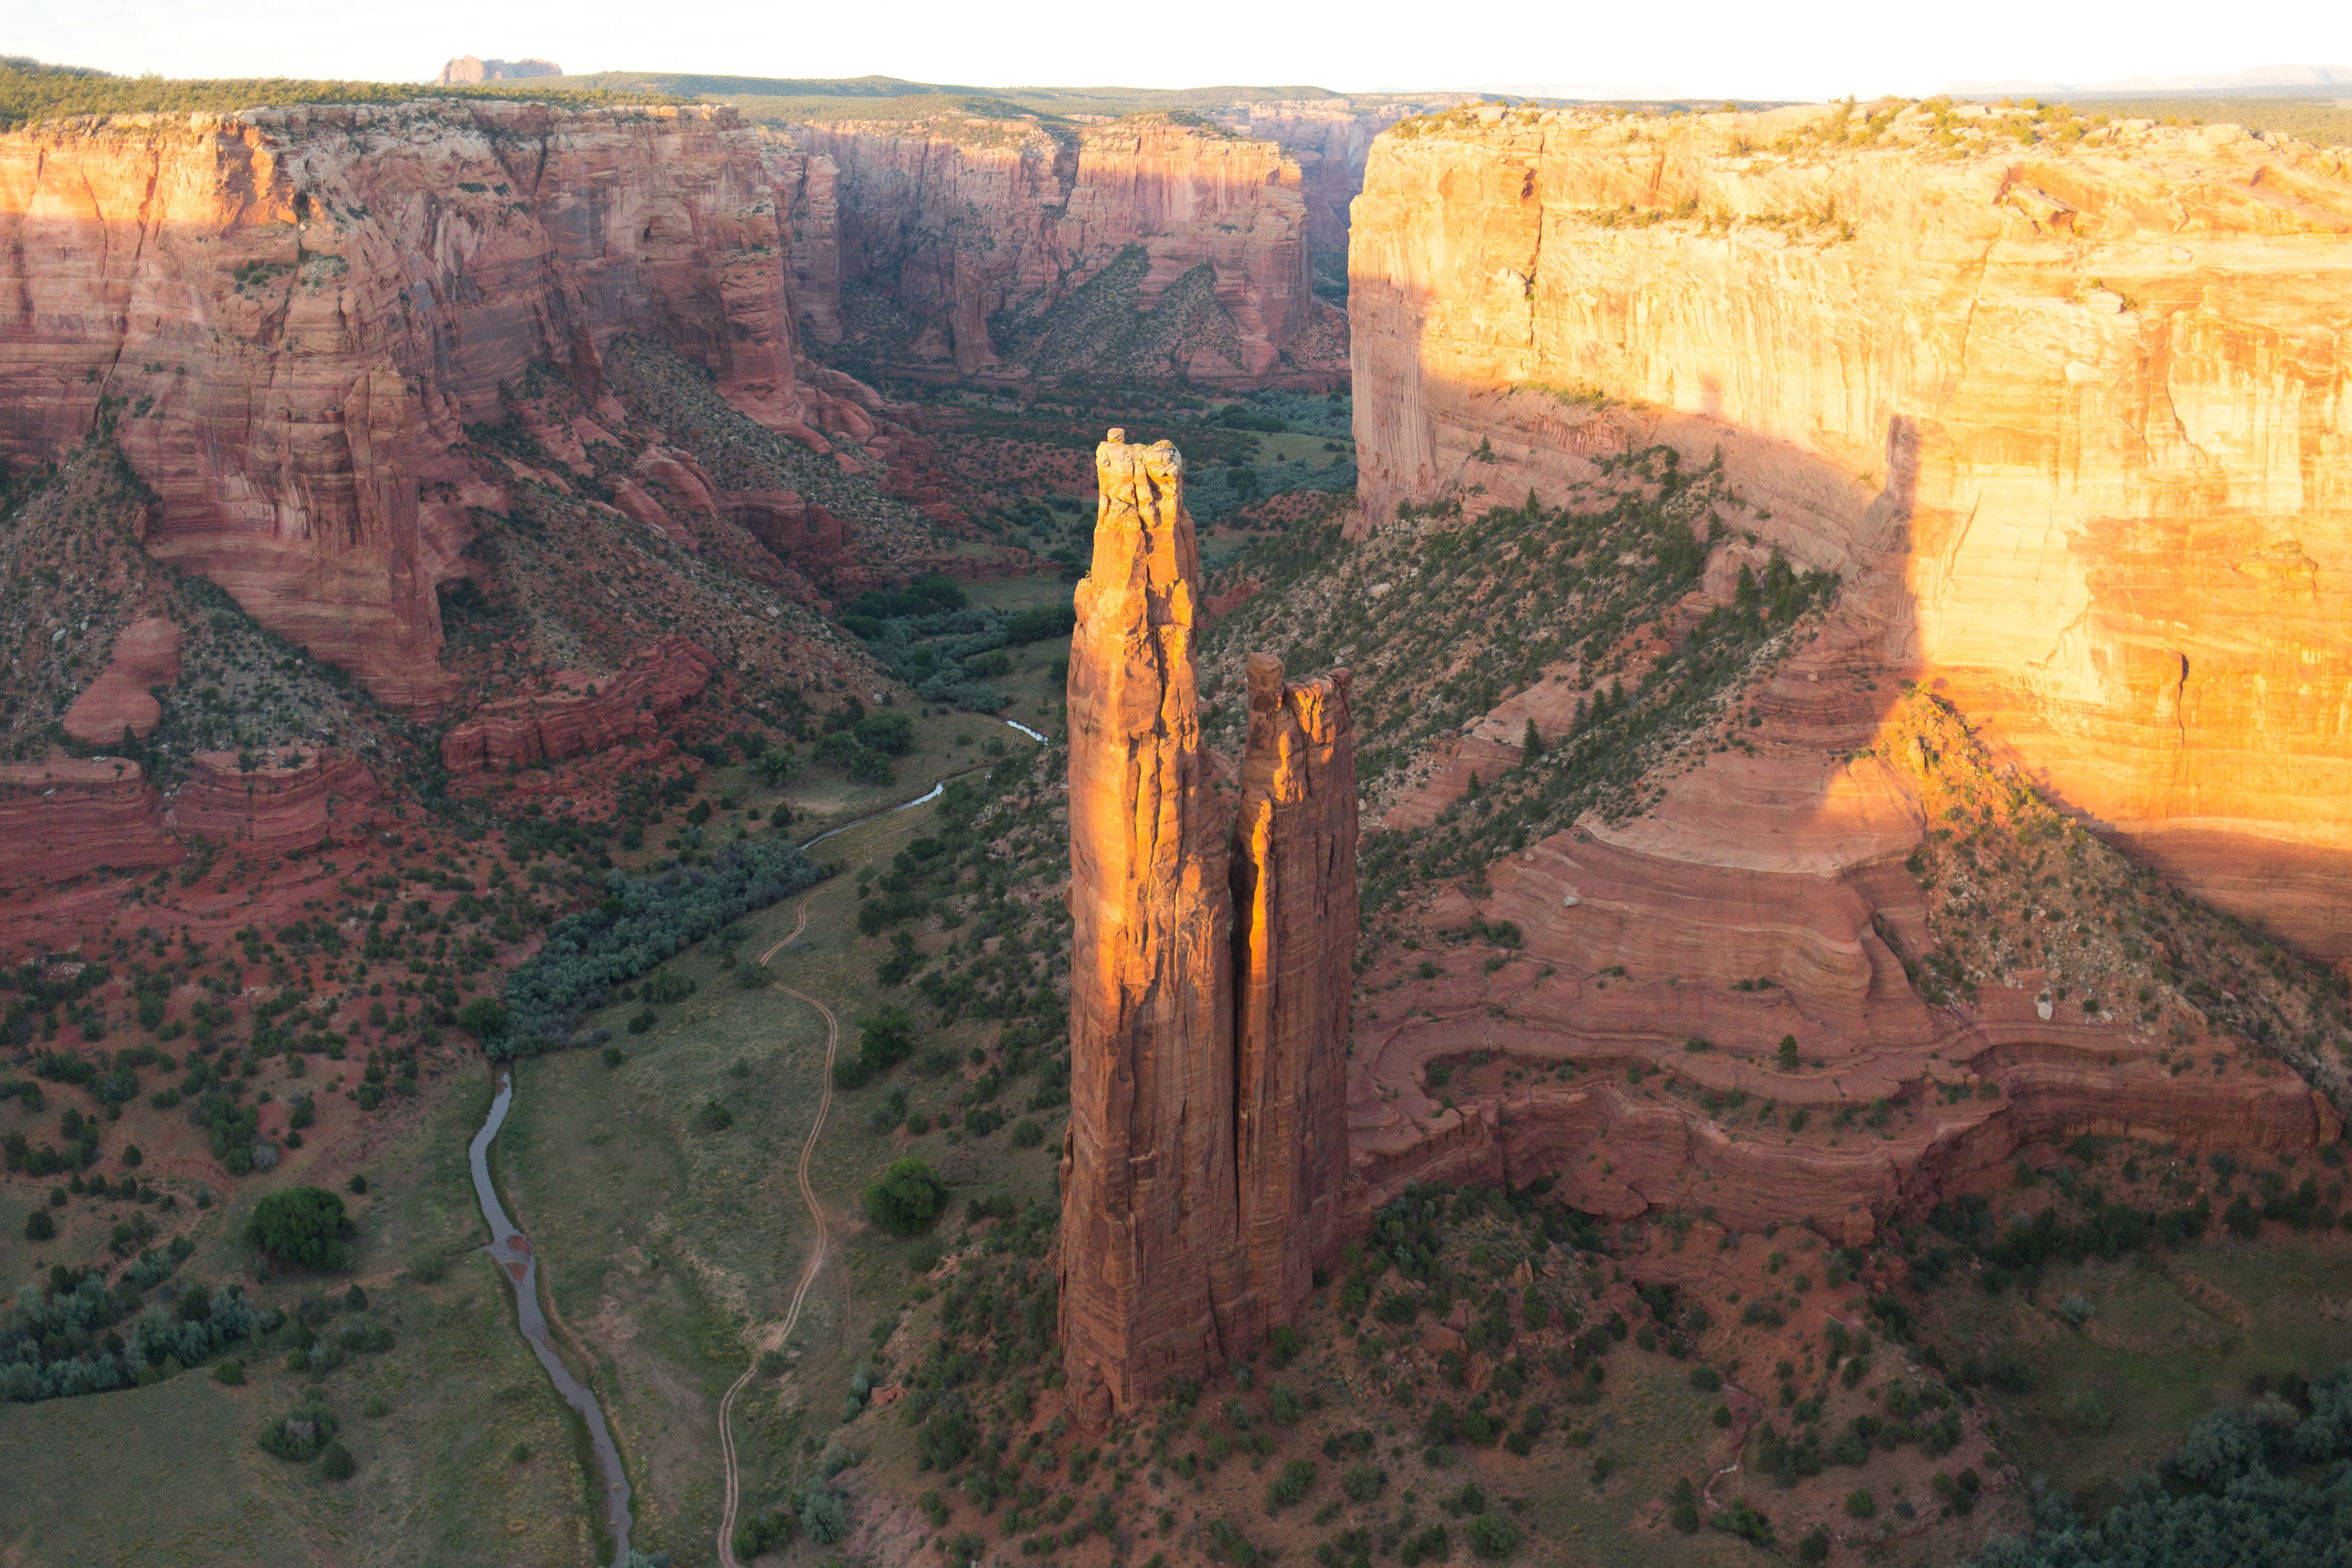
Canyon De Chelly


Road Test Kitchen #2: New Mexico Chile Verde
Here's a fun video to start!

We wanted to make a traditional Southwestern dish during our time in New Mexico.
Y'all, I'm just gonna say it right now, we pretty much killed it.
This Chile Verde recipe is incredible - we tweaked a classic recipe from Saveur magazine. We had to make some substitutions based on the ingredients we could find.
Super easy to make on the stovetop in one pot, this recipe just takes some time to cook. But that's what gives it the succulent flavor of a Georgia O'Keefe painting! A wonderful combination of sweet, savory, and moderate spice, this dish is perfect for making on the road.*
CHILE VERDE
Thick pat of coconut oil
1 lb. of cubed pork shoulder
Salt & pepper
4 oz. ground breakfast sausage
1 tbsp. ground cumin
0.5 tbsp. green chile powder
1/4 cup scallions
6 tomatillos, husked, rinsed, finely chopped
1 medium yellow onion
1 serrano pepper, stemmed, seeded, finely chopped
1 green hatch chile, stemmed, seeded, finely chopped
1 green bell pepper, stemmed, seeded, finely chopped
1 cup chicken stock
1 can green enchilada sauce
Roughly torn cilantro leaves for garnish

It definitely wasn't hard to find peppers. What you need to know about the Southwest is that it's basically a giant pepper festival. Peppers are sold by the side of the road. The grocery stores have mountains of peppers: green hatch, serrano, jalapeno, bell. Dried peppers, fresh peppers, roasted peppers, ground peppers, pepper sauce, pepper powder. It's like all the peppers got together and decided, "Let's have a giant pepper meet-up! Let's all buy pepper timeshares in the desert; it's too cold here!!" Many of the grocery stores even roast the peppers themselves. I think this normally occurs near the deli in the vicinity of the towers of stacked boxes of peppers.


First, cut all the veggies! Make sure to wash your hands carefully after cutting hot peppers; don't touch your eyes, whatever you do, while chopping.


Season pork with salt and pepper to taste, then toss with flour.


Add pork slowly in batches and cook in coconut oil over medium heat for just a few minutes until brown! Hear that sizzle! Then remove from heat and set aside in a bowl. Now, brown the sausage in the same pot that you previously cooked the pork in. Again, just a few minutes until brown.
Remove the sausage and put it in the bowl with the pork.
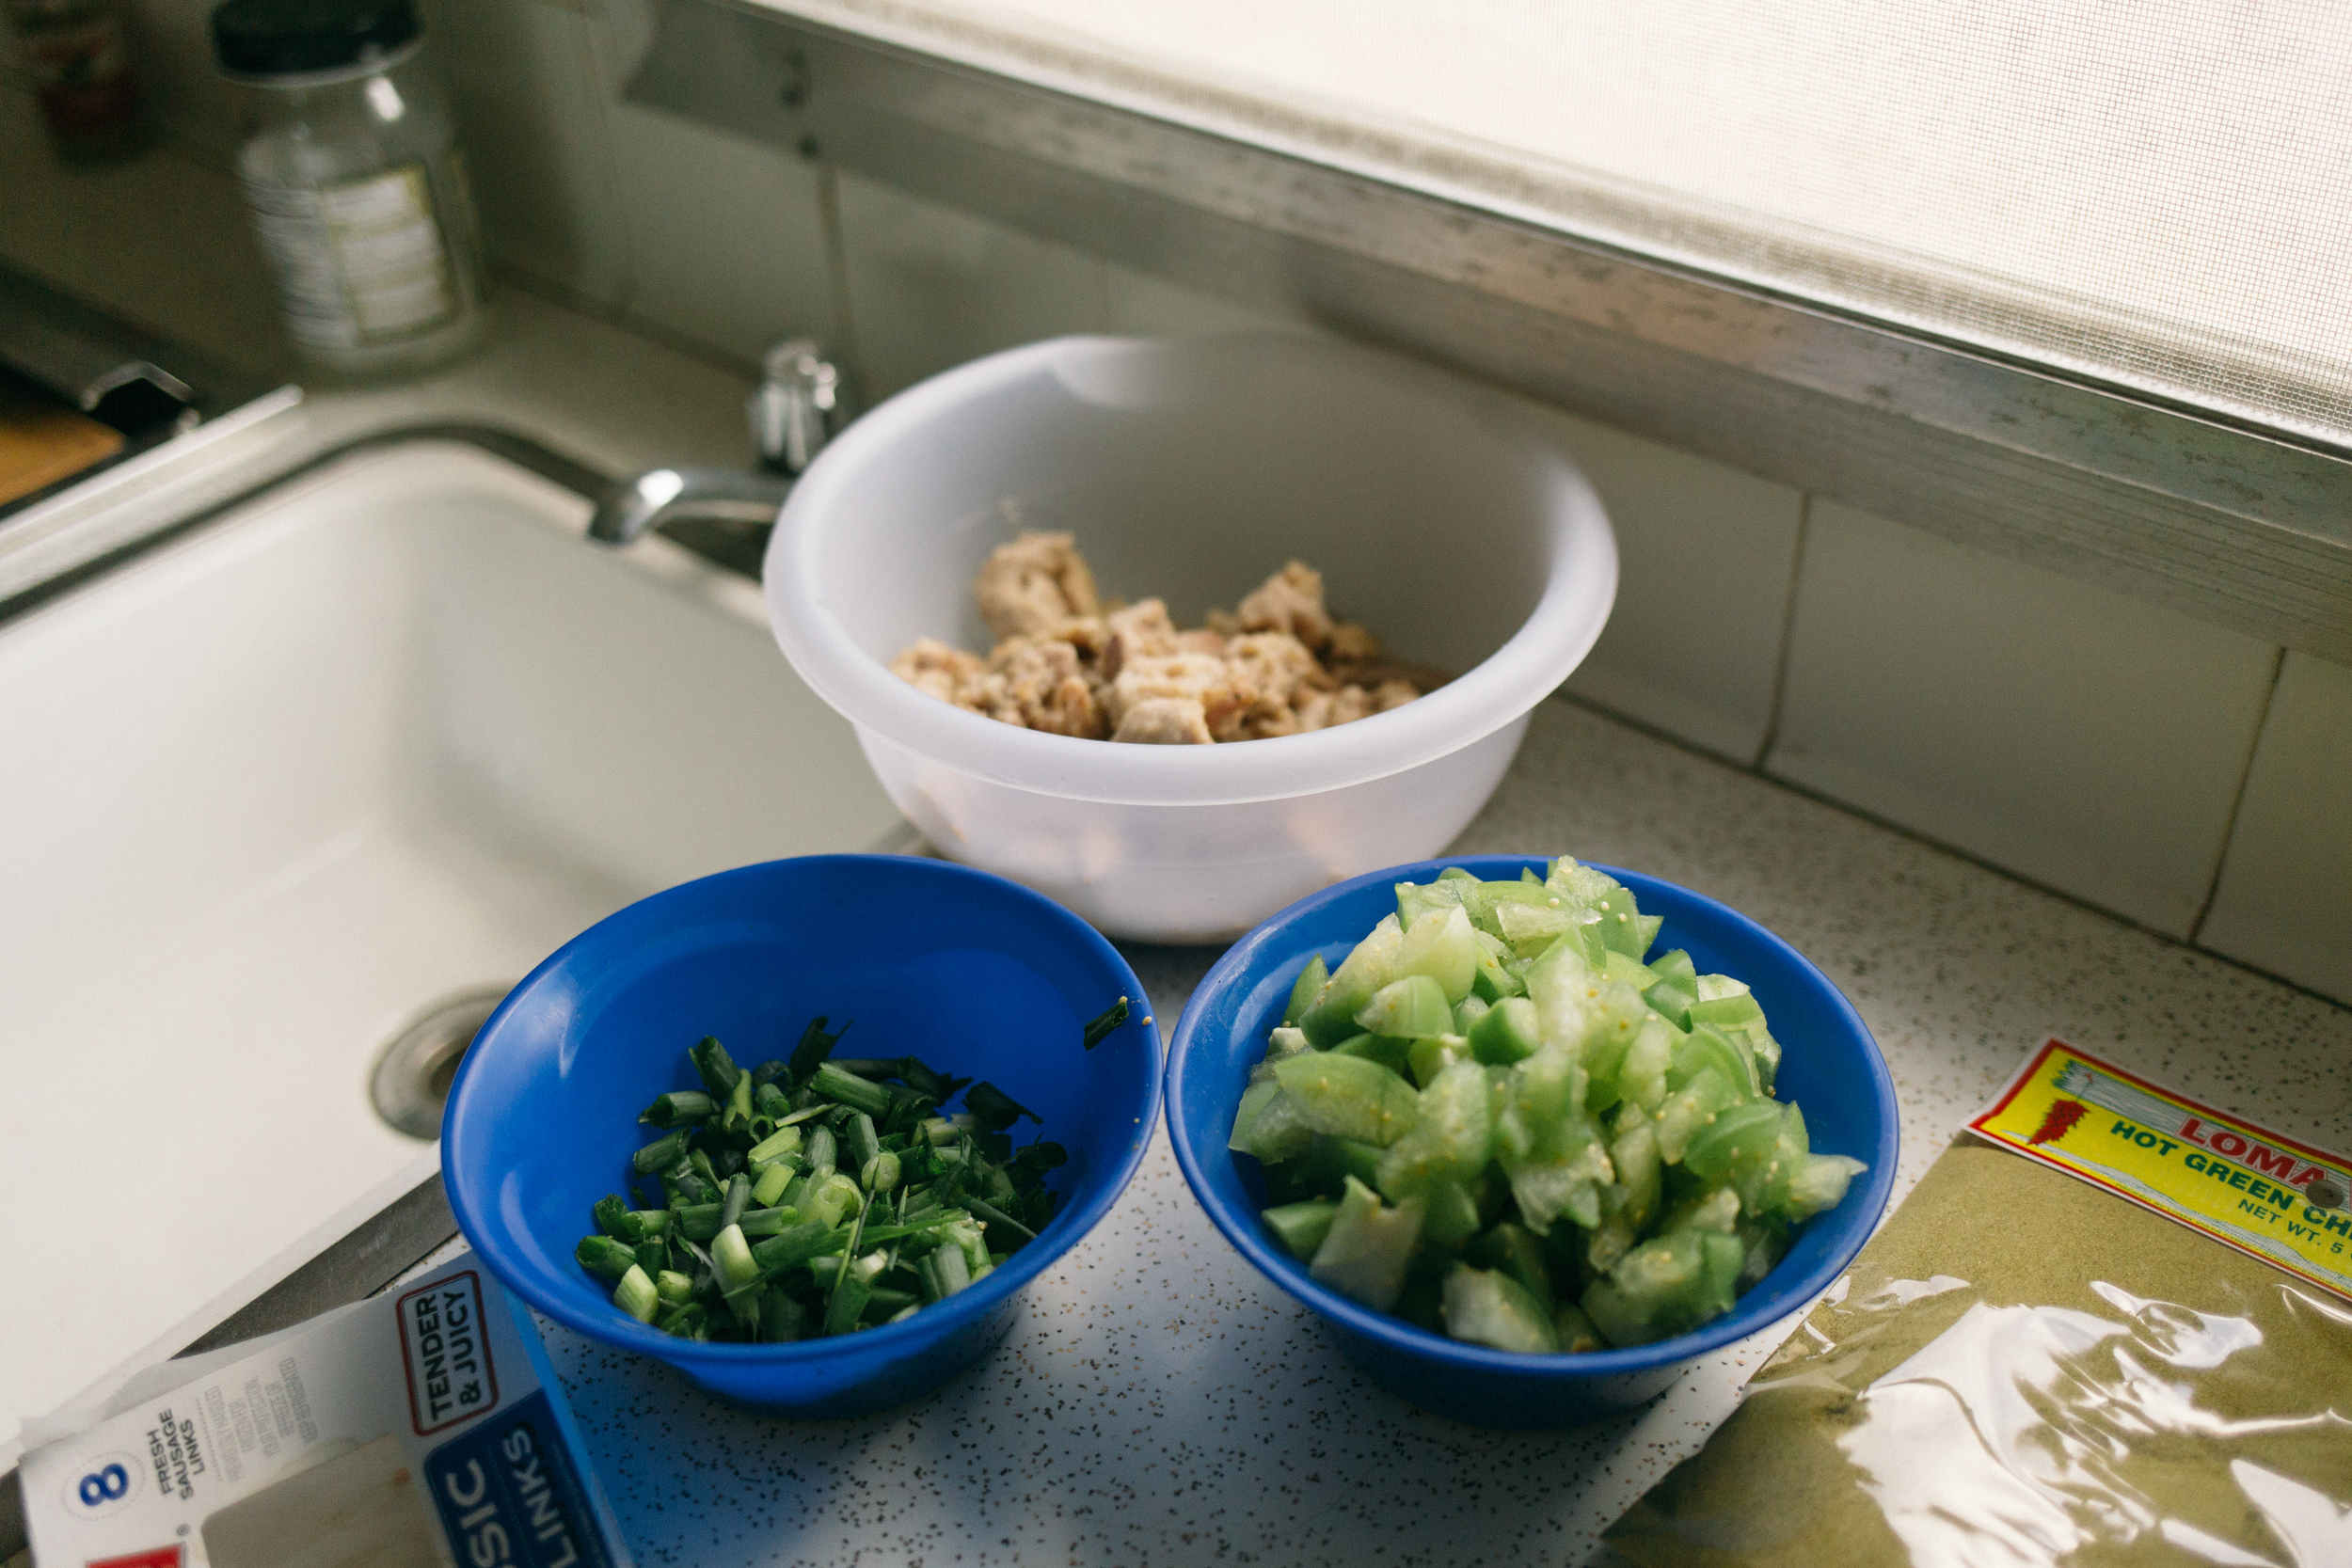
Now things are going to start getting crazy. Put all the veggies you've chopped into the cooking pot, along with cumin and green chili powder. You're going to wonder if you've ever smelled anything so good and your mouth is going to start watering just a little bit; it's ok, that's totally normal at this stage. Cook until soft, for about 15 minutes.

Now put that sausage and pork back in the pot with the veggies! Add the chicken stock and enchilada sauce.

Cook it all together for about 30 minutes, until pork is soft and tender. Throw some cilantro on top and enjoy!! We served our chile verde with tortilla chips and paired it with a fine imported beer, Tecaté. Nom, nom, nom!

*Warning: This dish may make your entire trailer smell like an onion and may attract bears if prepared deep in the forest. We can't be held responsible.
Joshua Tree


Big Sur
We broke a window.
As we wound our way among the ocean cliffs of Big Sur, we looked down on the gemstone ocean colors of California's sunlit coast: blue sapphire, cool turquoise, jade green, and lapis lazuli indigo.

We drove the Oasis over the historic and much photographed Bixby Bridge. Here, we were among the many sunscreened tourists wielding cameras, phones, and iPads. Trailers, RV's, vans, and other automobiles were parked in the dirt on both sides of the spindly overpass.

Wild succulents grew verdant and crimson, tumbling over the bluffs.


After stopping at McWay Falls, we attempted to make our way up to Prewitt Ridge and set up camp for the night.

Up and up we wound, higher and higher above the sea. We drove, trailer in tow, along the mostly one lane road that was devoid of guard rails.
To get to Prewitt Ridge requires traversing 40 minutes of hillside switchbacks.
One Problem.
Halfway up the ridge, the paved road turned into a combination of dirt and gravel under the branches of the Los Padres National Forest.
We plodded along with great trepidation as the hills became more and more vertically exaggerated and riddled with potholes. Down every twist Ben pumped the brakes and up every turn he gunned the gas, trying to squeeze out every last bit of momentum we had. His forehead began to bead with drops of sweat and a few colorful words were said as he gripped the wheel tighter. On one side branches hung over us and, on the other, the waves crested hundreds of feet below the steep edge of the precipice.
Then, we reached a particularly steep incline. After brief wide-eyed looks were exchanged, Ben gave the truck everything it had, pressing the pedal to the floorboard.
We made it. Halfway, that is.
The trailer was too heavy and the truck too exhausted. Midway up the hill, the wheels began to slide and we serpentined slowly sideways...and then backward!
"Pump the brakes!" I yelled. Ben did of course, as he had been doing all along.
Finally, we stopped! The brakes caught and we were still. I jumped out to help push. As I made my way behind the trailer, I could see that our rear bumper was beginning to wedge itself into the sandstone of the inside cliff. It was either now or never to make it forward! Or we could REALLY be stuck. There would be no way of unhooking a caught trailer on an incline like this!
I mustered up all of the fortitude in my stocky 180lb frame and Ben fixed to the wheel with renewed focus. The wheels spun. I pushed with all of my strength.... a sudden crunching sound accompanied by a small slide away from the wall of rock and slowly the tires began to roll forward. At long last, they had caught!
I can't be sure if the modicum of friction required to make it up the ascent was due to the strength of my push, Ben's expert truck handling, or our combined breathless prayers availing upon the Almighty. All I know is that we ultimately made it up, albeit with a very dented bumper.
We decided not to take the trailer any further, for obvious reasons. As luck would have it, we happened upon a small campsite tucked below the trees.

Here, we abandoned the excess weight of our 1500 lb. home-on-wheels. We soldiered on to the end of the ridge as the truck rollicked up and down, back and forth.

Coming upon an open clearing at last, we were greeted by a 180 degree view of the wide ocean and setting sun. Sea and mist and sky and rocky heights all converged across an endless expanse in fiery glory. In a moment, it became clear that the troubles were worth it. It also became clear that we could have just dropped the trailer long, long ago and simply driven the truck up from the start. Ah, hindsight.
The following morning we awoke and made Buffalo Fajitas. Cautiously, we hooked up the trailer and started the long descent. It was bumpy, yes, very much so. However, we didn't get stuck once. All in all, it was an uneventful drive down the switchbacks.
Once we had reached the very bottom and were back on flat highway, we pulled over just to do a quick inspection. It appeared that all was well on the exterior of the truck and trailer, excepting the aforementioned bumper.
I thought I'd use the opportunity to grab something from inside the trailer before we embarked on a very long drive. When I stepped inside I was instantly startled by shards of glass covering the floor and dining bench cushions. Our largest window had blown out on the jerky drive down. To be fair, it already had a sizable, centrally-located chip when we bought it. But this was mass scale destruction. With heavy sighs and exasperated laughs, we swept up the glass.

Adventure was had and a lesson was learned.
Road Test Kitchen #1: Buffalo Meat Fajitas & Lemon Pepper Thyme Potatoes

We woke early in the morning light, high on the cliffs of the Los Padres National Forest, overlooking the wide sapphire and jade ocean. Our trailer, "the Oasis," somewhat wearied from the previous evening’s strenuous ascent up dusty gravel switchbacks, slumbered gently under arching branches.

Time for breakfast.
We unpacked our cooler and laid out ingredients that were purchased the day prior at Whole Foods.
“What should we make for breakfast tomorrow?” I asked Ben as we made our way past the artisan goats' milk soap, 100% recycled plastic neck scarves, and pH balanced sparkling mineral water.
“Fajitas?” he suggested.
We sallied forth to the meat counter. We perused the usual chicken and beef options. But, then, sitting right next to the chunks labeled “Beef for Stew” were chunks labeled, “Buffalo.”
Buffalo…
…instantly the word conjured visions of the American West, Cowboys and Indians, dust clouds and tumbleweed.
We knew deep down, instinctively, that these fajitas needed to be buffalo fajitas.
The guy behind the meat counter expressed his emphatic approval as he told us, “Yeah, that might be like a different flavor.”
We also snagged potatoes to make some breakfast potatoes.
LEMON PEPPER THYME POTATOES
1/2 a bag of baby potatoes (the smaller the better)
Coconut Oil
Lemon Pepper seasoning
Salt
Fresh thyme

First chop your tiny potatoes into even tinier halves.


Slap a pat of coconut oil into the pan and sizzle them taters on low heat! Add a pinch or two each of salt and lemon pepper. I prefer two pinches because YOLO. (Caveat: if you, like me, are using the Kirkland signature Himalayan pink sea salt grinder, I suggest four hearty twists.)
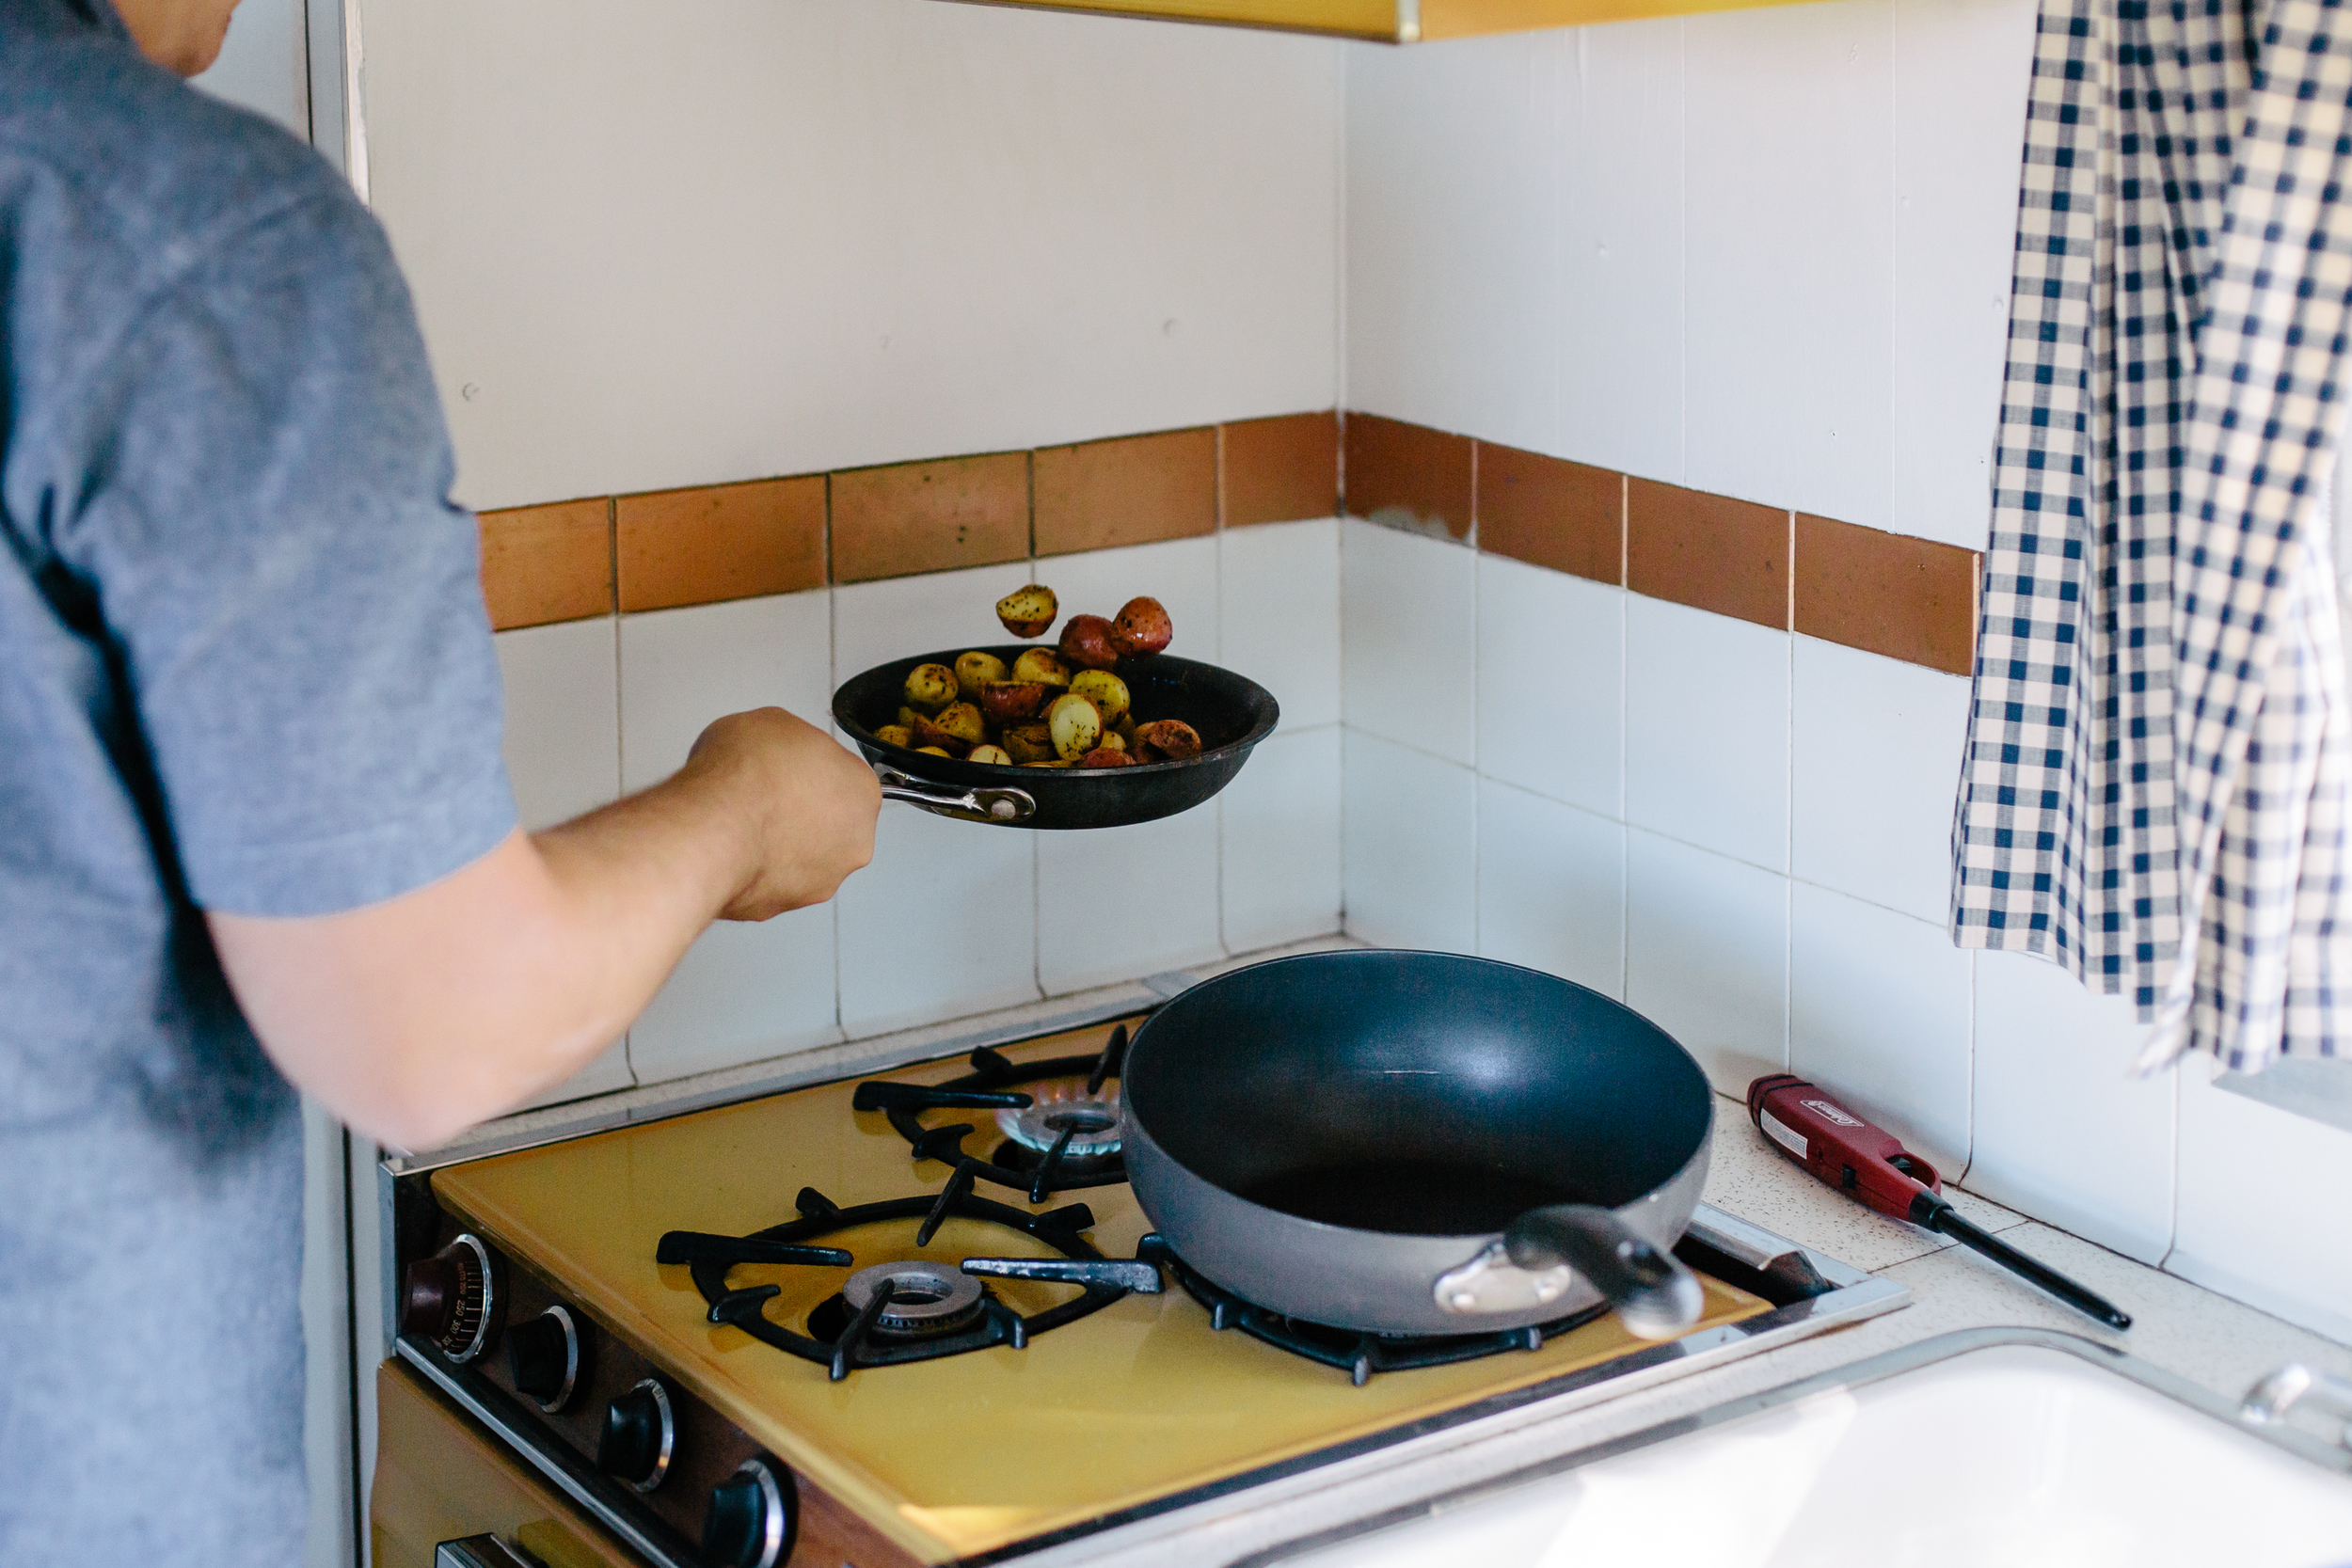
Flip occasionally to avoid any burnt bottoms!

When the potatoes are soft (15 minutes? 20 minutes? I'm not really sure, but you can check this by poking the largest ones with a knife), add some fresh thyme leaves (not stems!). Let them sizzle *just* a minute more, then take them off the heat and put them into a bowl to cuddle and keep each other warm while you work on your fajitas.
BUFFALO MEAT FAJITAS (serves 2 and a half)
0.5 lb buffalo meat, cubed
1 Red bell pepper
1 Red onion
2 Avocados
Shredded sharp cheddar cheese
Handful of Arugula/Spinach mix
Coconut Oil
Salt
Taco Seasoning
Your favorite salsa (we used some hipster Pumpkin Seed salsa, which, in full disclosure, was a little on the runnier side for a fajita)

First, cut the stem out of your red bell pepper, because the last thing anyone wants is a stem in their buffalo fajita. That would just be awkward.
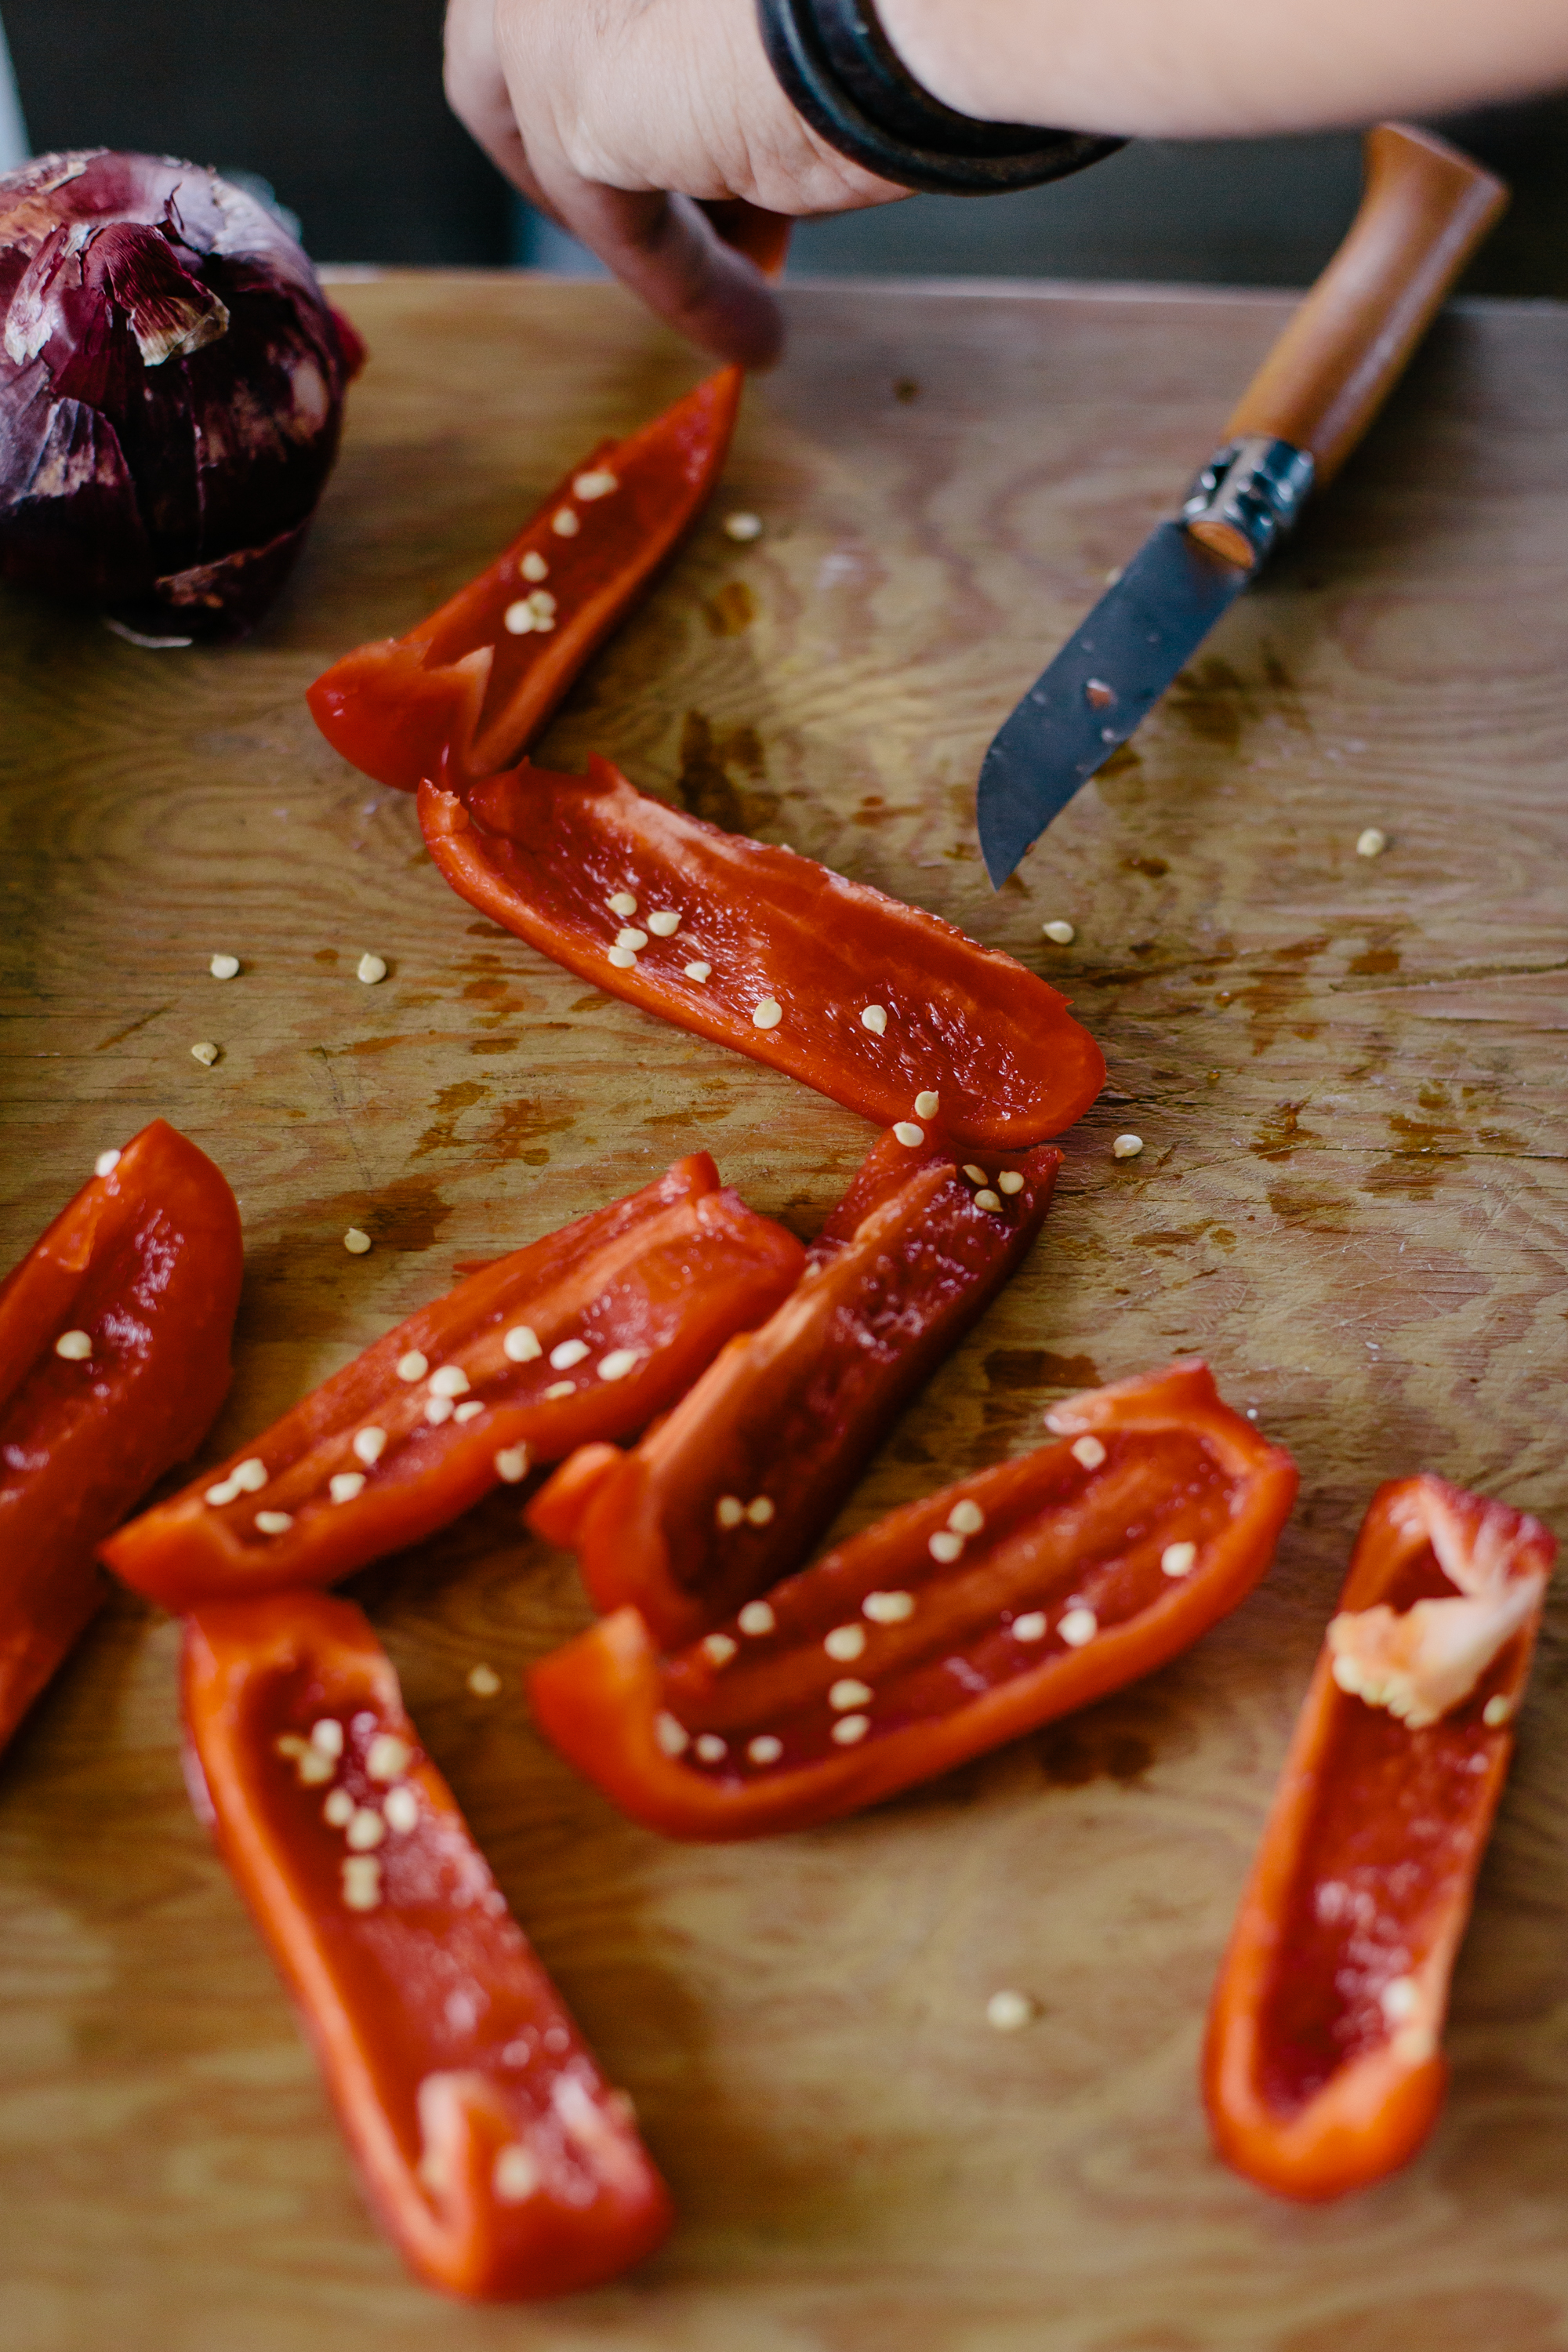
Slice the pepper into 1/4-inch strips.

Chop the onion, too. Weep not for the memories.

Sizzle the onion and pepper strips together with a big spoonful of coconut oil.

Add 2 pinches each of salt and taco seasoning (or, again, four twists! My math may be fuzzy here, but just, you know, make it work!)

When things start smelling really good, add the meat!

Keep a'shakin' and a'stirrin' until the meat is nice and brown. (Add a bit more coconut oil if necessary.) Then take the mix off heat and put in a bowl.

AND NOW THE BEST PART!! Build your fajita. Add cheese, sliced avocado, greens, salsa, and a squeeze of lime juice to taste. Scoop up some potatoes! Enjoy to your heart's content.
And then promptly go back to bed because you are now in a fajita potato coma.
Prairie Creek Redwoods State Park


Philomath Frolic & Rodeo. Philomath, OR.


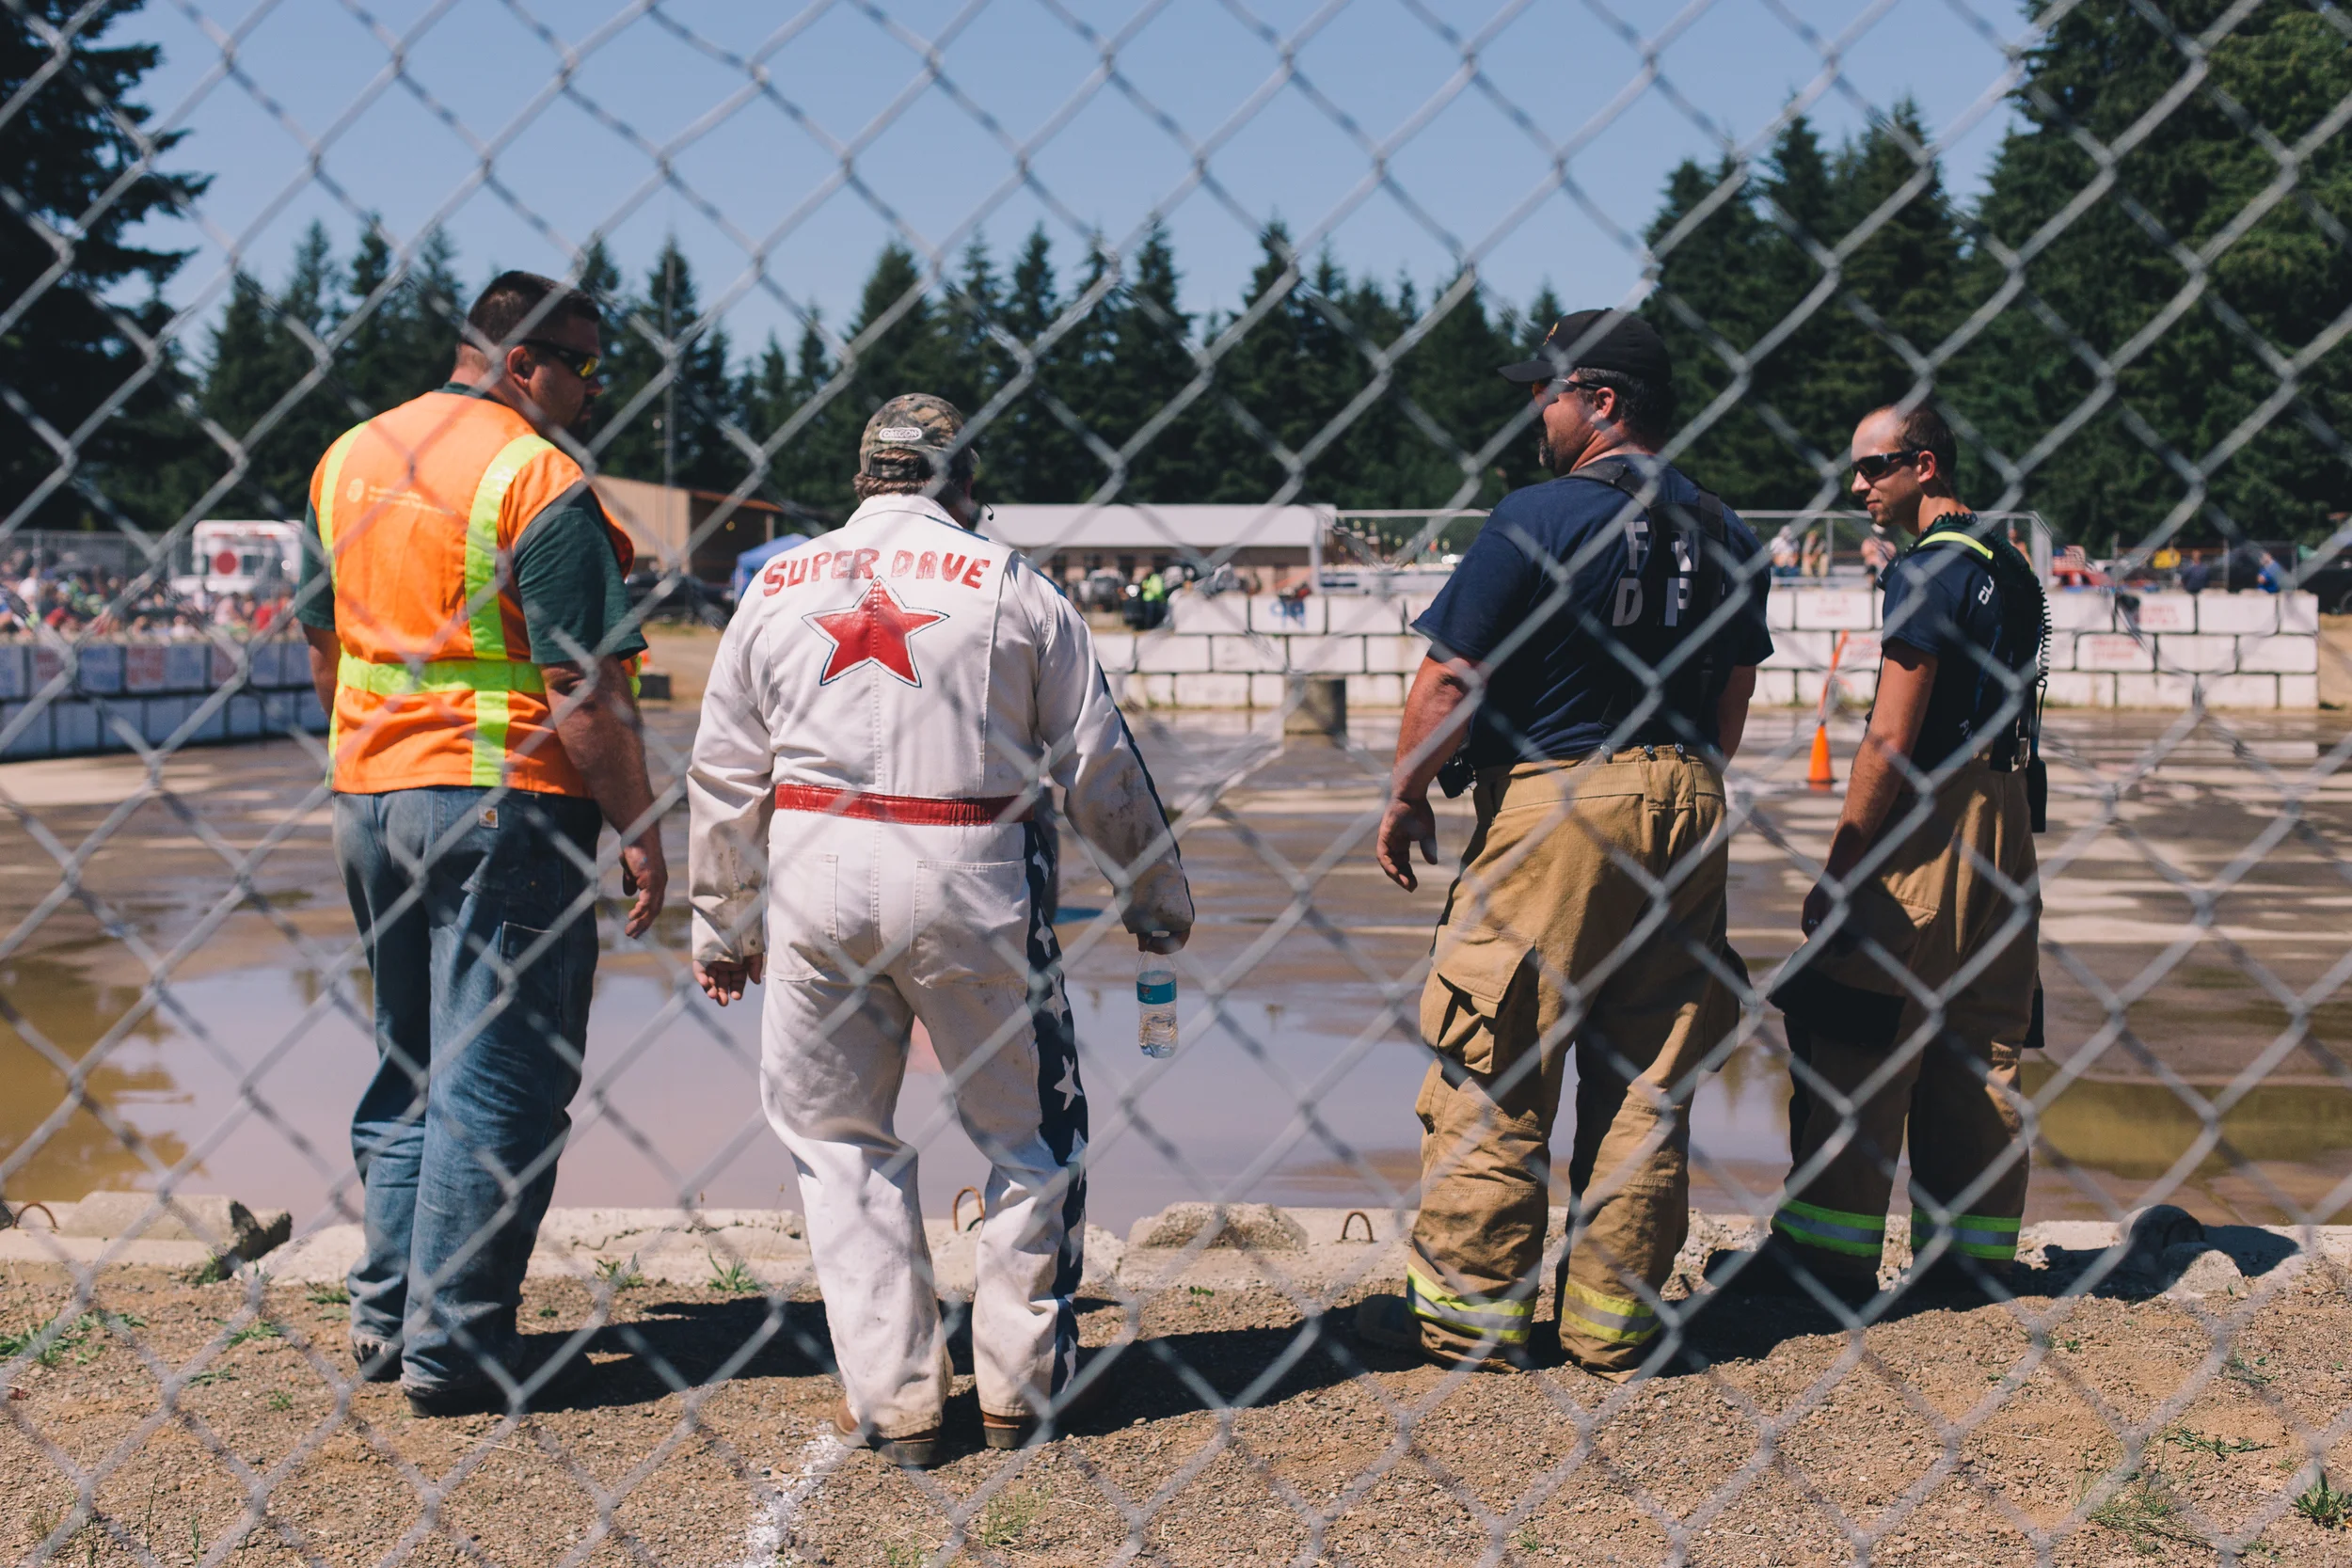
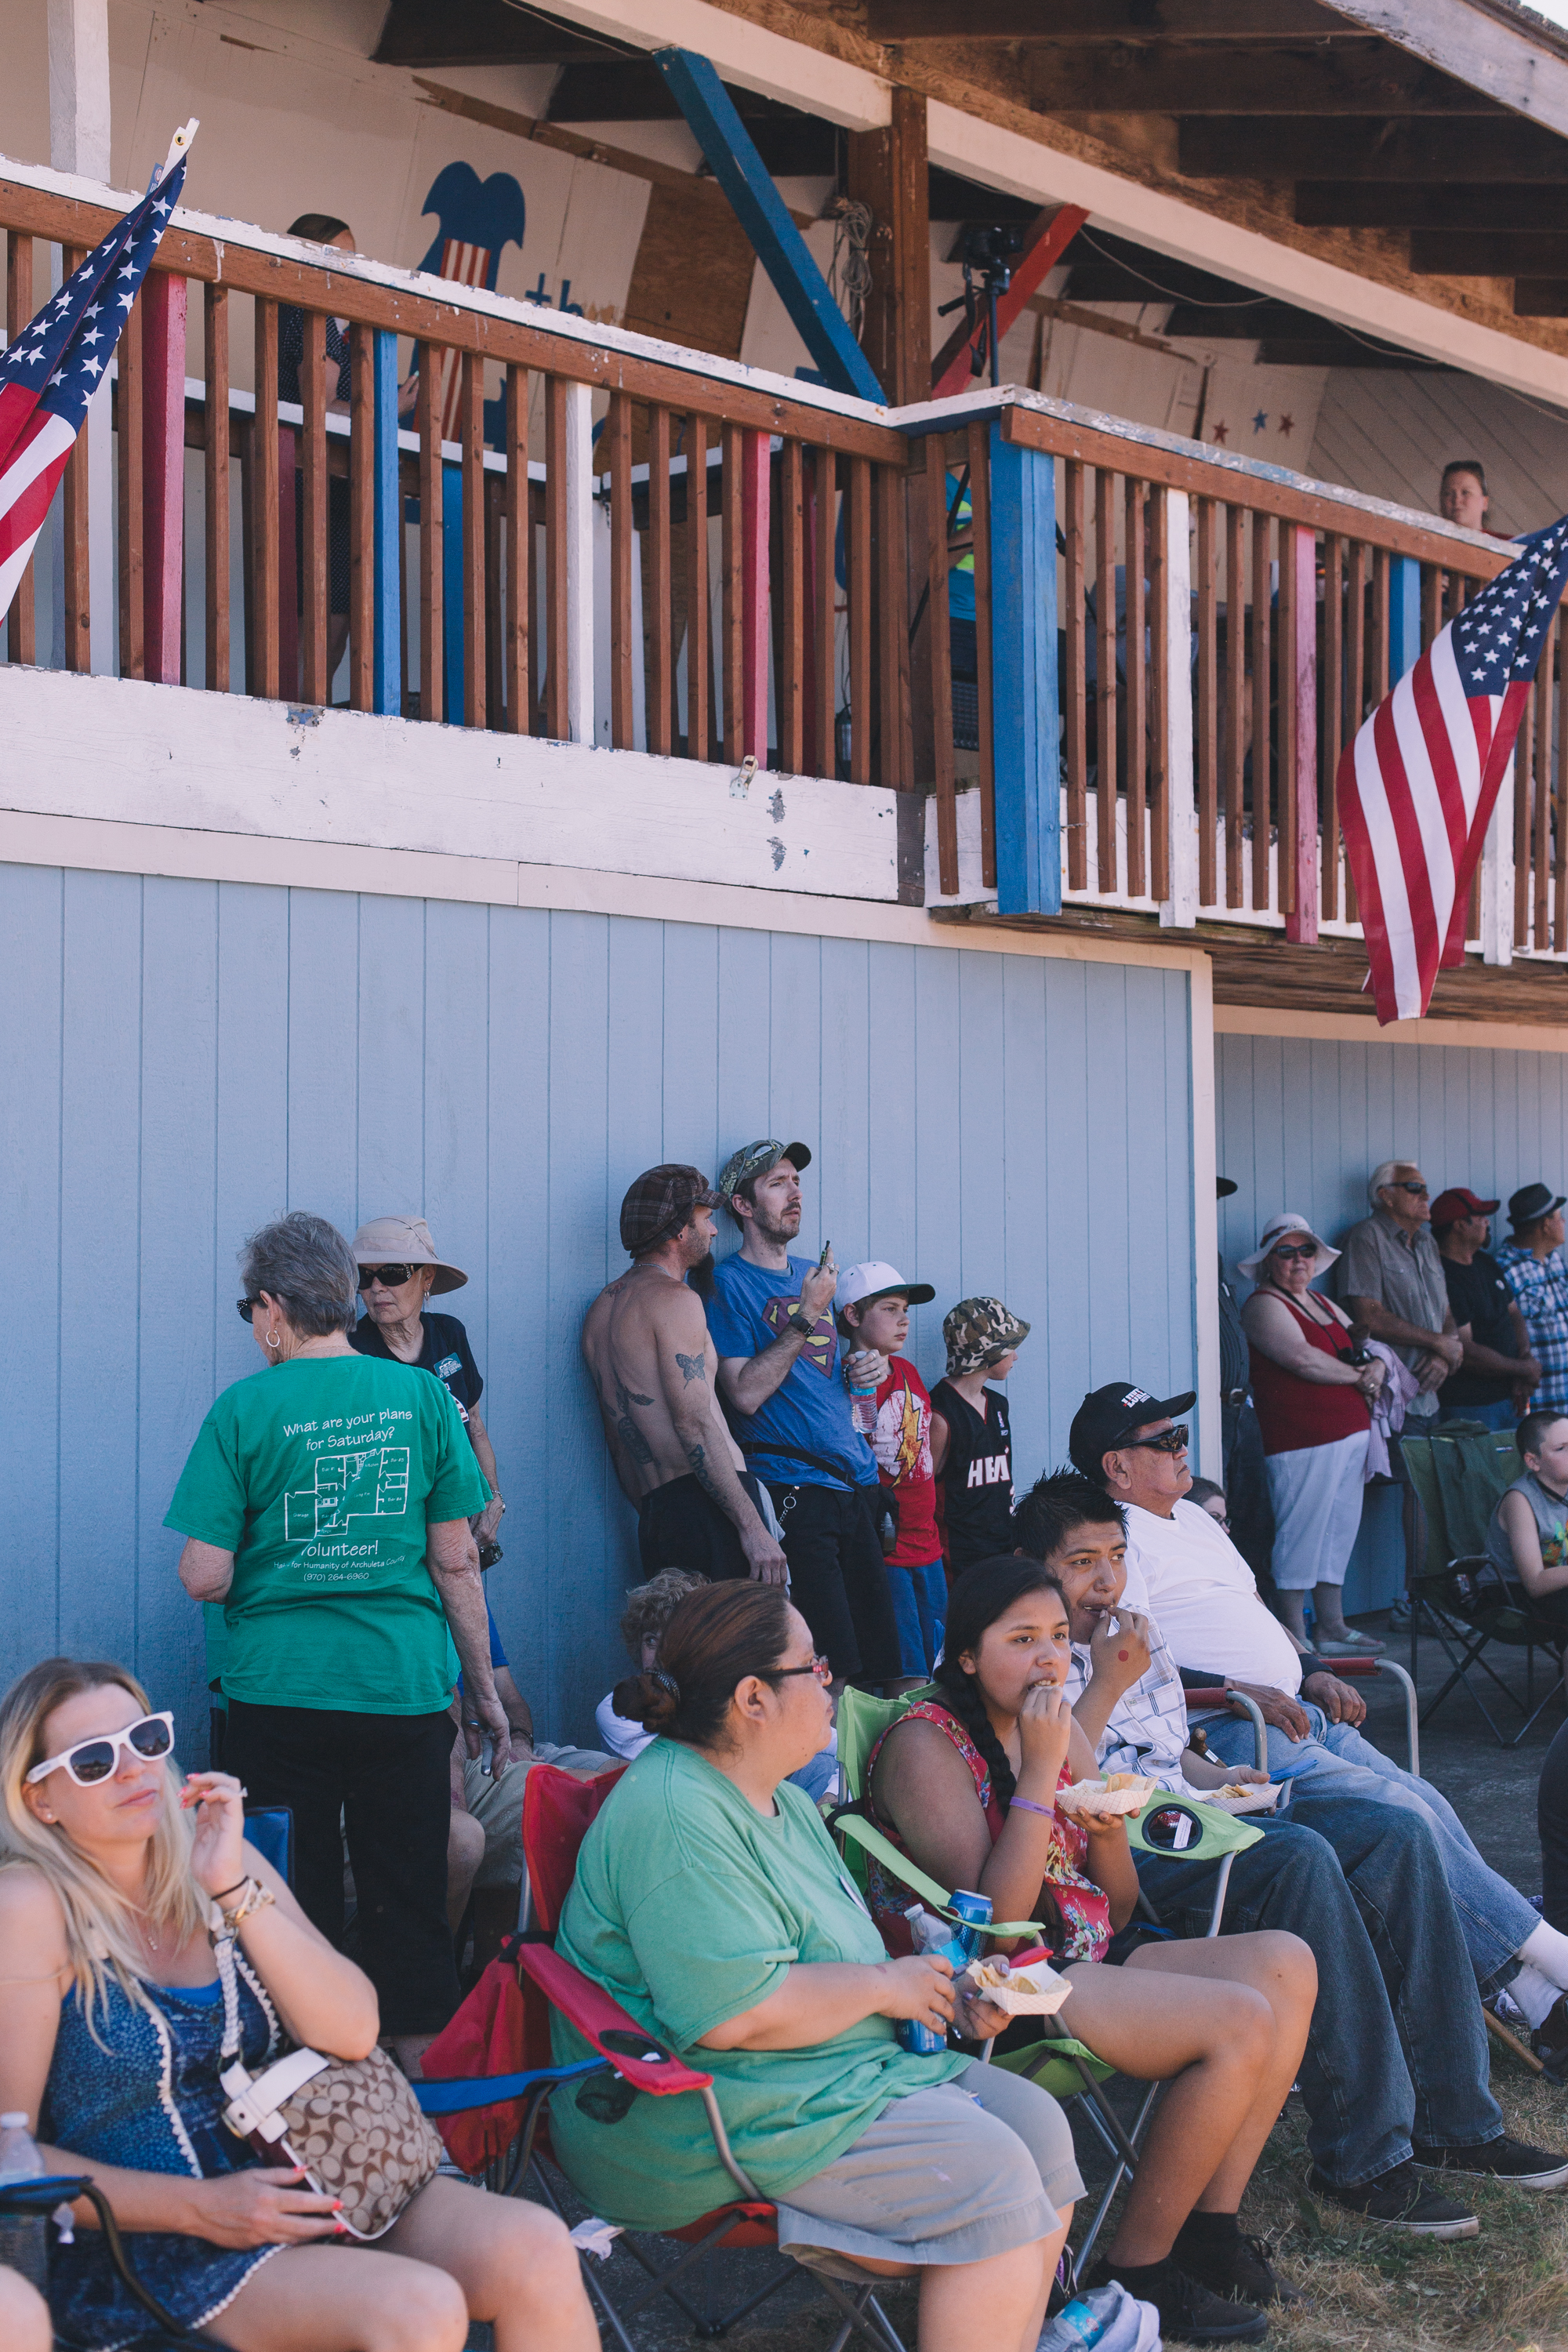
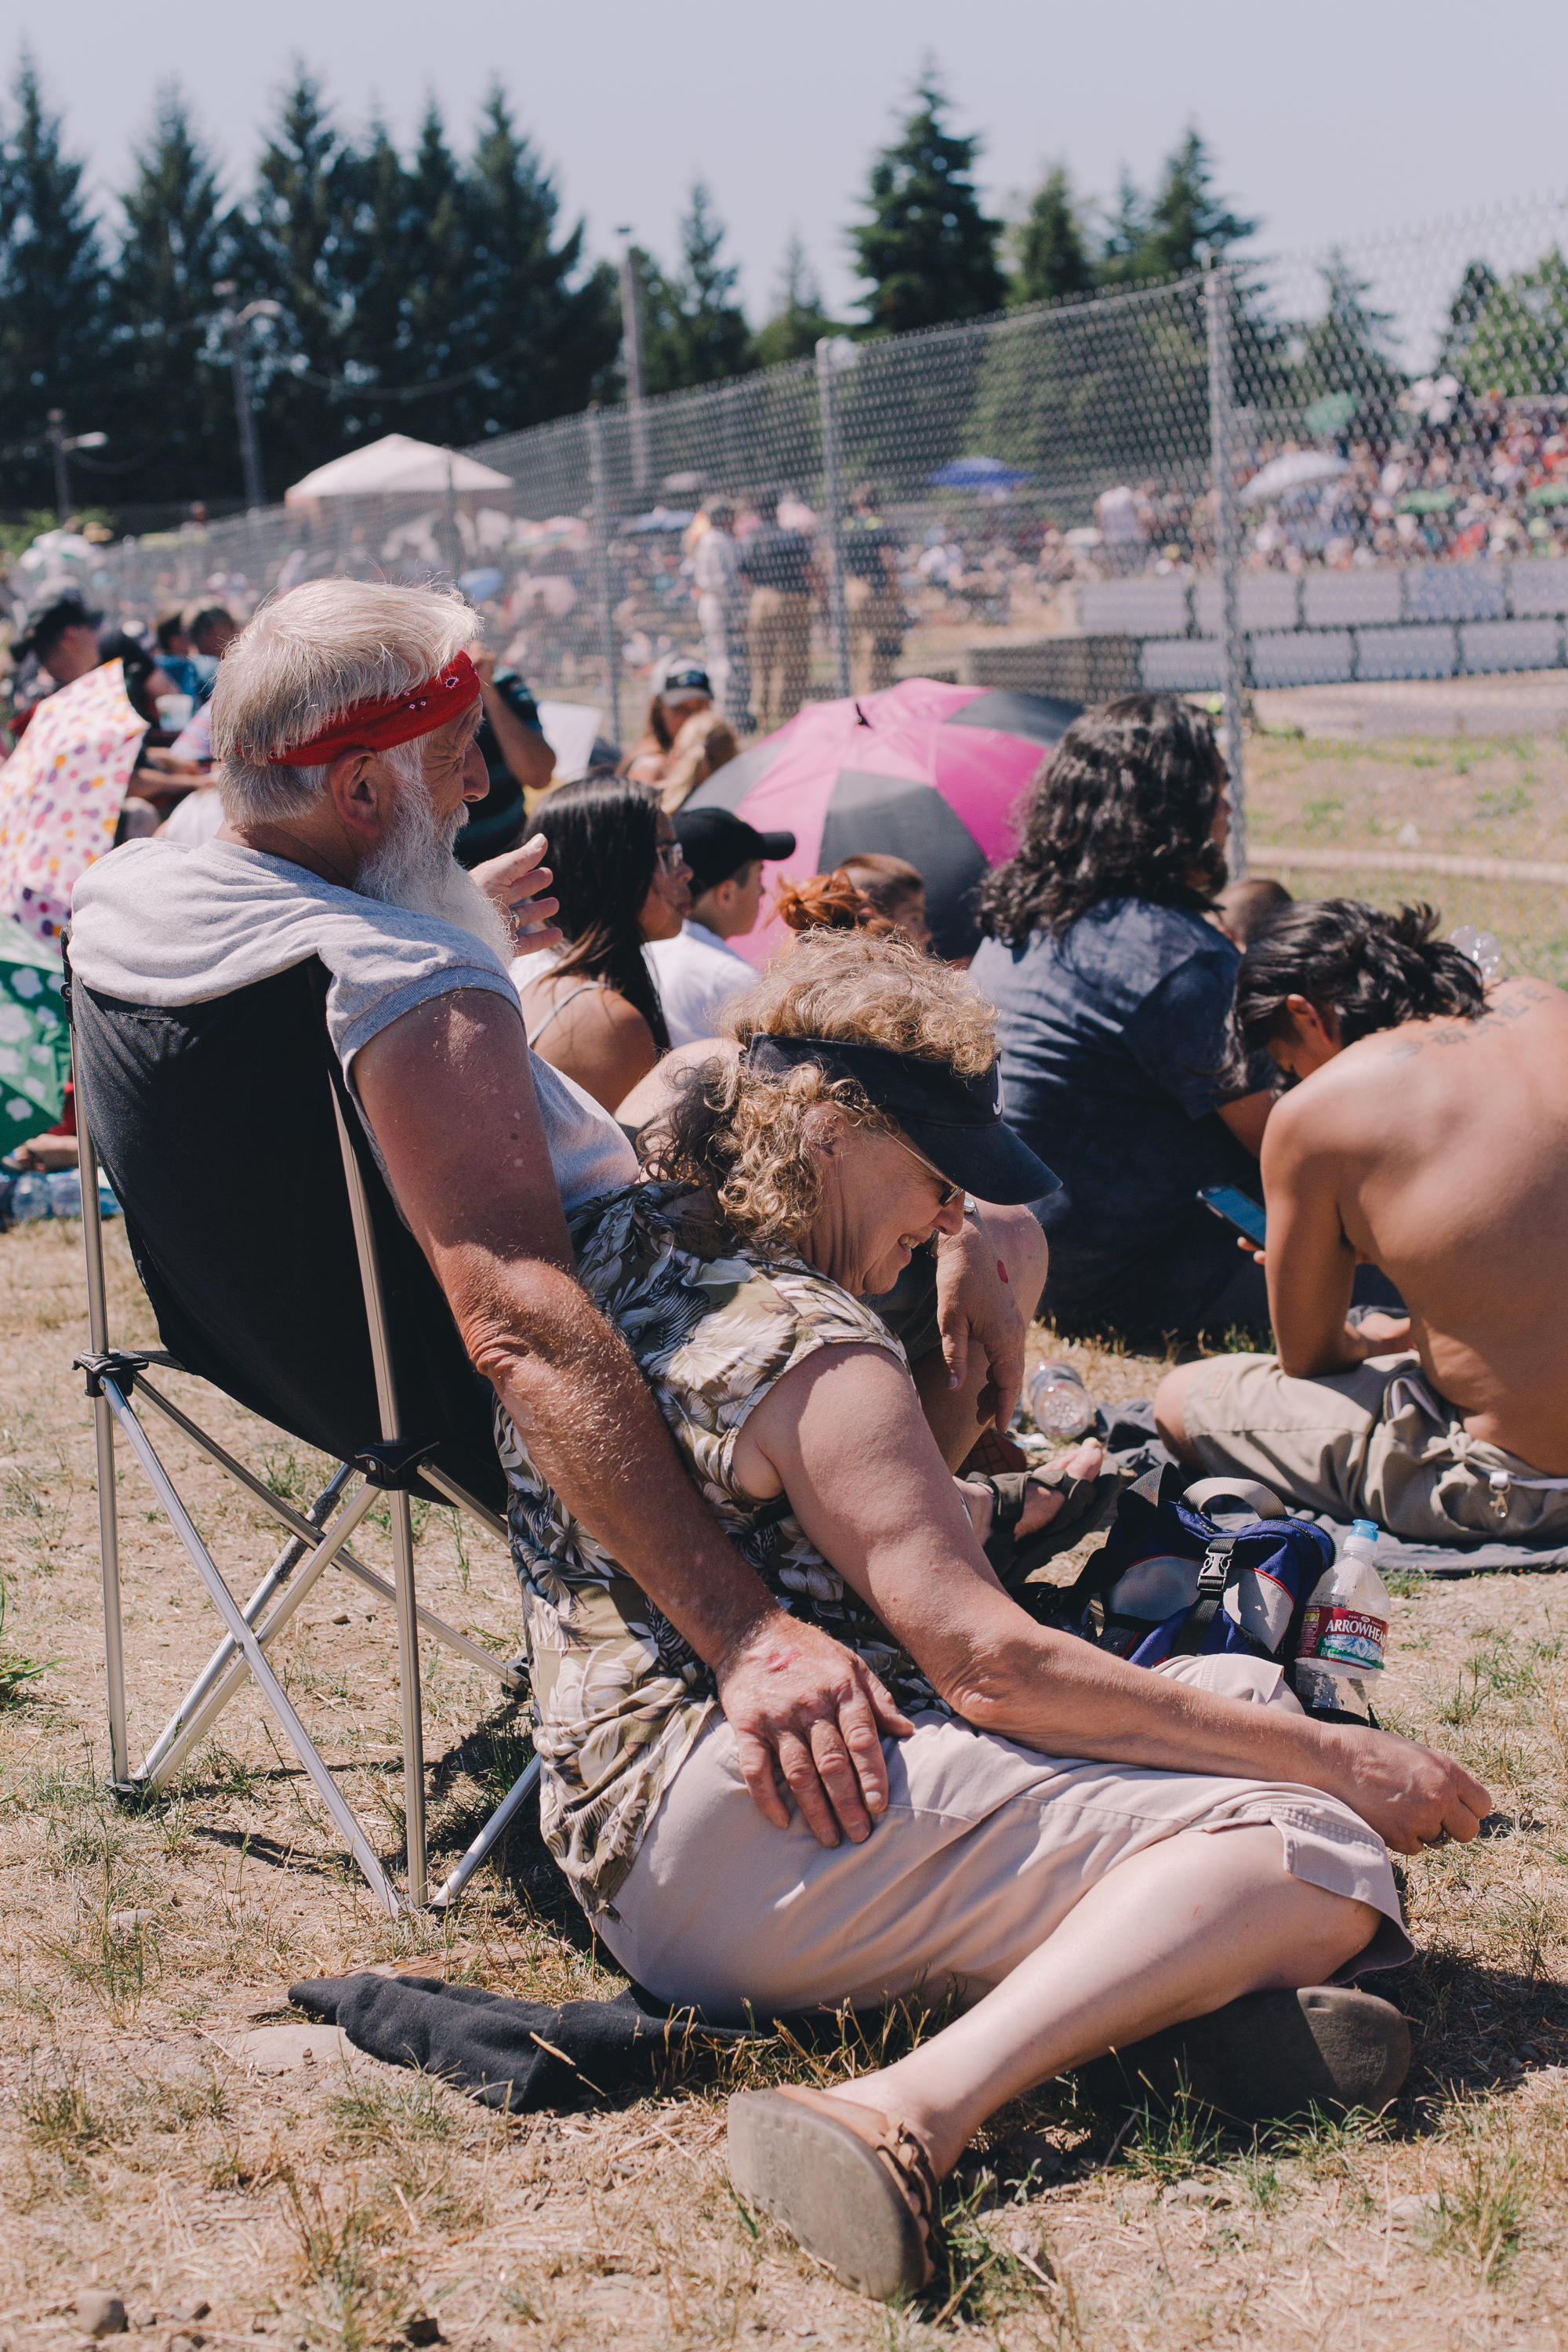
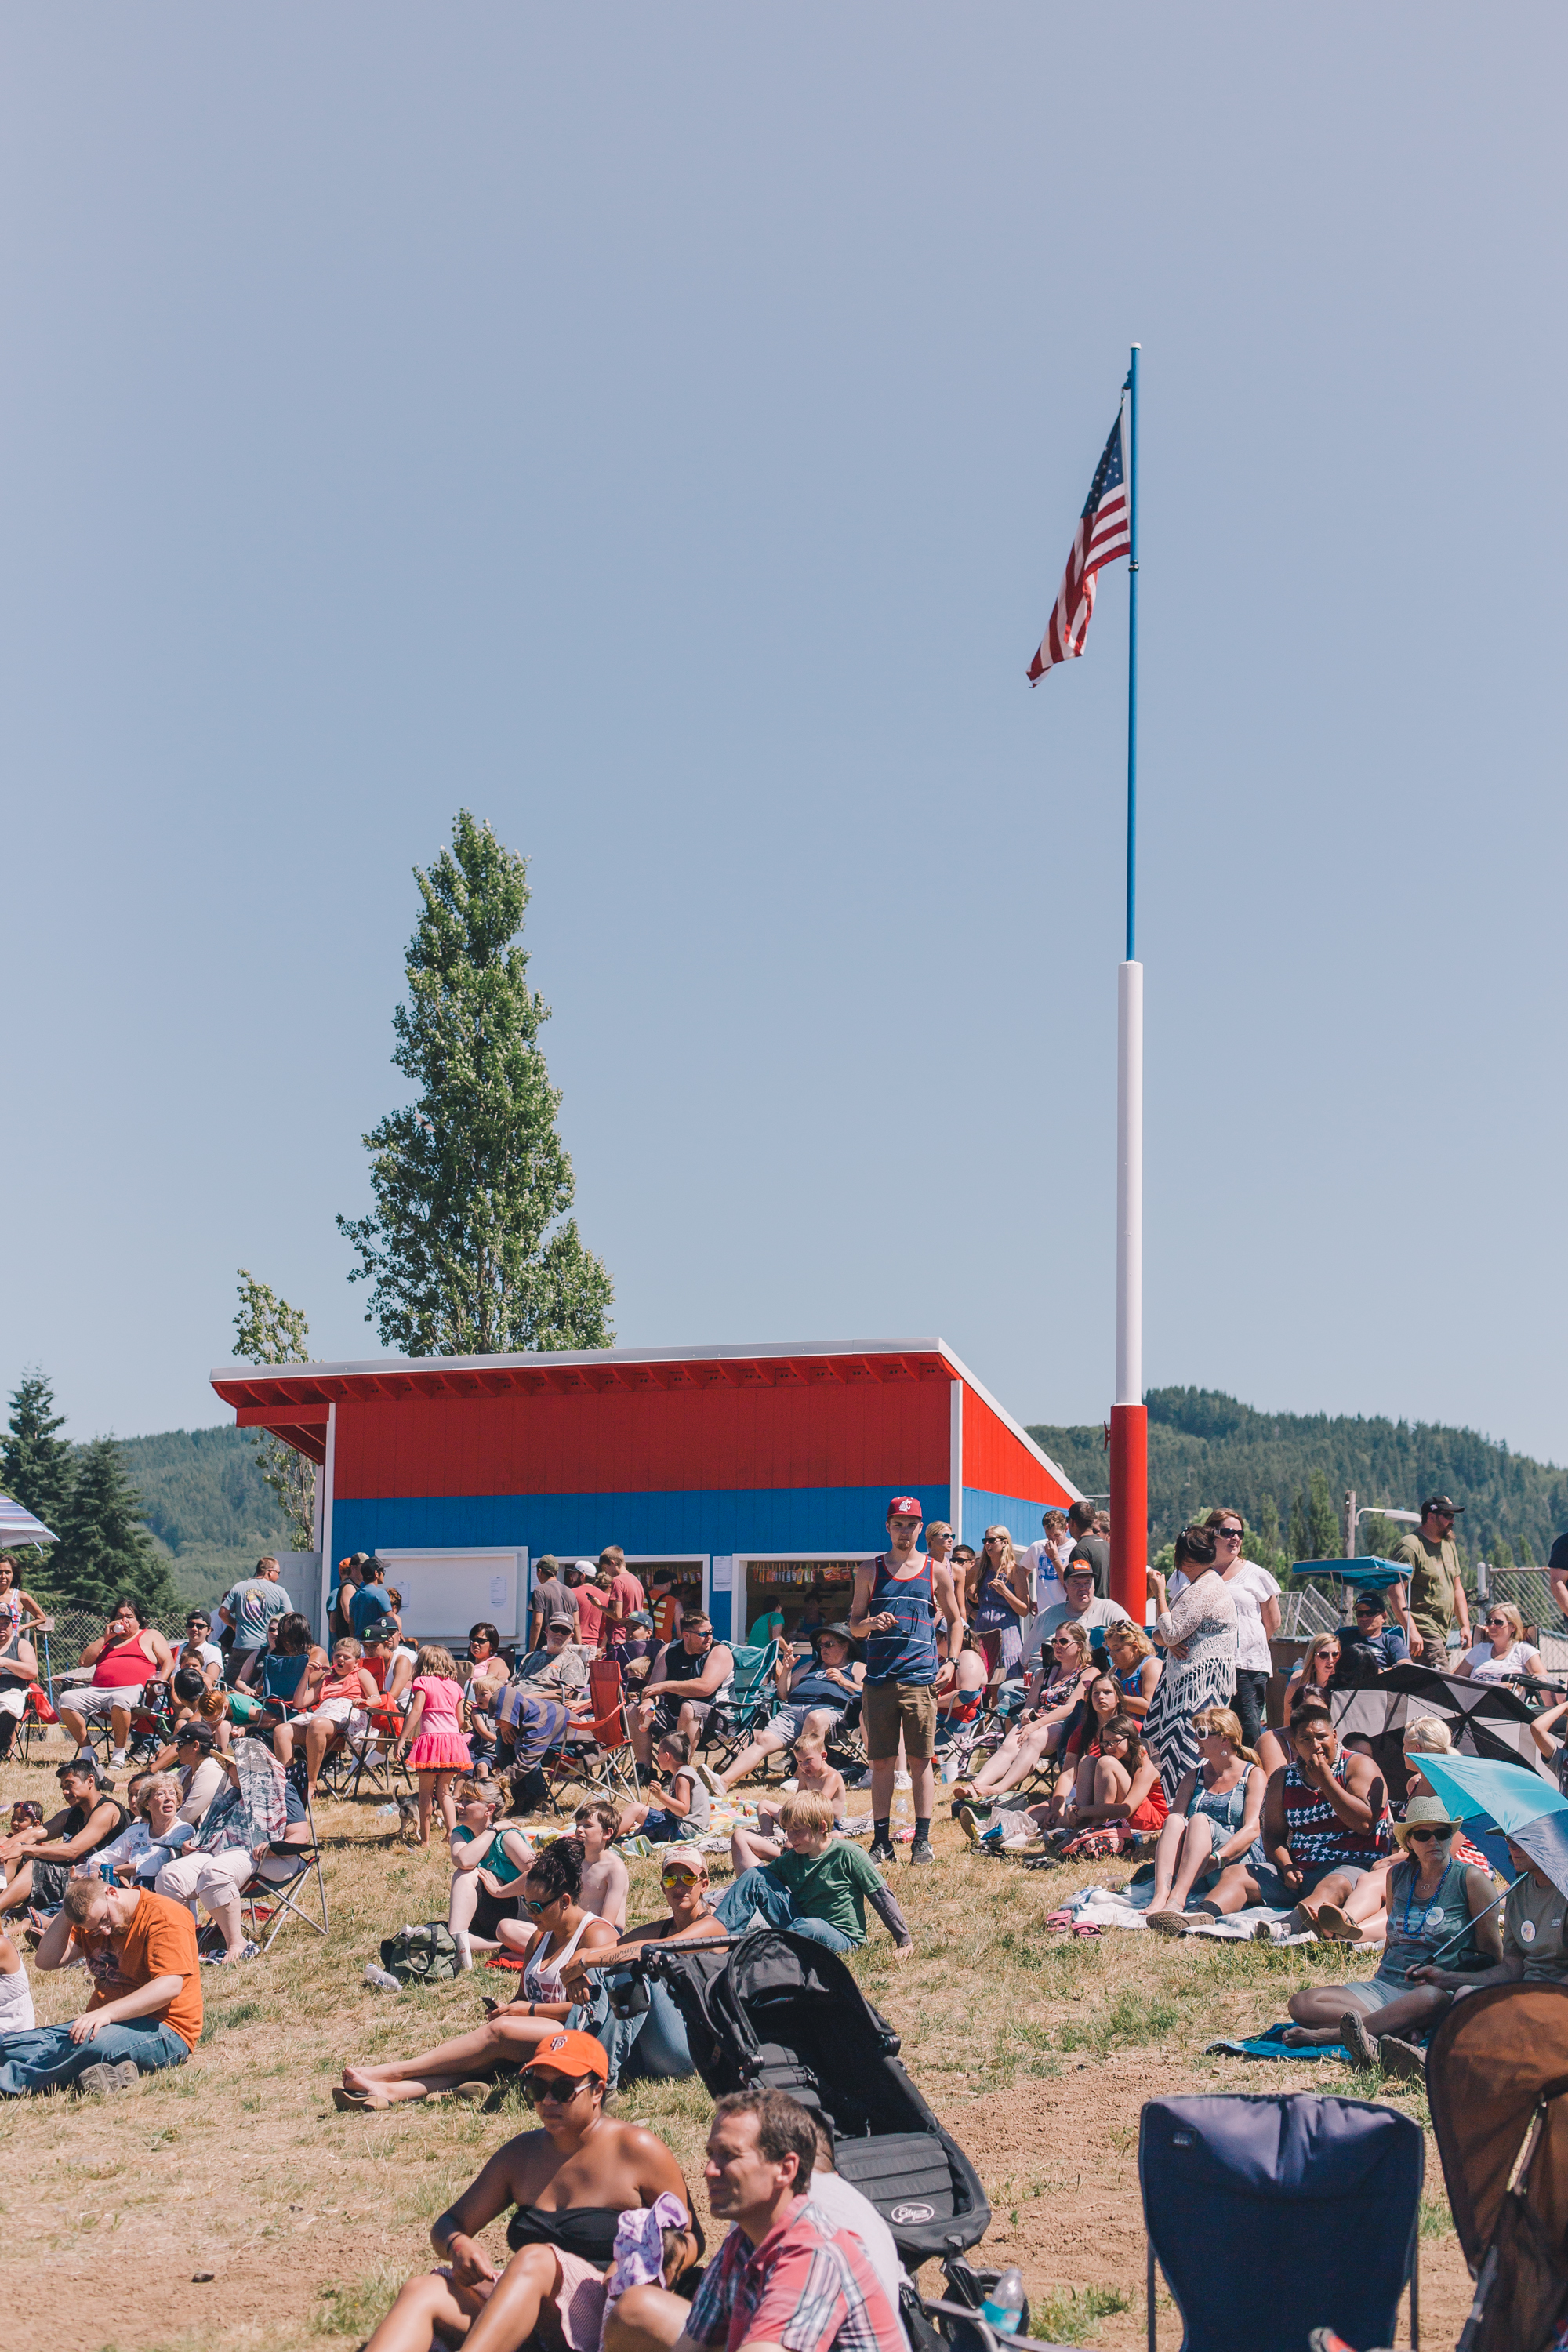
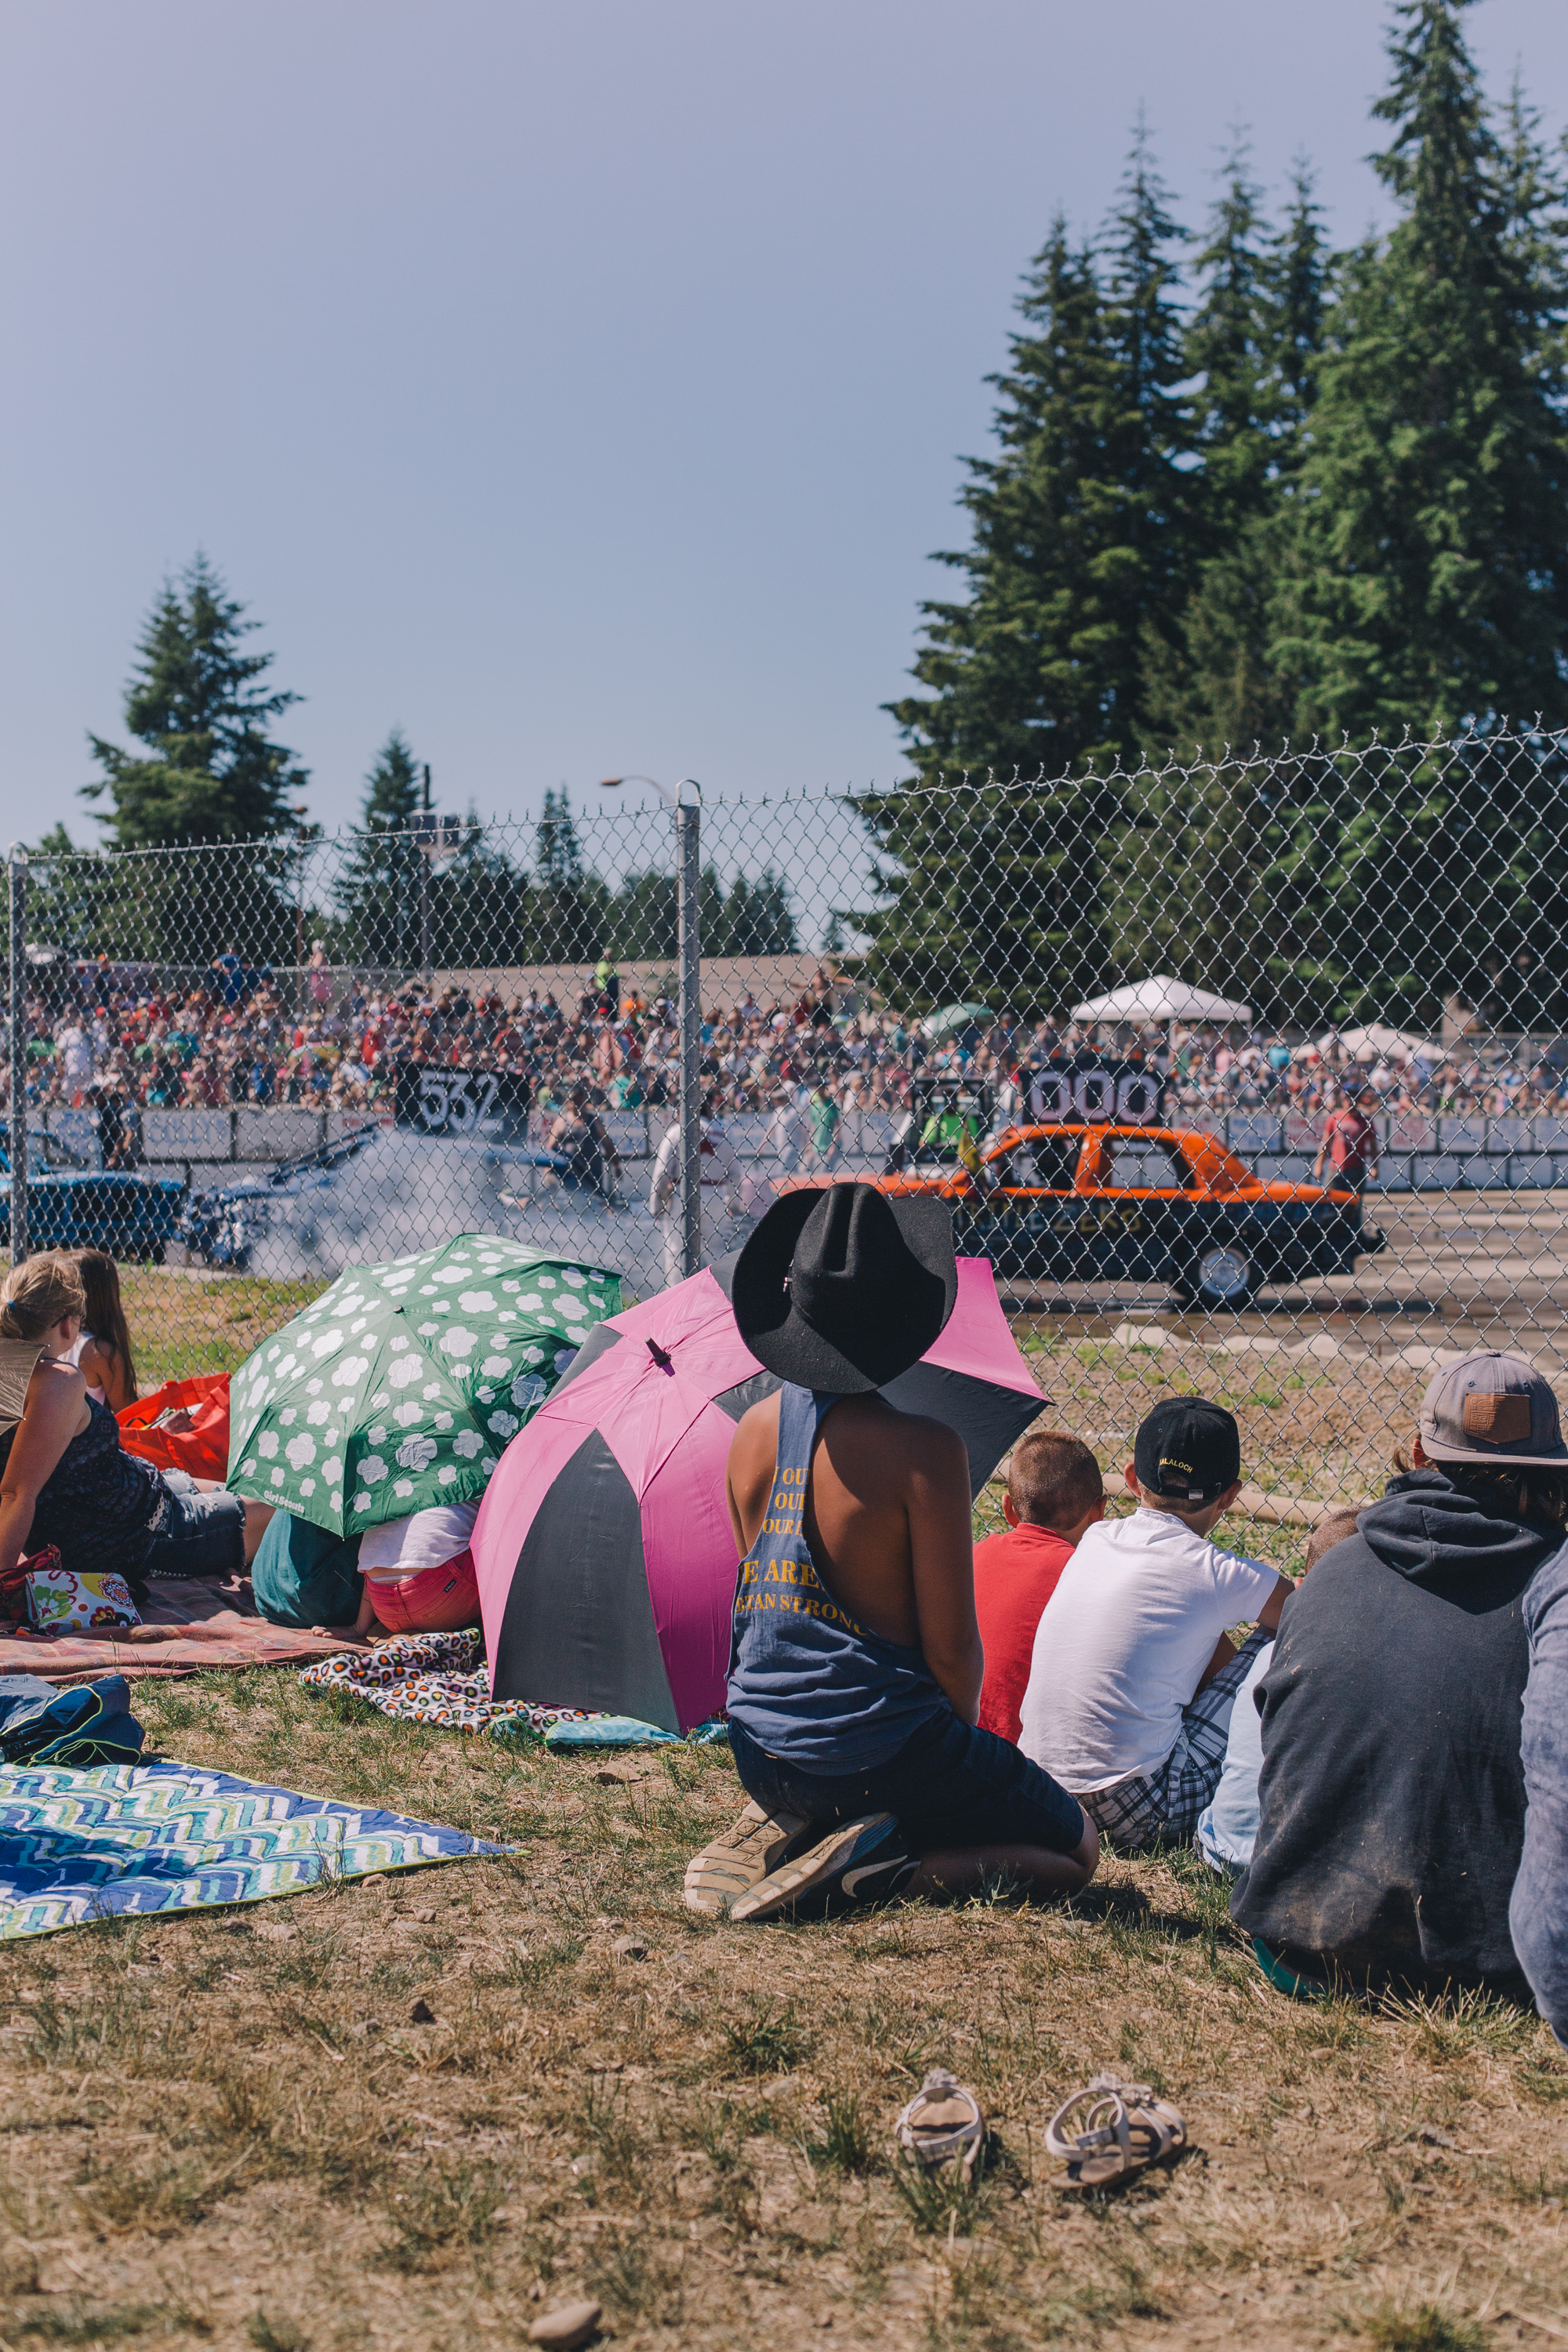
Fourth of July Demolition Derby. Forks, WA